BrianC,
You are not far from our vacation house. We have a place at Harker's Island. I'd love to meet up the next time I'm down.
SOBX Solo Flats Skiff SK14
-
Marshall Moser
- Active Poster

- Posts: 399
- Joined: Mon Aug 02, 2010 3:00 pm
- Location: Siler City, NC
- BrianC
- * Bateau Builder *

- Posts: 376
- Joined: Tue Dec 01, 2015 11:10 am
- Location: Cedar Point, NC
- Contact:
Re: SOBX Solo Flats Skiff SK14
We are only here part time as well - now through end of May; then back again in August. Let me know next time you're down this way!Marshall Moser wrote: ↑Thu Apr 27, 2017 10:10 am You are not far from our vacation house. We have a place at Harker's Island. I'd love to meet up the next time I'm down.
Got the sole put in. Beforehand I cleaned up all the cleats and the glued in doublers and made a few minor adjustments with a sander to make sure the sole goes in flat. Also, rather than using the dimensions in the plans, I went ahead and took the measurements for the sole right off the finished hull. While the differences were only 3-4 mm in places, the fit is better this way:
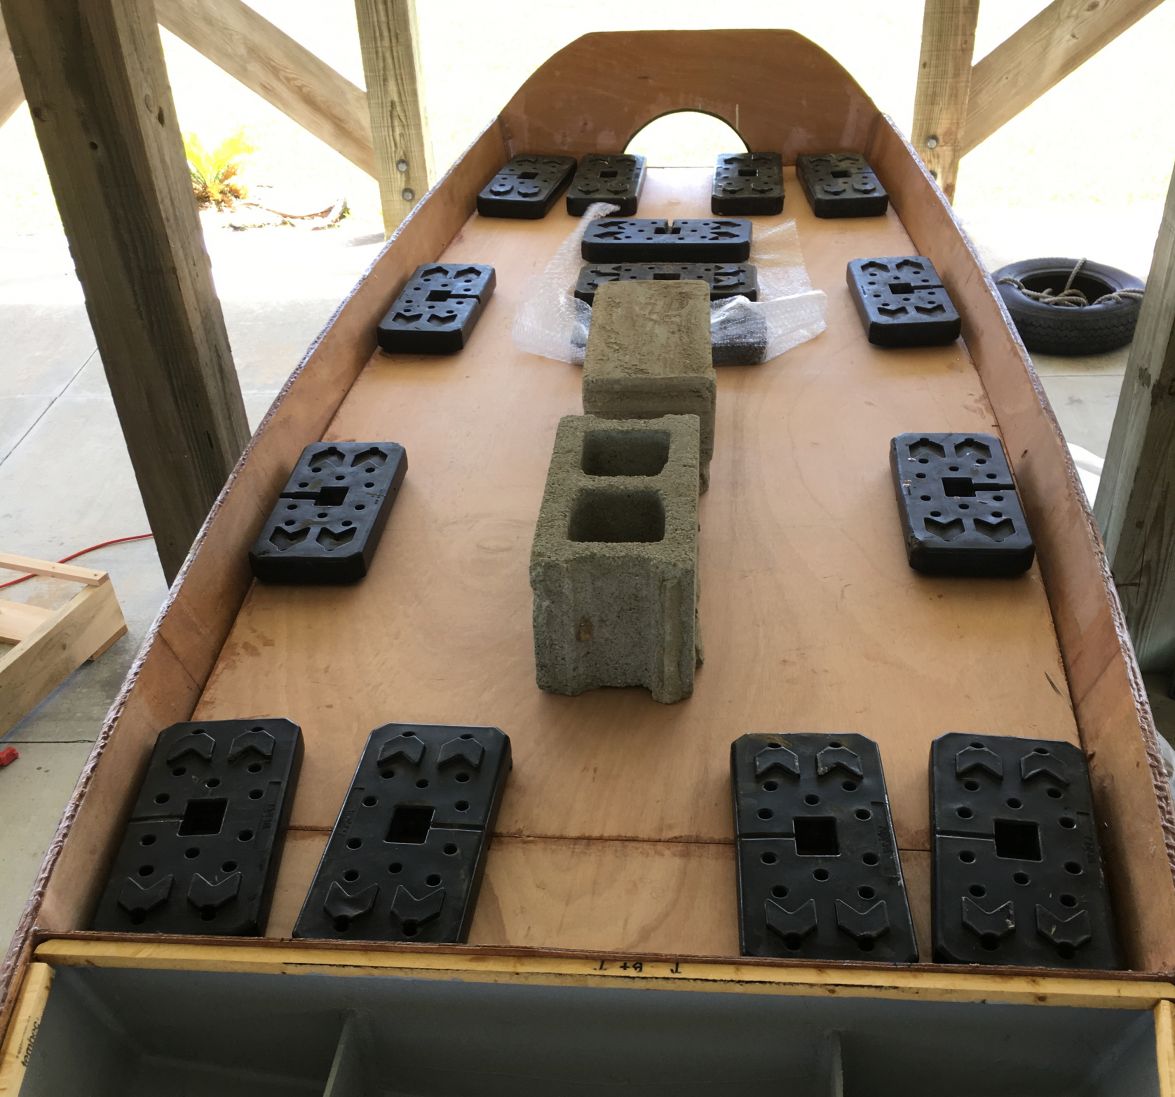
I gave the underside a good coating of epoxy, applied epoxy glue (epoxy+wood flour to thick ketchup consistency) to the cleats and previously epoxy coated doublers, laid the sole down, and added a bunch of weights centered over either a stringer, doubler, or the cleats along the shear line:
SK14 completed ——— GV15 under construction
"...there is nothing - absolutely nothing - half so much worth doing as simply messing about in boats.”
— The Wind in the Willows — Kenneth Grahame
— The Wind in the Willows — Kenneth Grahame
- BrianC
- * Bateau Builder *

- Posts: 376
- Joined: Tue Dec 01, 2015 11:10 am
- Location: Cedar Point, NC
- Contact:
Re: SOBX Solo Flats Skiff SK14
Even though I heated the foam to 95°F, I didn't get the full volume I was expecting on the first sub-sole cavity. For the next cavity, I tried heating it by placing a hair dryer inside the cavity and covering it with a piece of cardboard (it was about 78°F outside). The next pour into the pre-heated cavity went better: a quick pour and then place the cardboard back on to retain as much heat as possible - I got about 80% of the advertised volume. I went with the hair dryer pre-heat on all the others and got pretty consistent results of about 80% of the advertised volume. My guess is that, since the foaming reaction seems to be exothermic, a small volume pour is never going to expand as much as a larger one - the foam just cools off too quickly.Fuzz wrote: ↑Wed Apr 26, 2017 10:31 pm Brian, about heating the foam. You can get it too hot if you are not careful. I let the hockey game distract me and got my water way too hot. When I poured the clear part, system3, into my measuring cup it foamed some on me. I went ahead and mixed the two parts together. It started to foam before I could get it mixed well and it did not expand as it should have. After pouring 10 gallons in the past few weeks I think 85-95f is where you want to be. And be careful opening the jugs after heating as they will be under pressure.
SK14 completed ——— GV15 under construction
"...there is nothing - absolutely nothing - half so much worth doing as simply messing about in boats.”
— The Wind in the Willows — Kenneth Grahame
— The Wind in the Willows — Kenneth Grahame
Re: SOBX Solo Flats Skiff SK14
I did basically the same as you did, I placed an electric space heater in the space to heat things up first. I'm convinced it helped, and I didn't start the boat on fire, so I guess it was a success.
Hank
-
Fuzz
- * Bateau Builder - Expert *

- Posts: 8979
- Joined: Tue Aug 02, 2011 4:23 am
- Location: Kasilof, Alaska
Re: SOBX Solo Flats Skiff SK14
When I was pouring foam it was in bigger batches. I am sure that helped. I have noticed the same thing, small batches do not expand at the same rate.
- BrianC
- * Bateau Builder *

- Posts: 376
- Joined: Tue Dec 01, 2015 11:10 am
- Location: Cedar Point, NC
- Contact:
Re: SOBX Solo Flats Skiff SK14
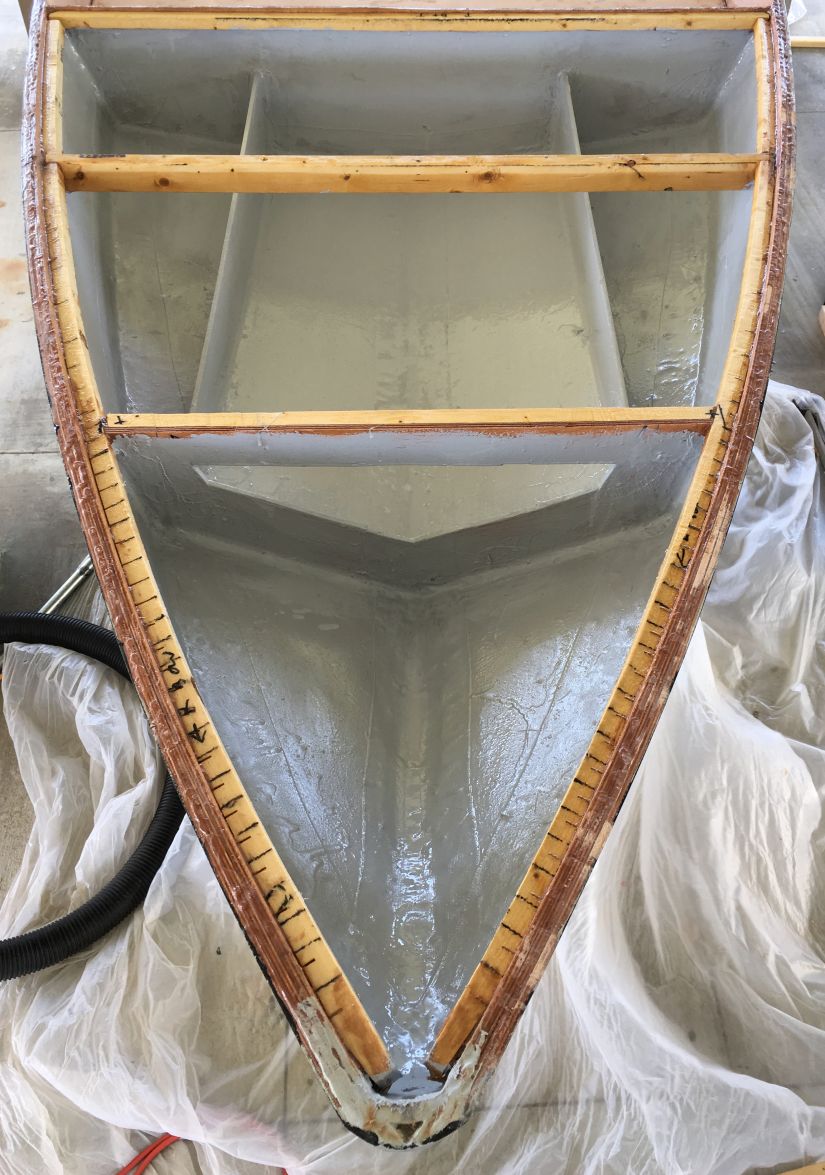
Next up, the forward deck. The cleats have lots of bend so I cut slots on the side facing the shear. The cleats were glued in so that the upper surface of the deck would be flush with the rub rail. I added a cross brace between frames A and B to support the deck and painted the inside with System 3 epoxy high build primer:
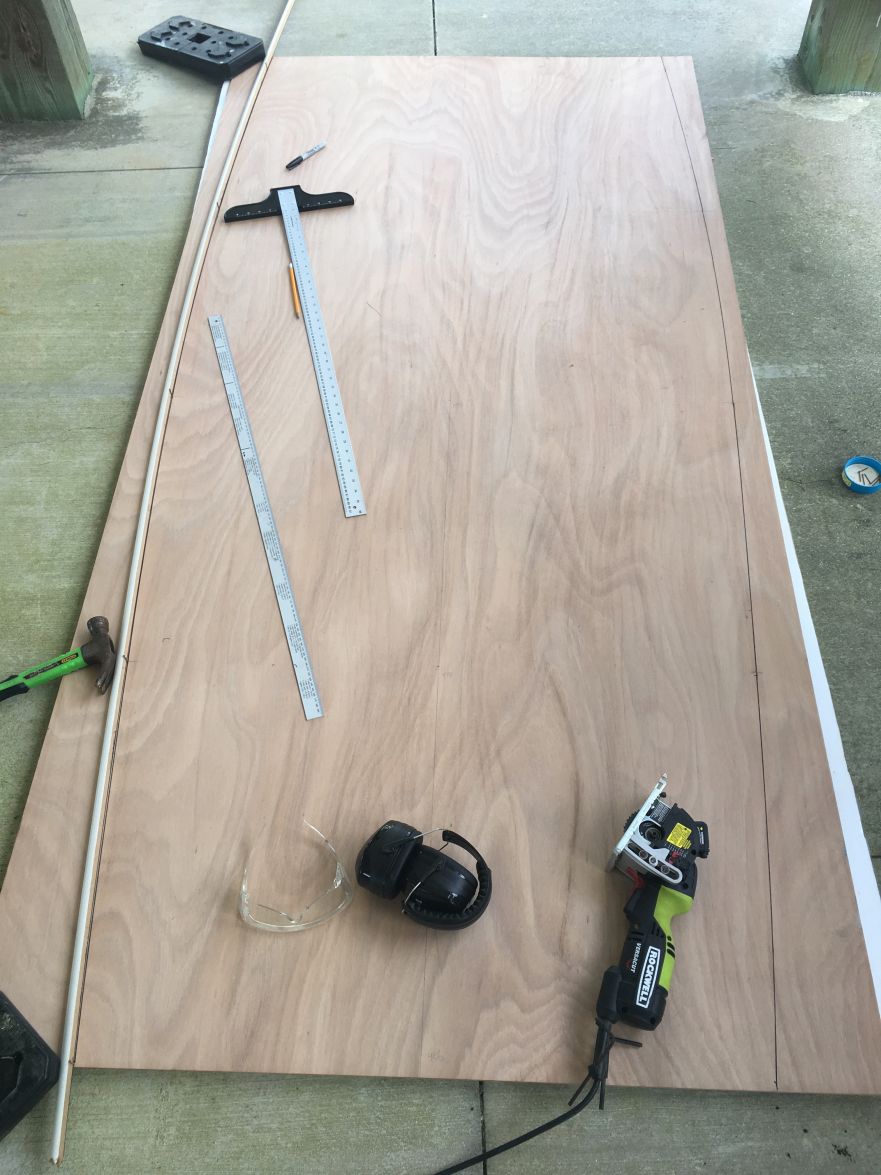
Once again, I took the measurements off the finished hull rather than using the plans. First, I simply placed the chunk of plywood on the hull and traced:
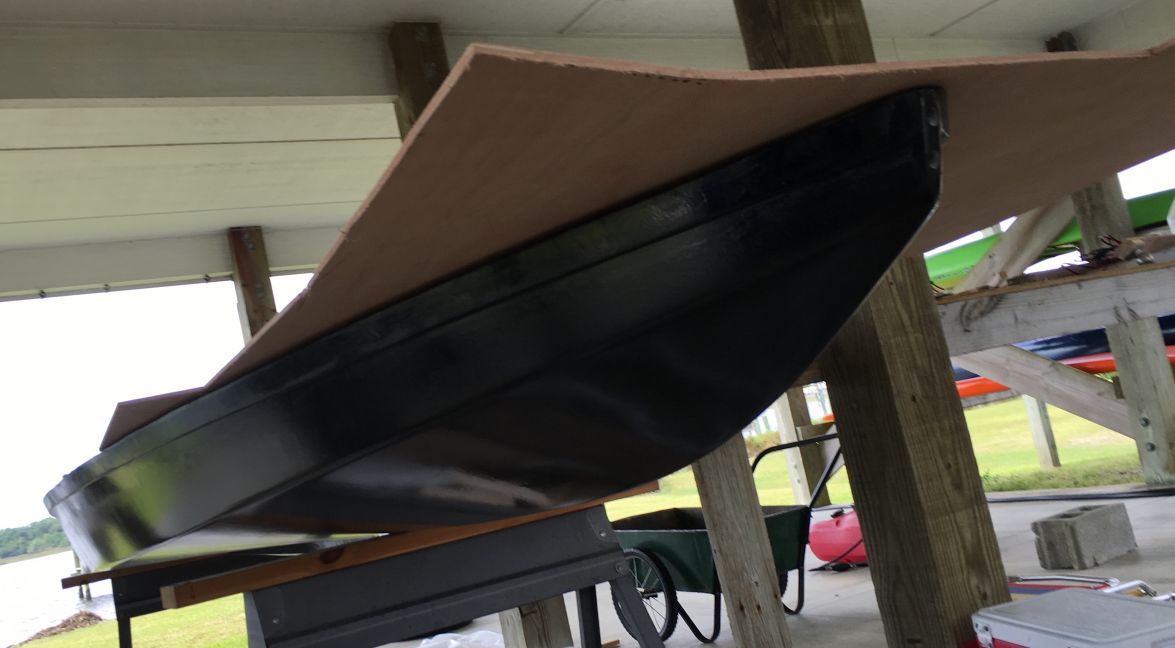
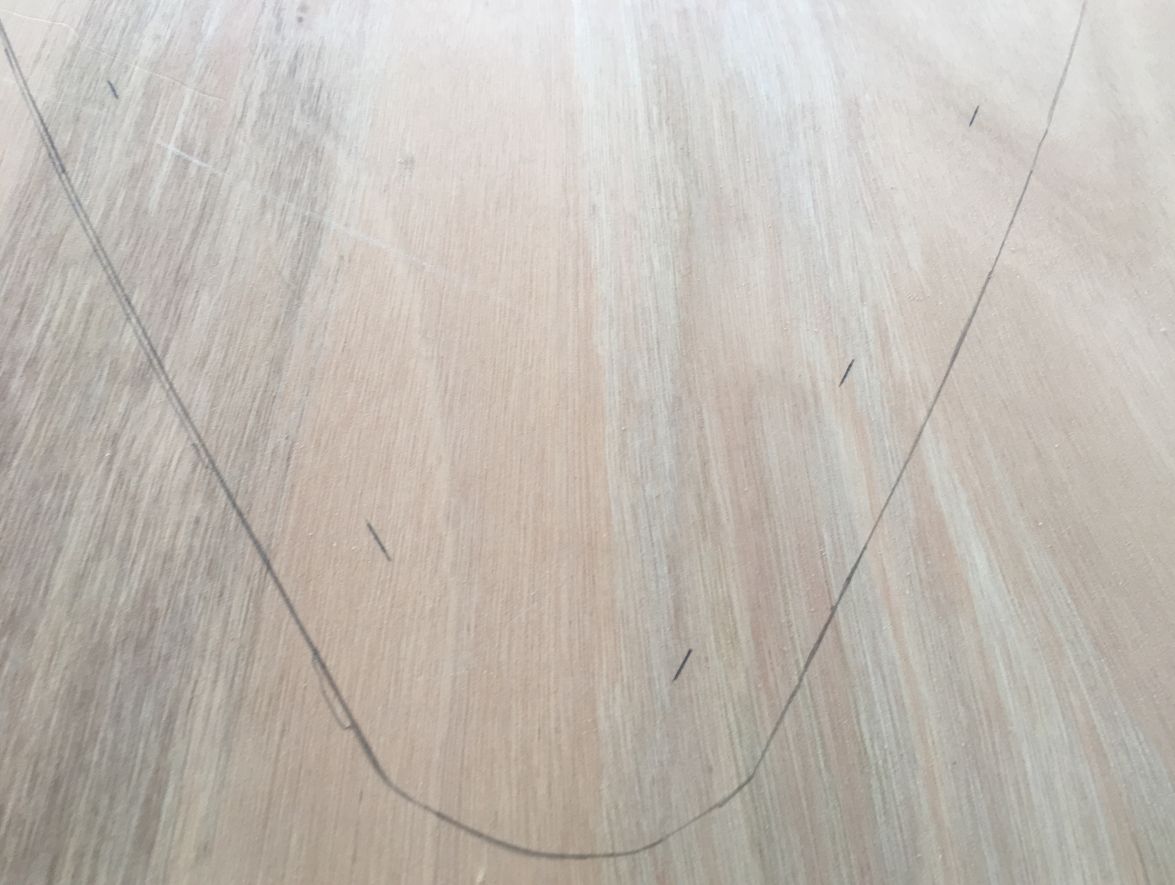
Of course, the tracing is oversized since the deck will drop down inside the hull such that the upper surface is flush with the rails. I measured the distance between the outside of the rub rail to the inside of the hull so that I could mark off the true size of the forward deck:
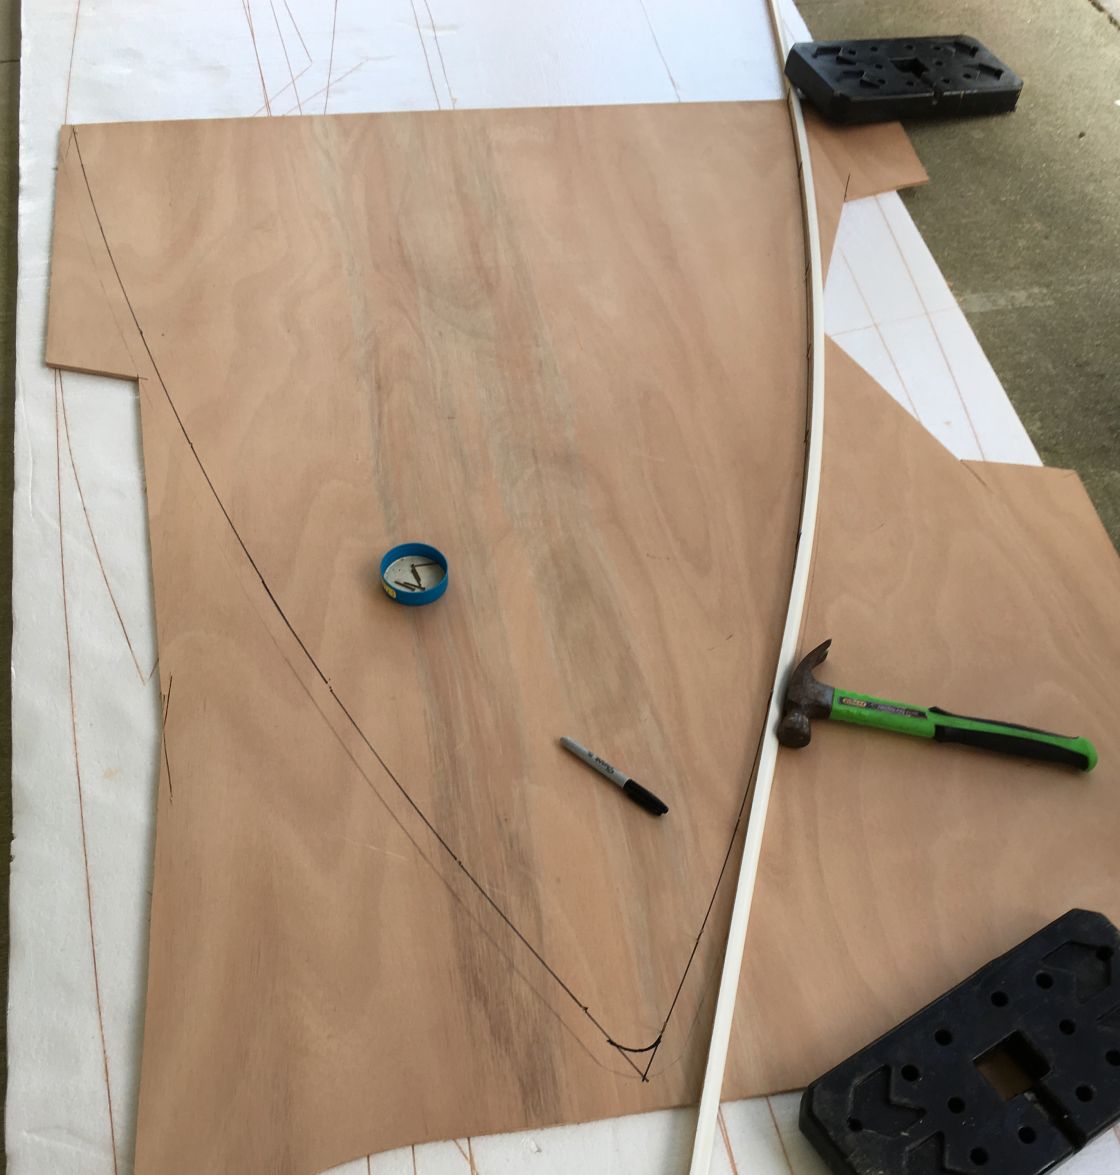
I then put in a few finish nails and used a batten to trace the outline of the forward deck:
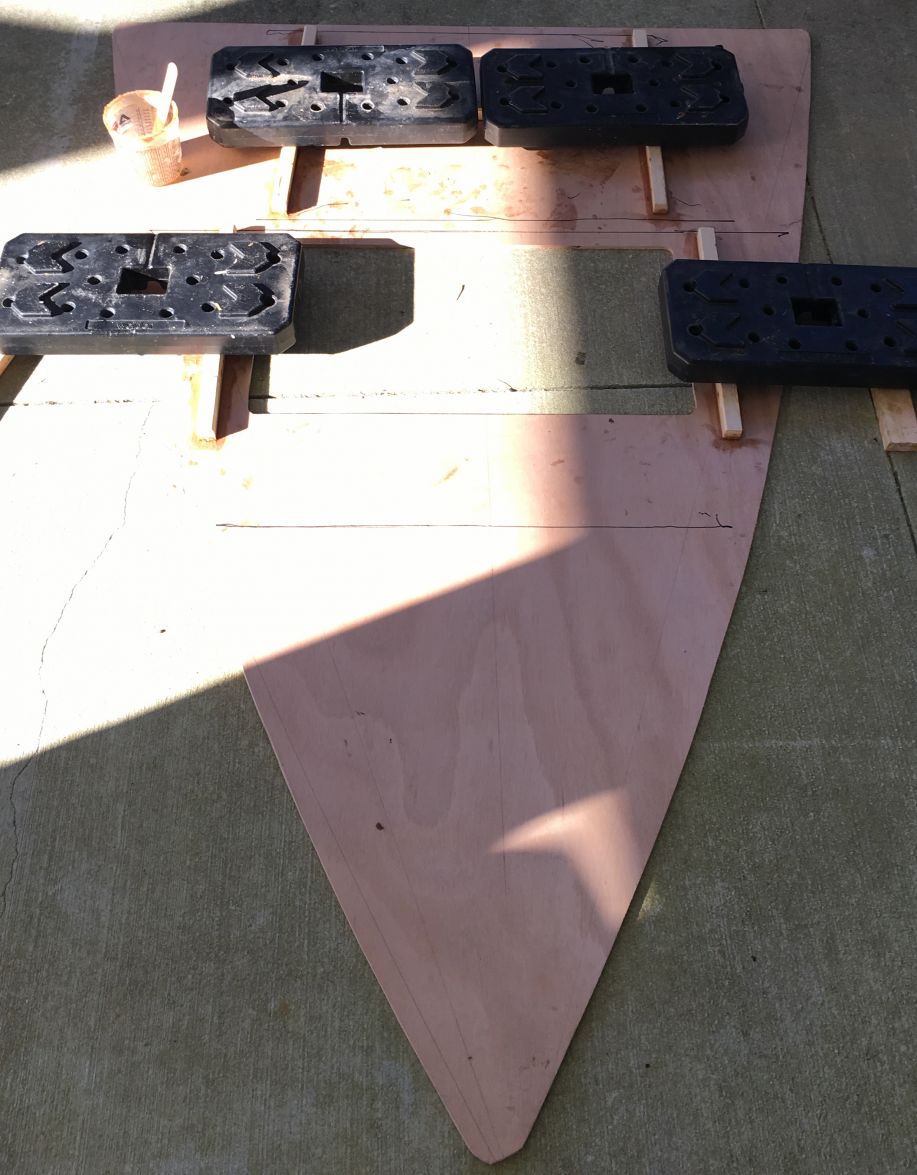
Since there will be a hatch installed between frames A & B, I epoxy glued a few supports on the underside of the deck to give it the needed stiffness - you can also see the cut out for the Tempress hatch:
A few questions:
1) After painting of the last coat of epoxy on the sole and adding the fillet around the margins, how long do I need to wait before applying the System 3 High Build Primer?
2) After applying the System 3 High Build Primer, how long do I need to wait before applying paint? (I'll be using Rust-Oleum Marine Topside)

Once again, I took the measurements off the finished hull rather than using the plans. First, I simply placed the chunk of plywood on the hull and traced:

Of course, the tracing is oversized since the deck will drop down inside the hull such that the upper surface is flush with the rails. I measured the distance between the outside of the rub rail to the inside of the hull so that I could mark off the true size of the forward deck:

I then put in a few finish nails and used a batten to trace the outline of the forward deck:

Since there will be a hatch installed between frames A & B, I epoxy glued a few supports on the underside of the deck to give it the needed stiffness - you can also see the cut out for the Tempress hatch:

A few questions:
1) After painting of the last coat of epoxy on the sole and adding the fillet around the margins, how long do I need to wait before applying the System 3 High Build Primer?
2) After applying the System 3 High Build Primer, how long do I need to wait before applying paint? (I'll be using Rust-Oleum Marine Topside)
SK14 completed ——— GV15 under construction
"...there is nothing - absolutely nothing - half so much worth doing as simply messing about in boats.”
— The Wind in the Willows — Kenneth Grahame
— The Wind in the Willows — Kenneth Grahame
Re: SOBX Solo Flats Skiff SK14
If the weather is reasonably warm, I'd be willing to put primer on 24 hrs after epoxy, $8 for sure. I'd wait a good week after primer before I'd paint. BTW, those pics sure look familiar (just finished my SK14)  Looks real good.
Dougster
Dougster
- BrianC
- * Bateau Builder *

- Posts: 376
- Joined: Tue Dec 01, 2015 11:10 am
- Location: Cedar Point, NC
- Contact:
Re: SOBX Solo Flats Skiff SK14
A few major milestones - the knees are glued in and tape [last application of fiberglass!]:
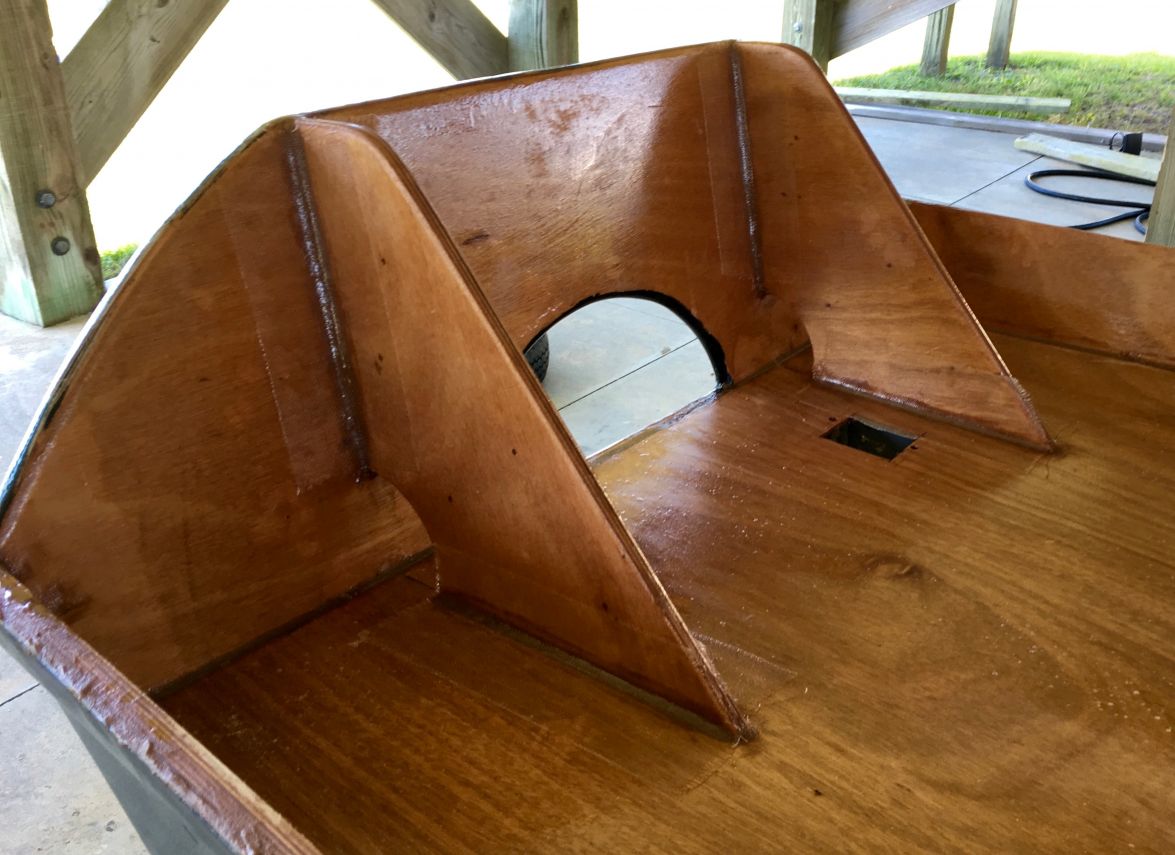
Wet-on-wet when taping over fillets is the only way to go! So much easier to just press the tape into the unset fillet mix - so sanding or other prep of the finished fillet needed.
Next up, apply wood flour mix to uneven parts of rub rails - another lesson learned: I should have cut the rub rails strips more evenly to avoid all the sand and fill needed to make the upper surface of the rub rail smooth (next time!). Here it is after sanding the sole, deck, and rub rails - all ready for the final application of fairing mix:
Here it is after the fairing mix is applied [hopefully the last batch I'll need1]:
A close up of the transom:
Next up, fairing, sanding, & priming the inside...

Wet-on-wet when taping over fillets is the only way to go! So much easier to just press the tape into the unset fillet mix - so sanding or other prep of the finished fillet needed.
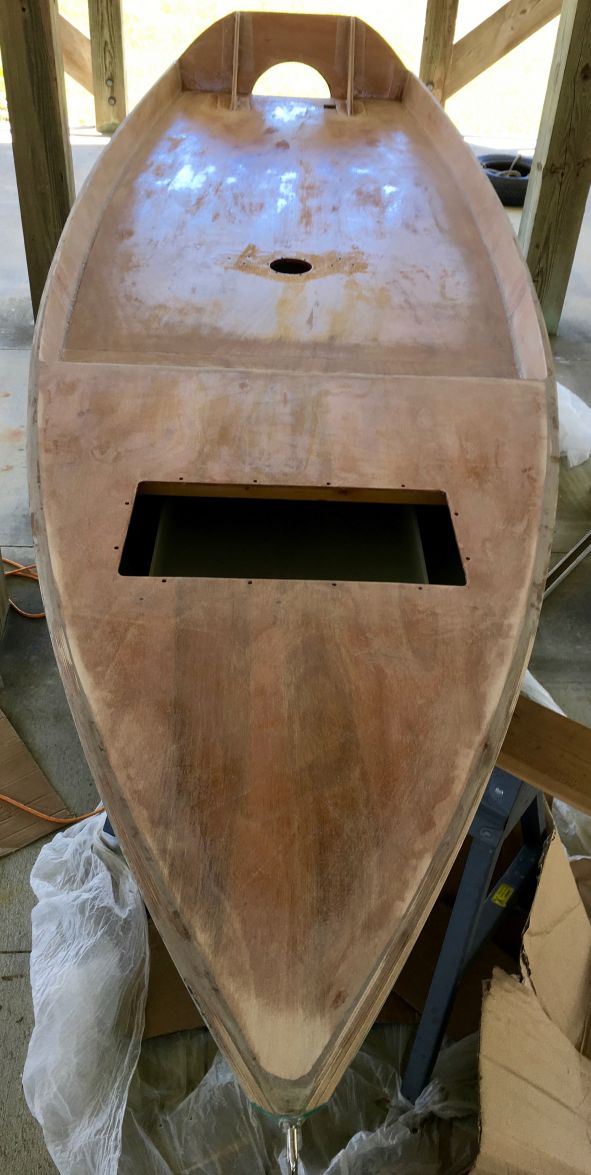
Next up, apply wood flour mix to uneven parts of rub rails - another lesson learned: I should have cut the rub rails strips more evenly to avoid all the sand and fill needed to make the upper surface of the rub rail smooth (next time!). Here it is after sanding the sole, deck, and rub rails - all ready for the final application of fairing mix:

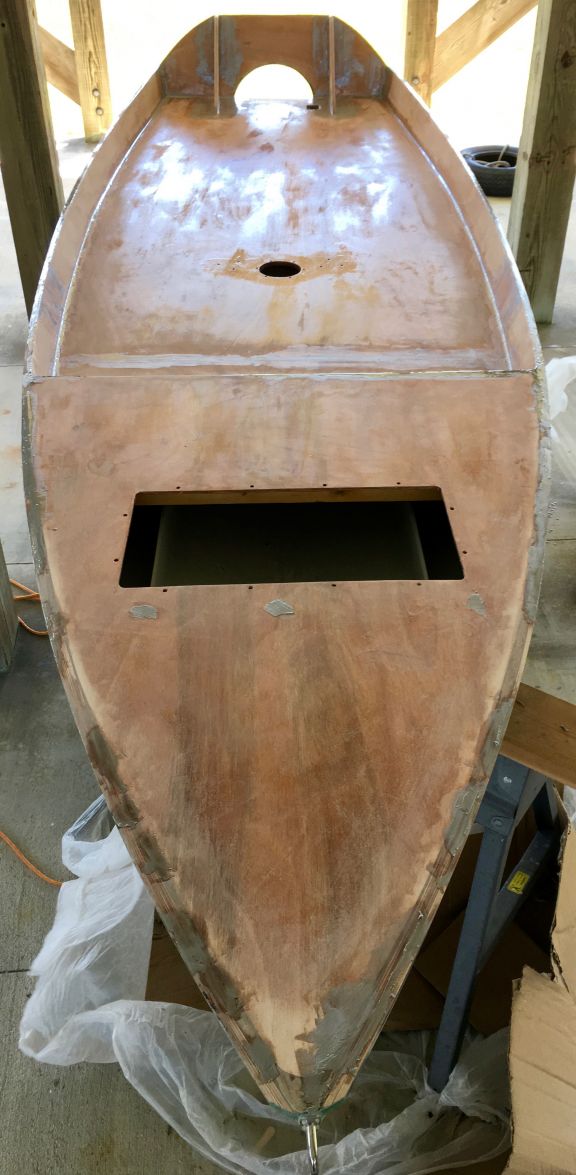
Here it is after the fairing mix is applied [hopefully the last batch I'll need1]:

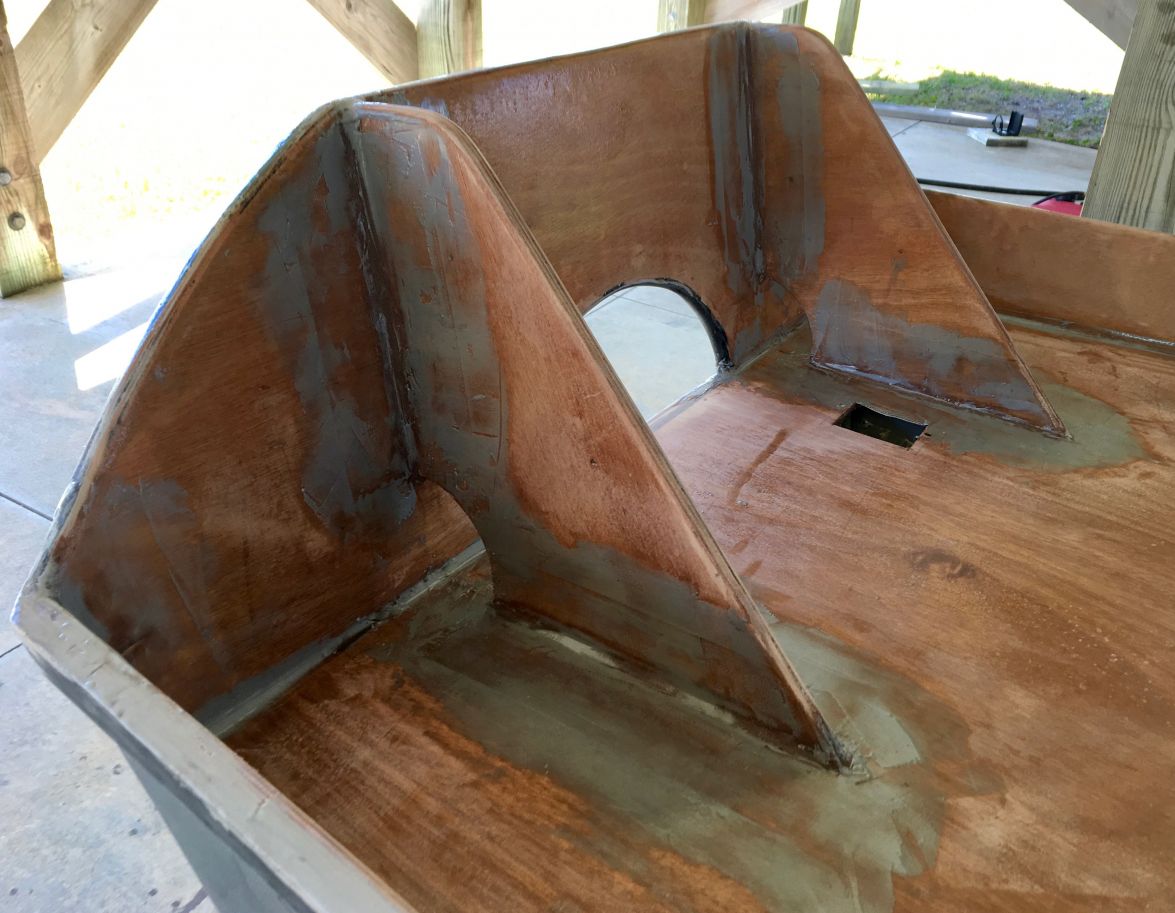
A close up of the transom:

Next up, fairing, sanding, & priming the inside...
SK14 completed ——— GV15 under construction
"...there is nothing - absolutely nothing - half so much worth doing as simply messing about in boats.”
— The Wind in the Willows — Kenneth Grahame
— The Wind in the Willows — Kenneth Grahame
- BrianC
- * Bateau Builder *

- Posts: 376
- Joined: Tue Dec 01, 2015 11:10 am
- Location: Cedar Point, NC
- Contact:
Re: SOBX Solo Flats Skiff SK14
Quick question - do I need to prime over the graphite epoxy coating on the sides before I apply the top coat paint or just rough up the surface? I'll be painting with Rustoleum topsides if that matters. Thanks!
- Brian
- Brian
SK14 completed ——— GV15 under construction
"...there is nothing - absolutely nothing - half so much worth doing as simply messing about in boats.”
— The Wind in the Willows — Kenneth Grahame
— The Wind in the Willows — Kenneth Grahame
- BrianC
- * Bateau Builder *

- Posts: 376
- Joined: Tue Dec 01, 2015 11:10 am
- Location: Cedar Point, NC
- Contact:
Re: SOBX Solo Flats Skiff SK14
Got it all sanded today. Ran out of time for primer so that goes on tomorrow.
When test fitting the outboard, I found I needed to add one more part - the clamps on the engine bottom out so I can't get it tight to the transom. I had recalled a rectangular clamping board add on that I saw on Seaslug's Mike's SK14 build thread. Knocked one out by building up three layers of scrap 6 mm ply - cut holes to match the outboard's clamps in the top layer.
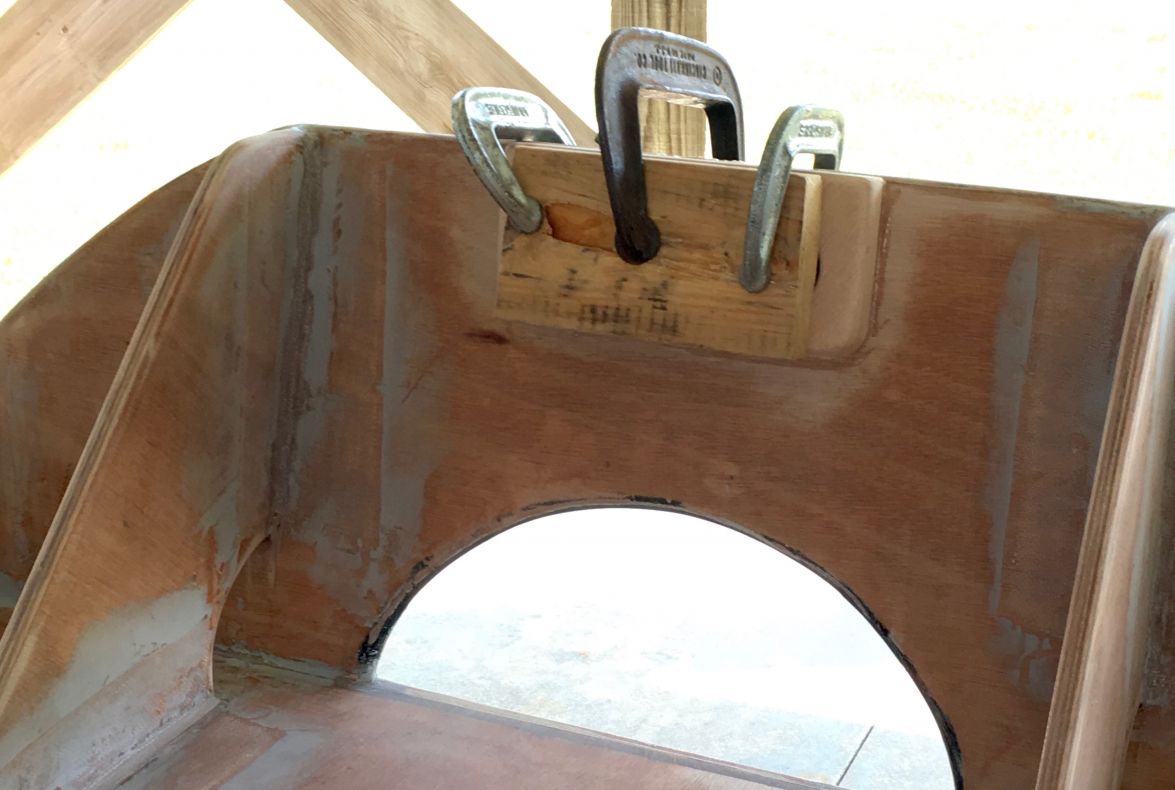
Added a epoxy+wood flour fillet around the clamping board this evening, just a bit of sanding, then primer!
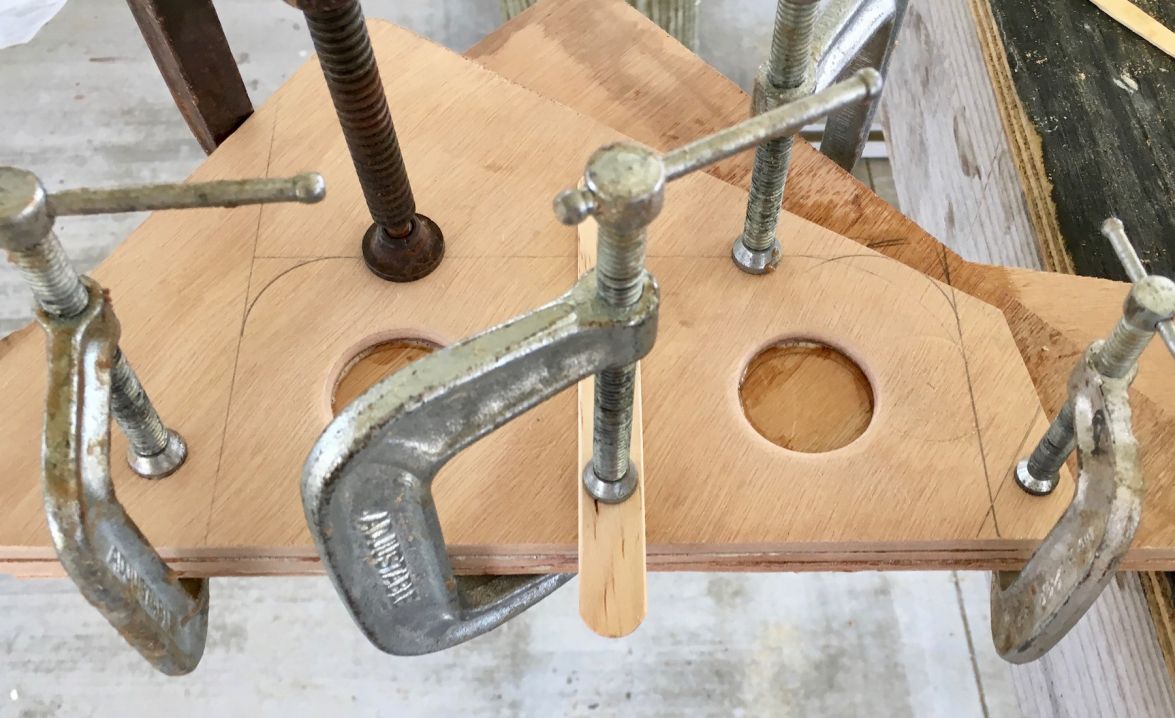
When test fitting the outboard, I found I needed to add one more part - the clamps on the engine bottom out so I can't get it tight to the transom. I had recalled a rectangular clamping board add on that I saw on Seaslug's Mike's SK14 build thread. Knocked one out by building up three layers of scrap 6 mm ply - cut holes to match the outboard's clamps in the top layer.


Added a epoxy+wood flour fillet around the clamping board this evening, just a bit of sanding, then primer!
SK14 completed ——— GV15 under construction
"...there is nothing - absolutely nothing - half so much worth doing as simply messing about in boats.”
— The Wind in the Willows — Kenneth Grahame
— The Wind in the Willows — Kenneth Grahame
Who is online
Users browsing this forum: No registered users and 17 guests
