Page 1 of 1
Started on the N7
Posted: Sat Mar 11, 2006 1:35 am
by LBrewer
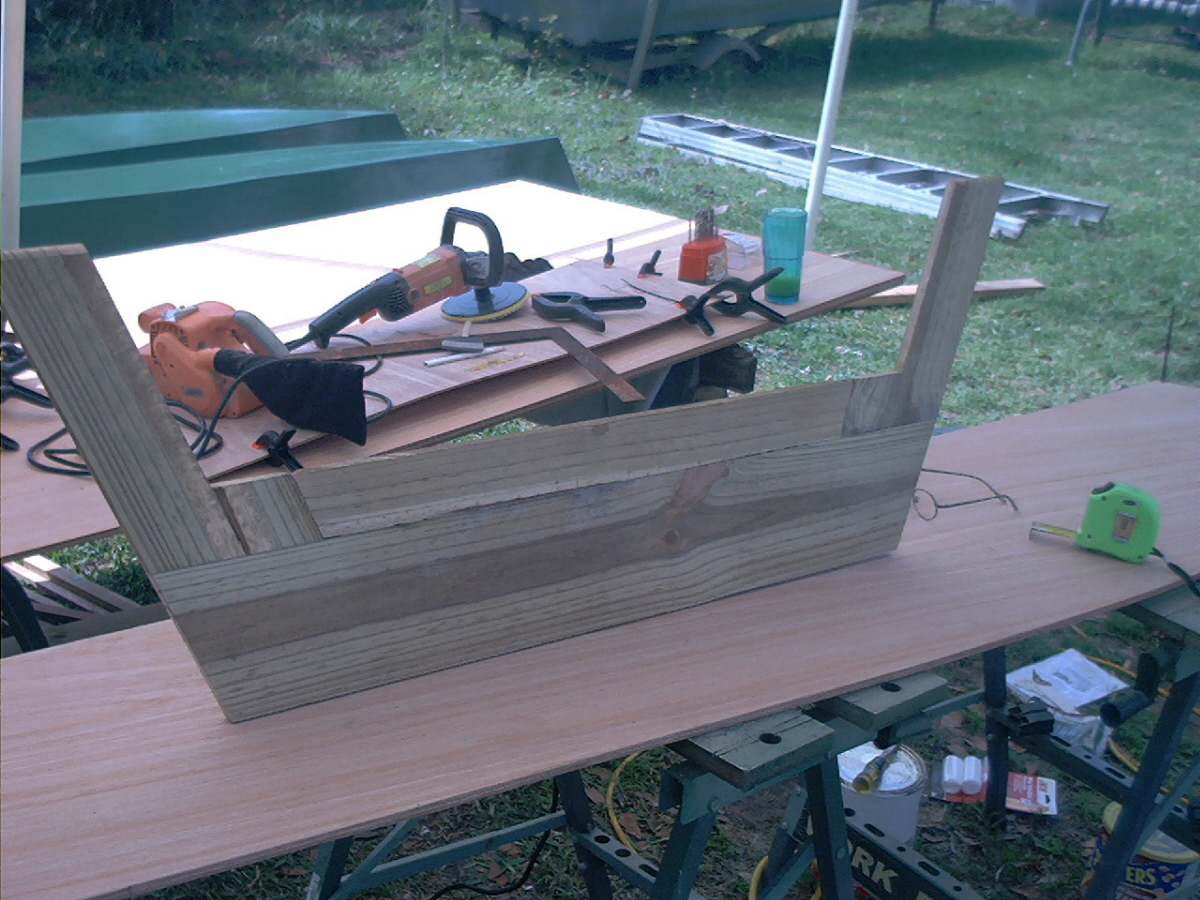
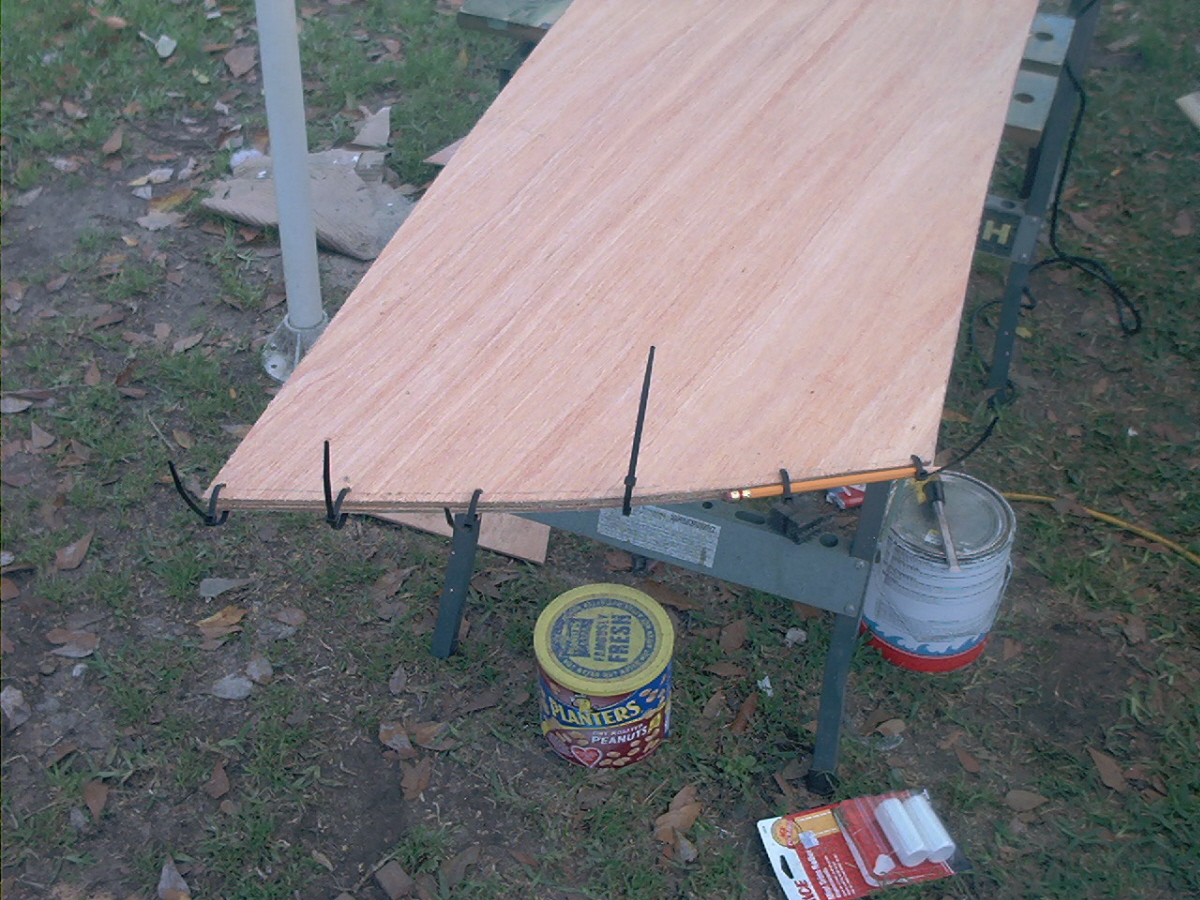
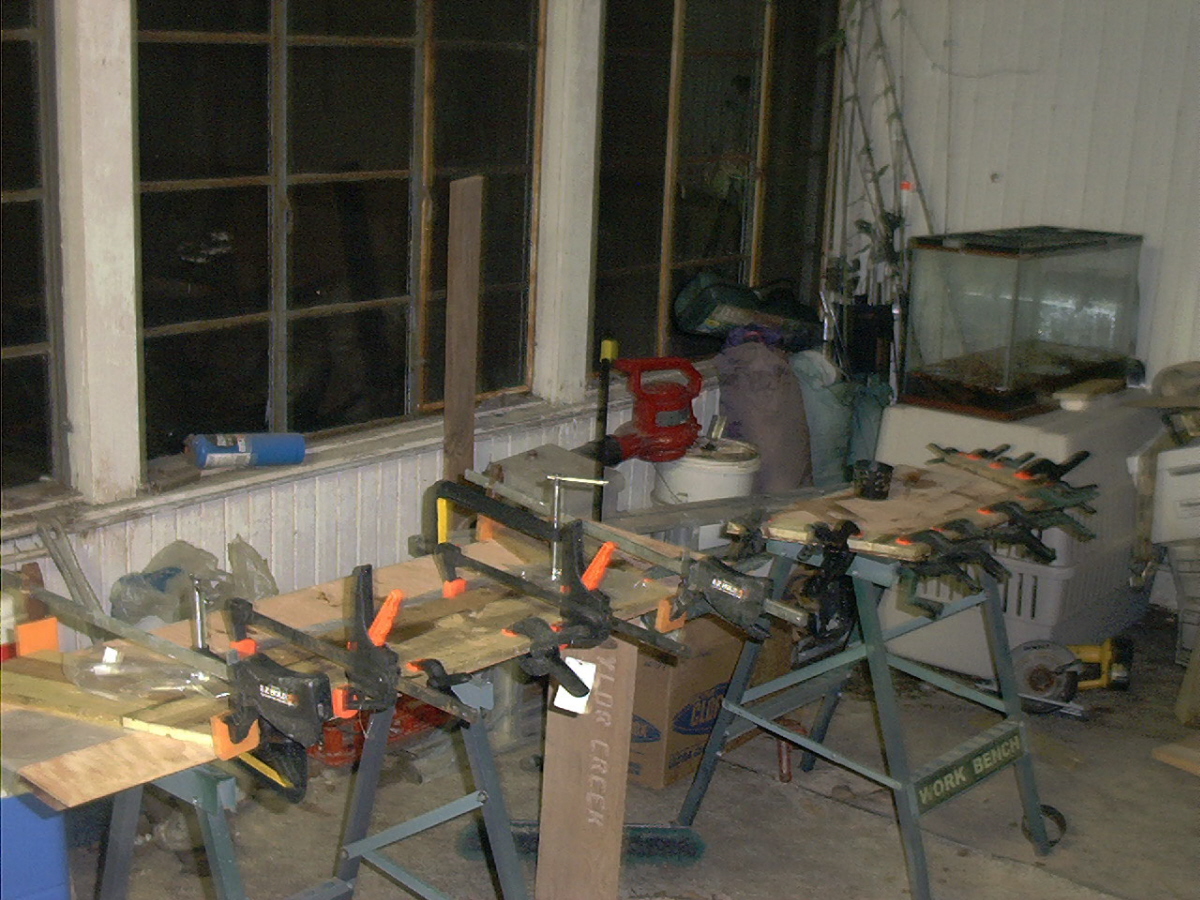
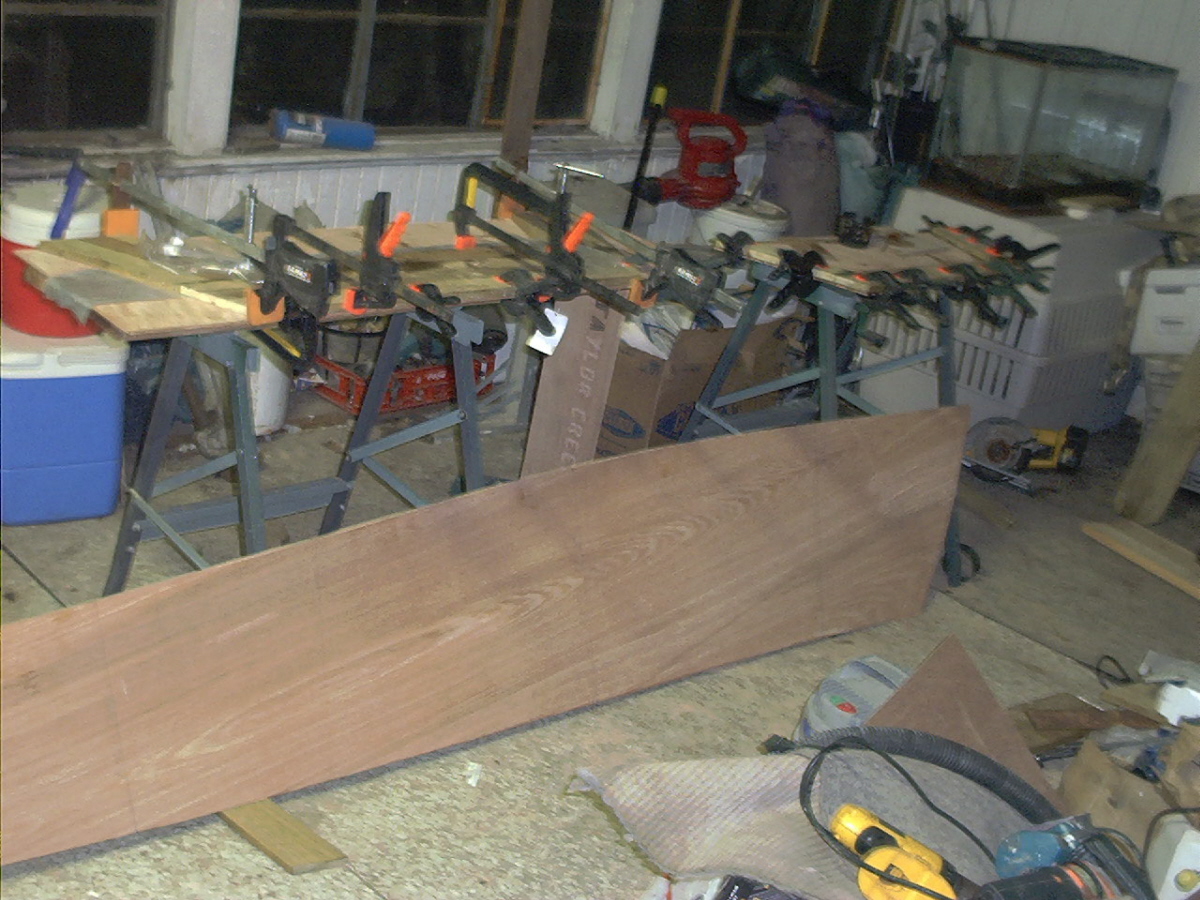
I started the nutshell dinghy today. I'm using 5.2 mm imported hardwood (whatever that means) exterior ply from the big box. It doesn't look too bad. The 3/8" exterior ply they had was lousy.....i mean really lousy. I'll laminate a double thickness of the 5.2 for the transom.
For the frames, I thought I'd try gluing up CCA treated pine fenceboards to the correct dimensions. They are 1/2" thick rough cut. By the time I plane and sand them smooth they should be close to 3/8". The layout is shown in the following diagram:
Anyone ever tried this? Is this OK structurally

Posted: Sat Mar 11, 2006 6:49 am
by BilltheCat
I too built the N7 from 5.2 stuff, but for the frames, I laminated a sheet of 1/8 luan to get the 3/8ths. It is the yellow one on Jacques N7 photos.
The pine may not remain stable - that is warp - but the stress on these parts in this small boat is less that on the larger and or planning boats, so the call is yours. However the CCA fence board I've seen is awfully pretty once planned - nice grain and color.
I glassed the bottom to about 3" up the side with 3.55 ounce satin glass (an ebay experiment) that has held up very well. Love the satin glass - less fairing. I also glassed the sole and created a minimal composite panel effect. I glassed the transom outside with two layers of 8 ounce - cause I could and it was at hand, then finished it bright.
Posted: Sat Mar 11, 2006 10:10 am
by LBrewer
Yes....you're the culprit! The yellow dinghy is the one that my wife and the 3rd grade teacher said was cute! Now I have to build one.

LOL excellent work.
I had some of these fence boards left over from Hurricane Ivan (been using them to board up windows the last couple of hurricane seasons, its easier to handle them on the ladder than plywood). I am hoping that the ones that are prone to warp have already done so, and the moisture content should be somewhat stable by now since they are only 1/2" thick. I oriented the pieces with the grain in different directions to minimize expansion/contraction issues.
I used the boards for the thwarts on my canoes. Thats what gave me the idea. I had intended to paint them, but after planing and sanding them smooth, they looked so nice I left them bright.
Larry
Posted: Sat Mar 11, 2006 2:10 pm
by BilltheCat
Then I think your good to go ..... the pine (laminate two layers) will be perfect for the skeg - I used some cypress I had around.
AND .... any day I can influence the building of the boat, is a good day.
Dave
Posted: Mon Mar 13, 2006 12:42 am
by LBrewer
Posted: Tue Mar 14, 2006 12:18 am
by LBrewer
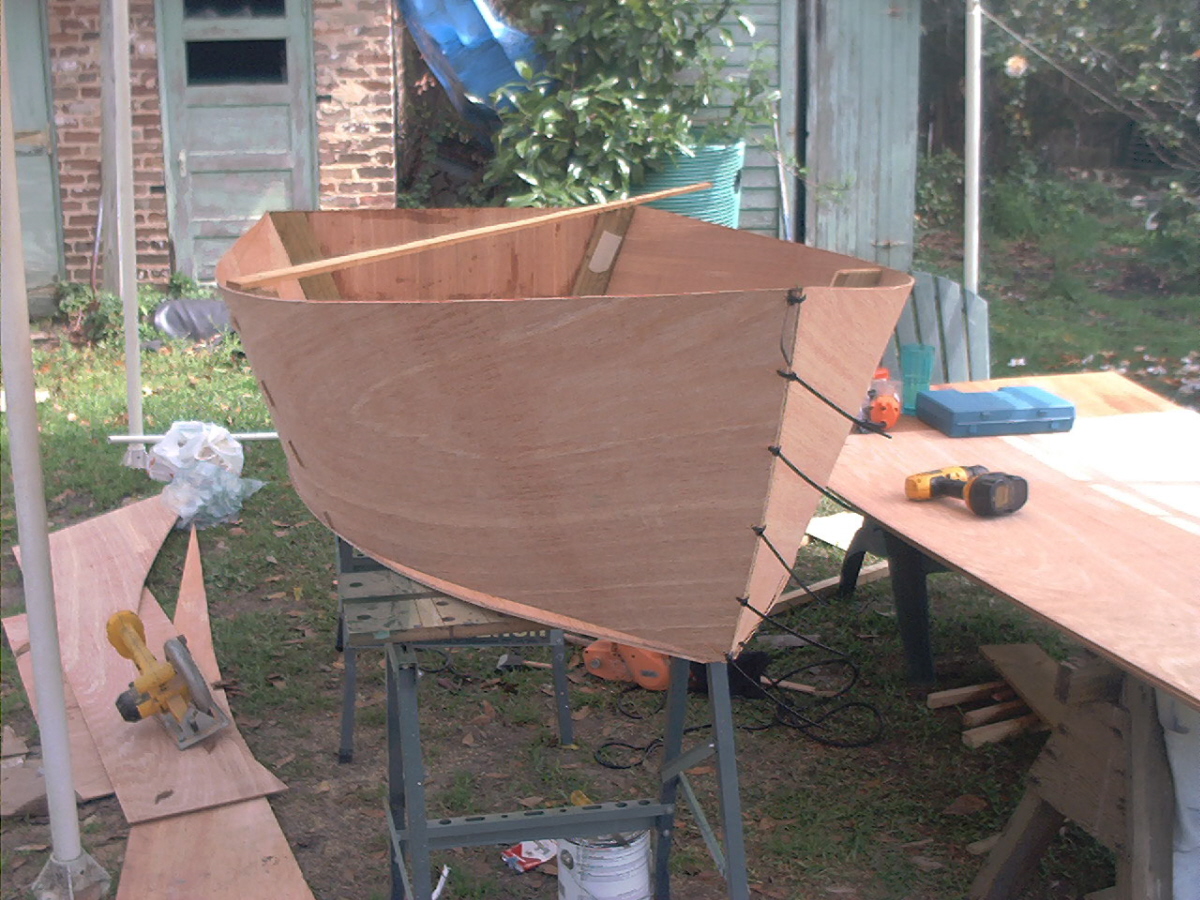
Well, it got dark on me again.......whose idea was it that we have to go to work to eat and pay bills

I got a little more done and took a picture anyway
Posted: Tue Mar 14, 2006 8:45 am
by Lackofdistinction
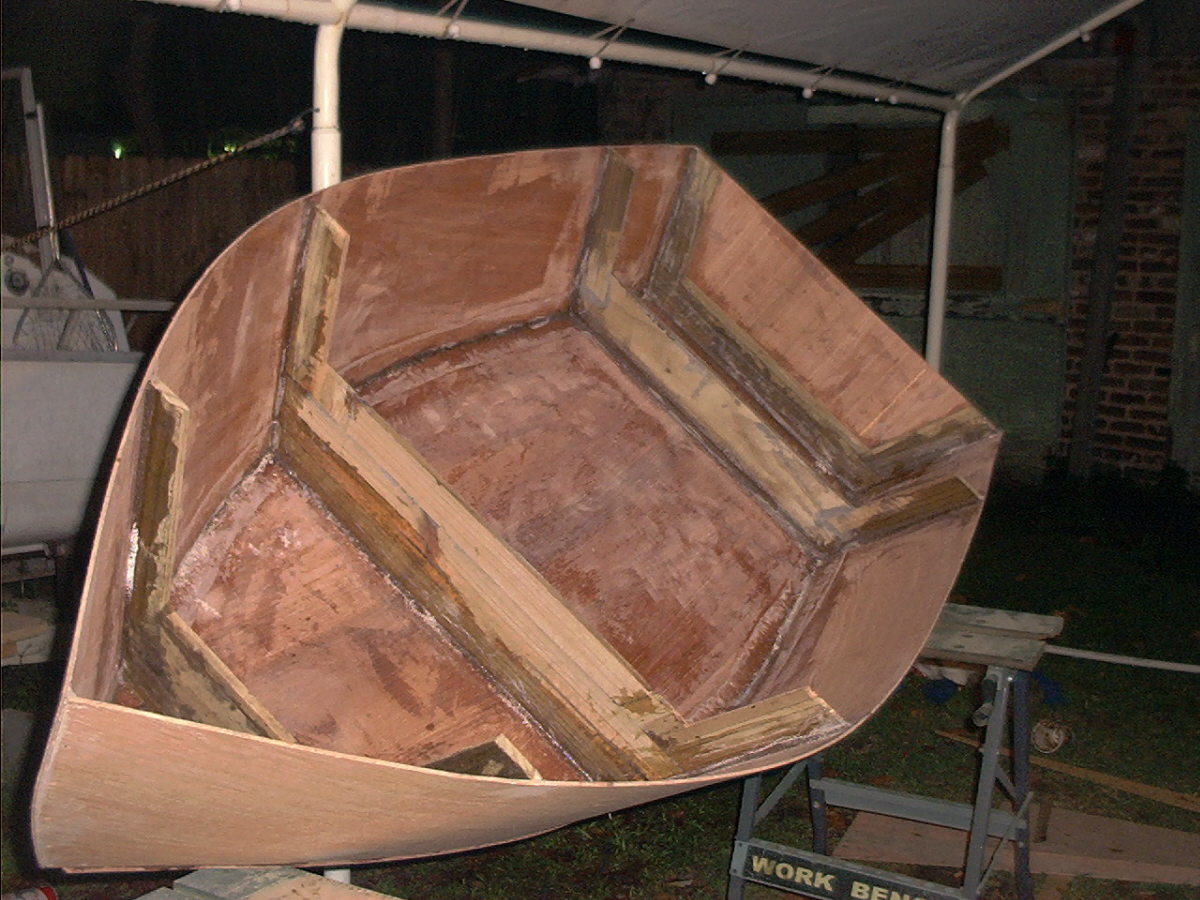
Easy Parts Done.
One little tip be very careful about aligning the boat and making sure it is square.
It will really show if you don't toward the end of your build.

P.s. I can tell you that from experience.
Posted: Wed Mar 15, 2006 12:39 am
by LBrewer
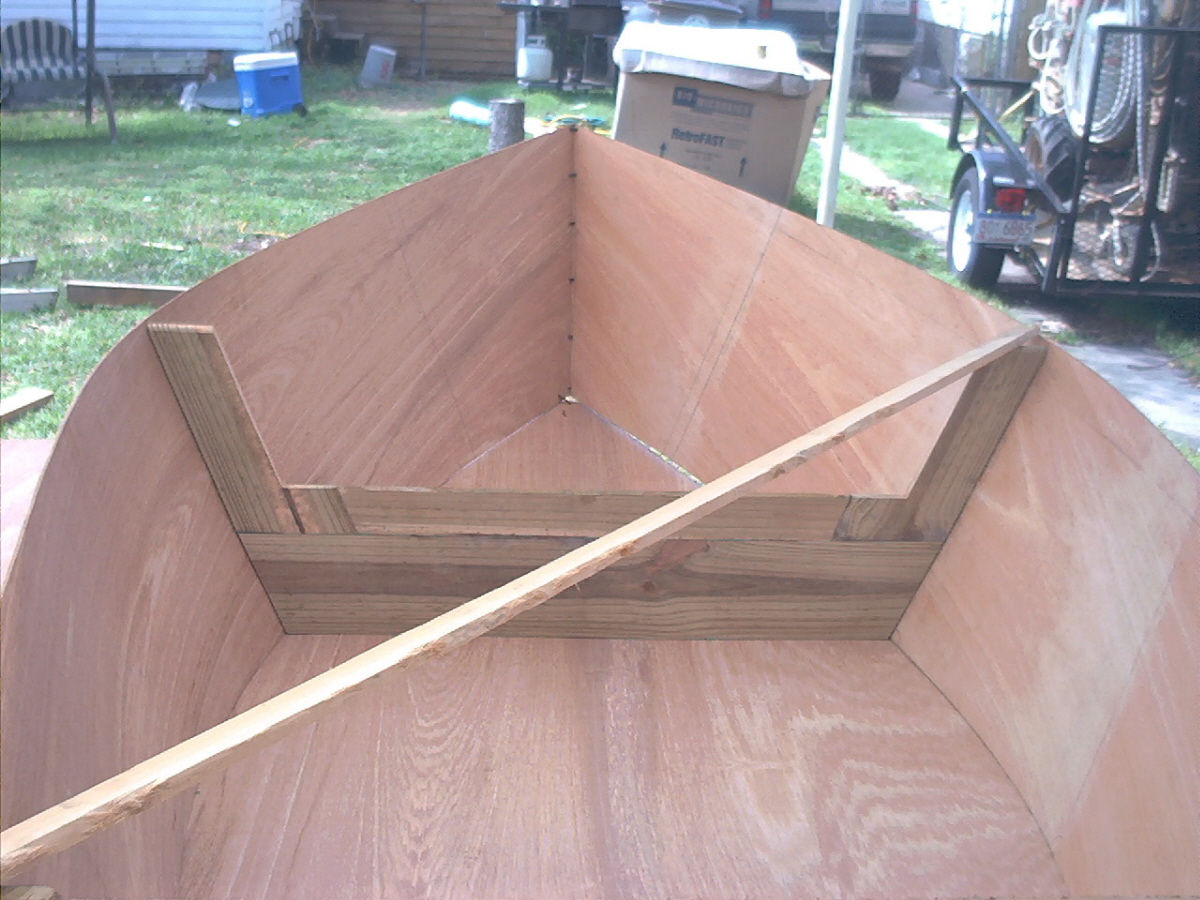
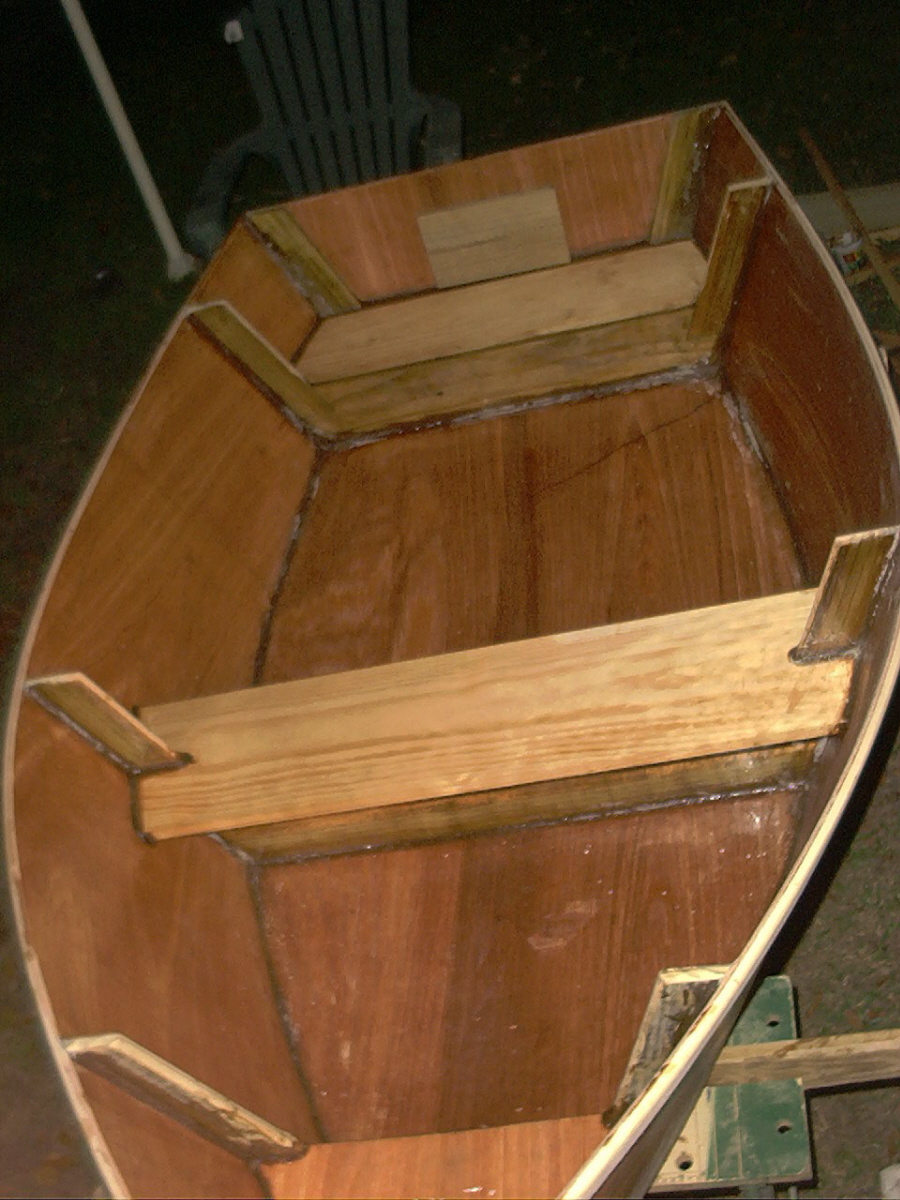
In one of the pics above I show a diagonal brace running from one corner of the midseat frame to the opposite corner of the transom. After measuring the diagonals and adjusting to get them identical, I fastened the brace with temporary staples. I kept that brace in place until the fillets cured fastening the frames to the side panels and bottom. After curing, I held my breath and measured all diagonals again........whew!.....it didn't slip!
Posted: Wed Mar 15, 2006 8:40 am
by Lackofdistinction

Your S&G is very Strong Grasshopper!
 http://gallery.bateau2.comdisplayimage.php?pos=-6924
Then I think your good to go ..... the pine (laminate two layers) will be perfect for the skeg - I used some cypress I had around.
I laminated 3 peices of ply together on one of the boats and on the other I cut The Skeg out of a piece of Yellow Pine 2x10.
Posted: Tue Mar 21, 2006 1:02 am
by LBrewer
Wow.....fitting the seats can be kinda time consuming

There's bound to be some trick that I haven't discovered yet!

Posted: Tue Mar 21, 2006 8:55 am
by Lackofdistinction
None that I know of its just trial and error!
Posted: Tue Mar 21, 2006 11:00 am
by rjezuit
Cardboard templates
Posted: Tue Mar 21, 2006 1:03 pm
by Lackofdistinction
I found that by taking a reference point and measuring 6" incremants my cuts would be far more accurate. I built my boats with one huge center seat that went from the mid frame to the bow.
"Cut once Measure Twice"

Posted: Tue Mar 21, 2006 9:22 pm
by LBrewer
For the midseat I started out with a soon to be 1/4 ply template. I traced a curve from the scrap ply left from cutting out the boat bottom on one end of it. I cut out a notch (a little too deep on purpose) and sanded it here and there till it fit. I then took an athwartship measurement where both the front and rear of the seat should end up. Then marked those measurements on the board for the seat and traced around the template on one end of the board.....turned the template over and did the other end. It got pretty close after sanding a bevel to match the flare of the sides.
......but.....if I was trying to glue it in with resorcinol I'd still be sanding
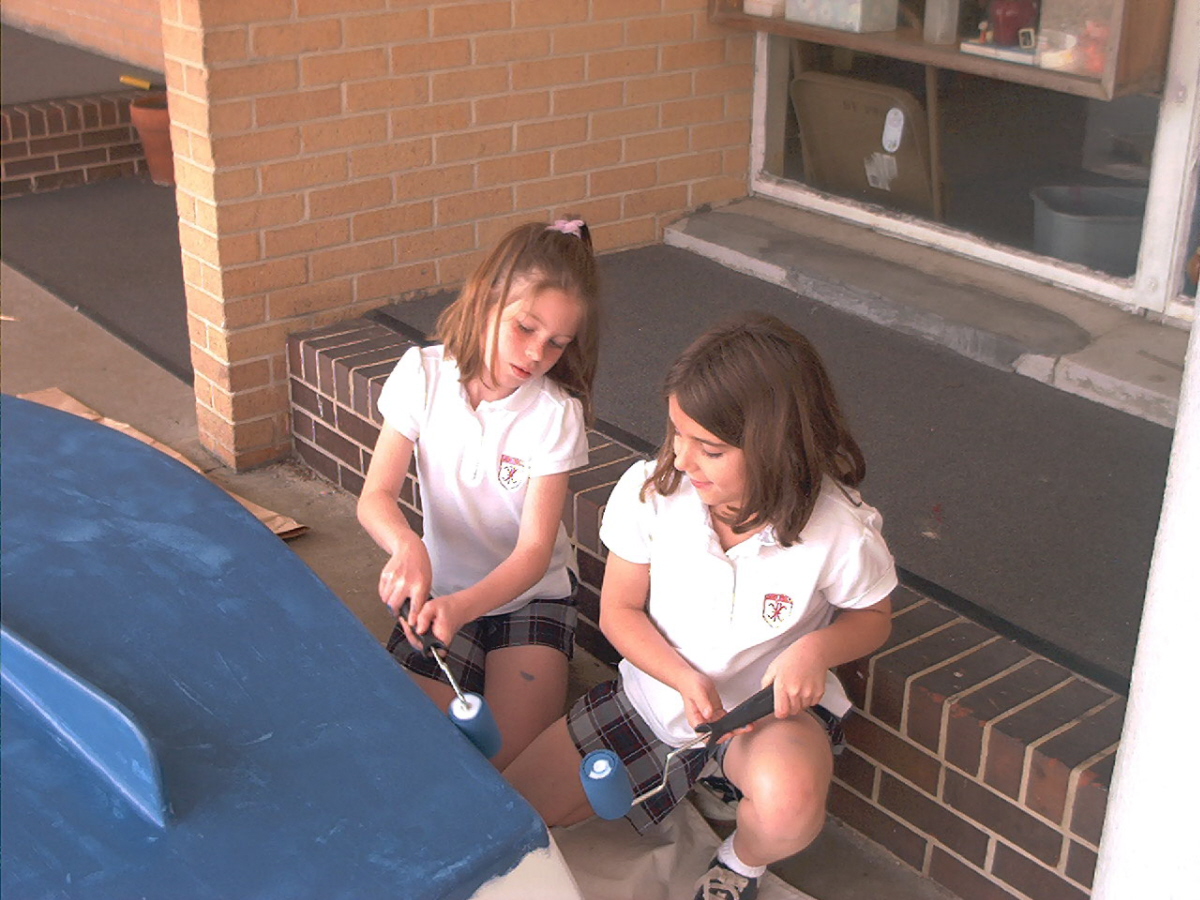
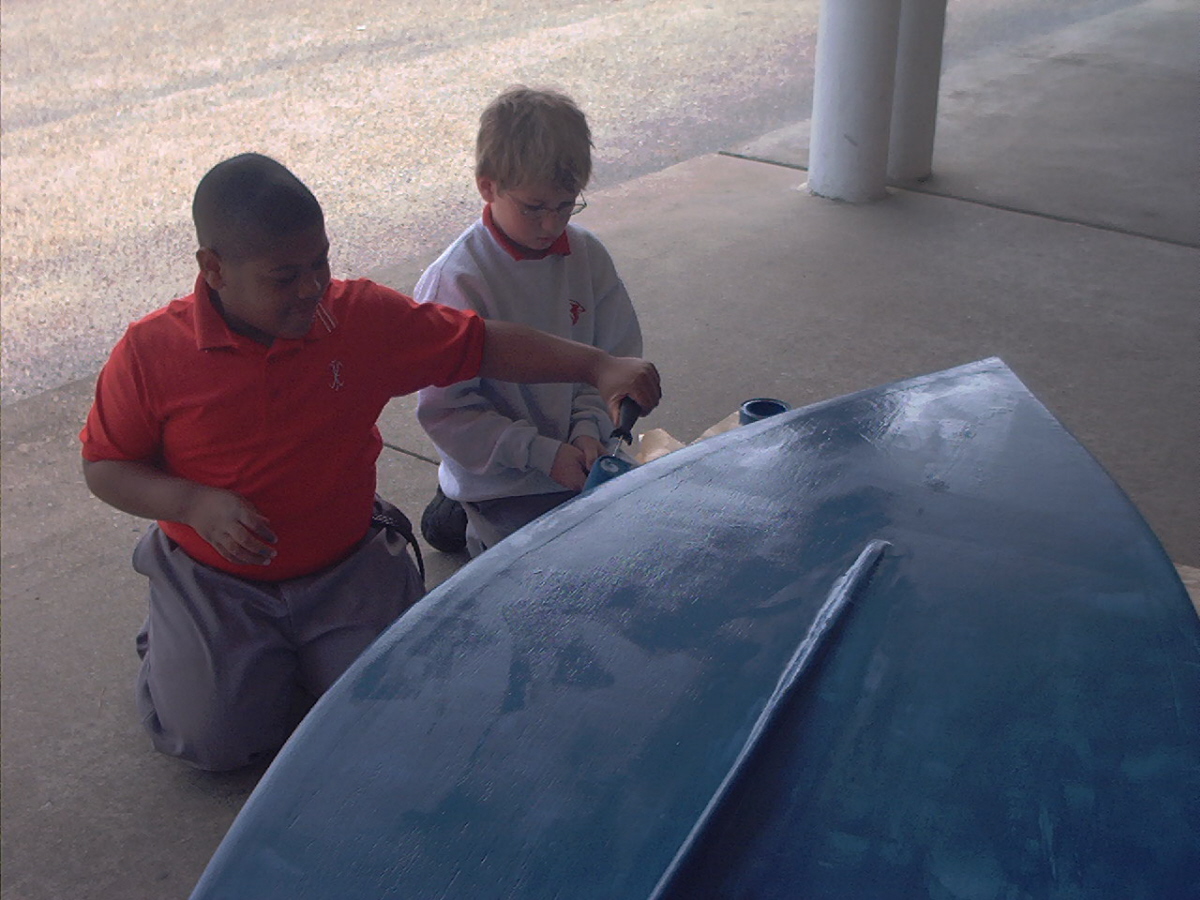
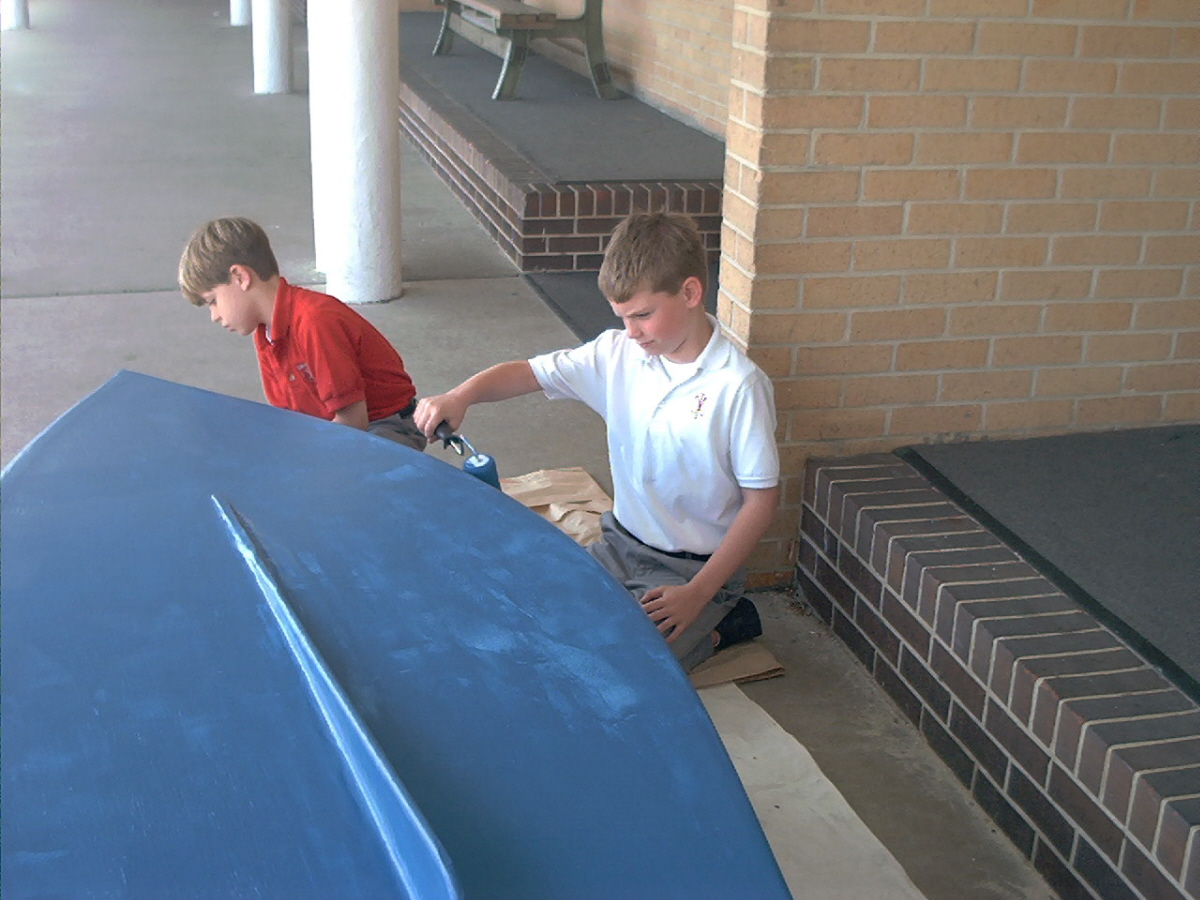
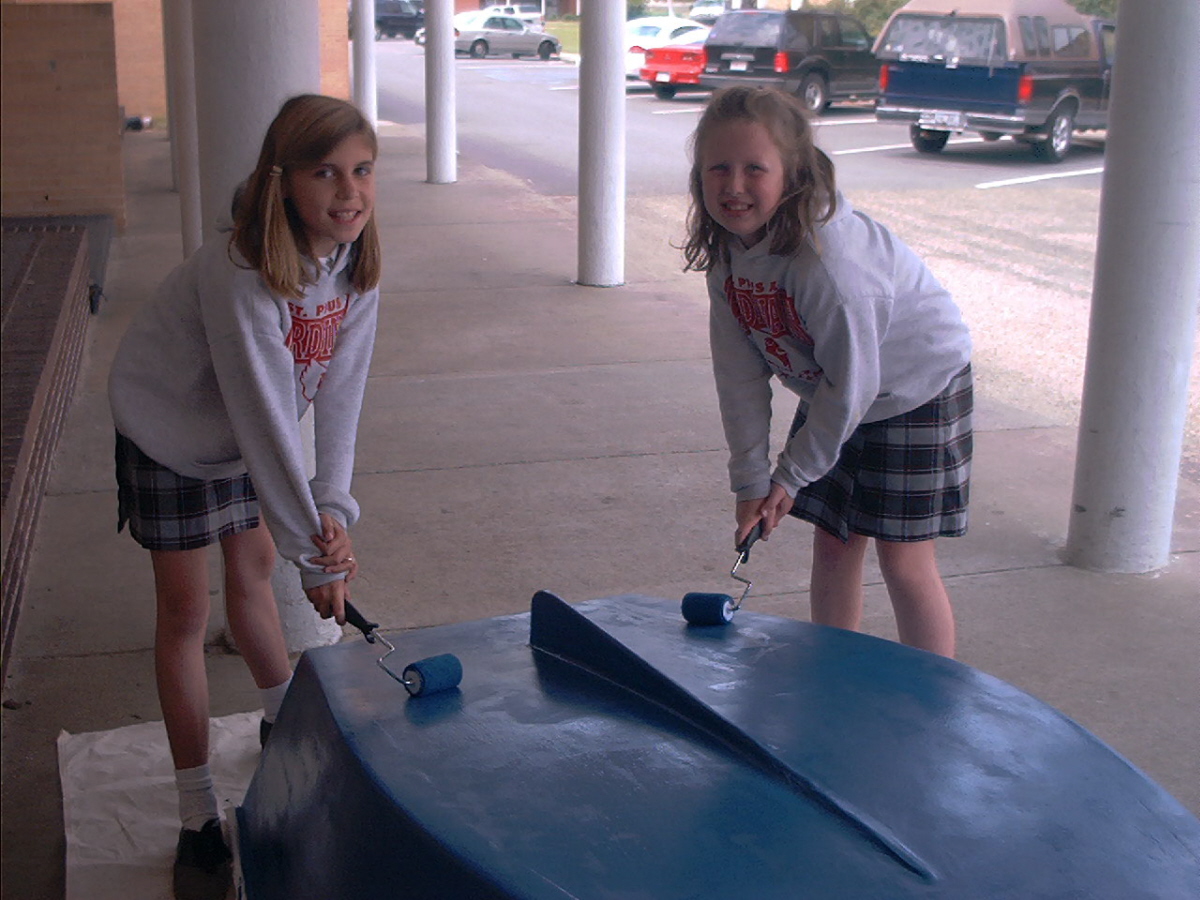
Posted: Tue Mar 28, 2006 11:10 pm
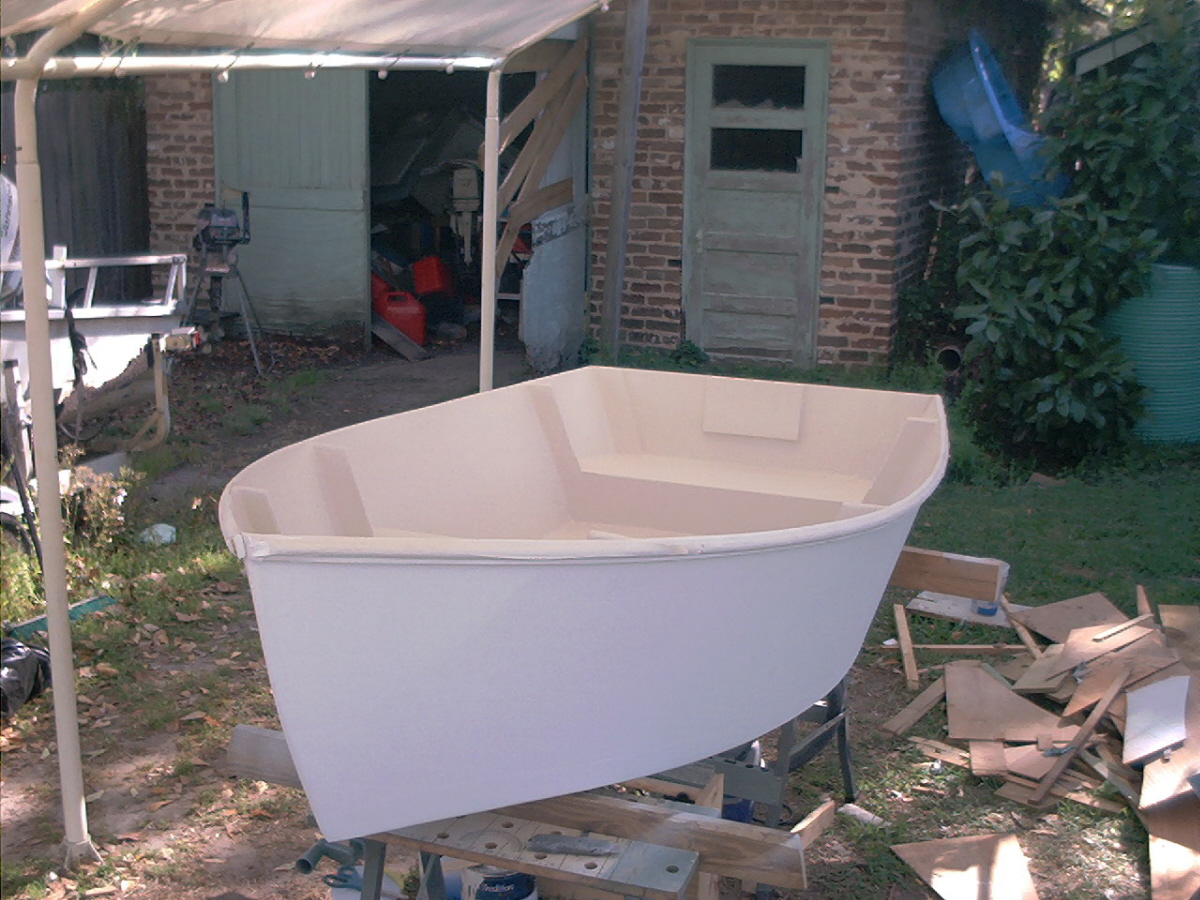
by LBrewer
This is how it looked before turning it over to the 3rd graders to be painted.
When they're through with it ....its to be donated to a charity auction to be held this Saturday
Posted: Tue Mar 28, 2006 11:14 pm
by LBrewer