Page 1 of 11

FS12 Build

Posted: Tue Nov 14, 2006 3:53 pm
by tech_support
Today we started an FS12. The parts were all pre-cut. This kit will soon be offered as a "boat in a box". All the parts will fit in a box that meets DHL standard shipping - makes shipping very easy :)

The kit is now for sale: http://www.boatplans-online.com/proddet ... d=FS12_CNC

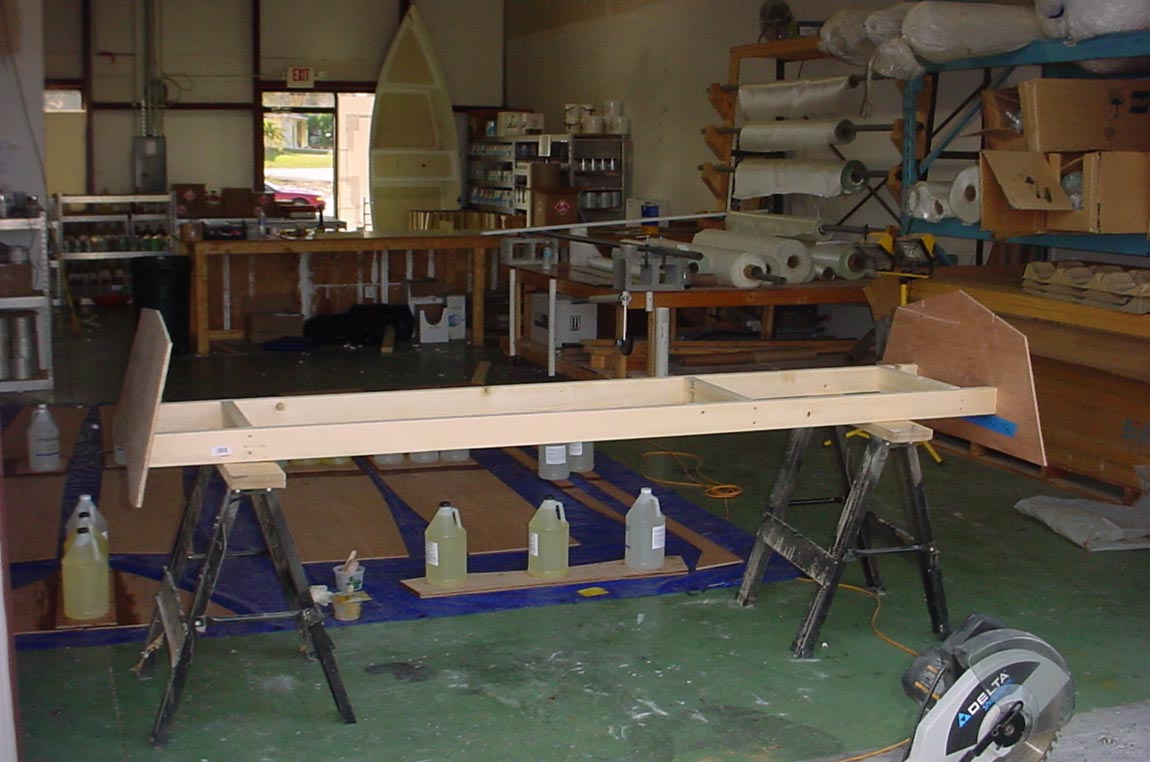
Today we glued the butt blocks, made a strong back, and set up the molds/frames. Total time was less than 2 hours with 2 men.

For all the pictures visit the gallery....
http://gallery.bateau2.com/thumbnails.php?album=561

Here is link to this boat being built in "tutorial" format...

http://boatbuildercentral.com/howto/boa ... /index.php

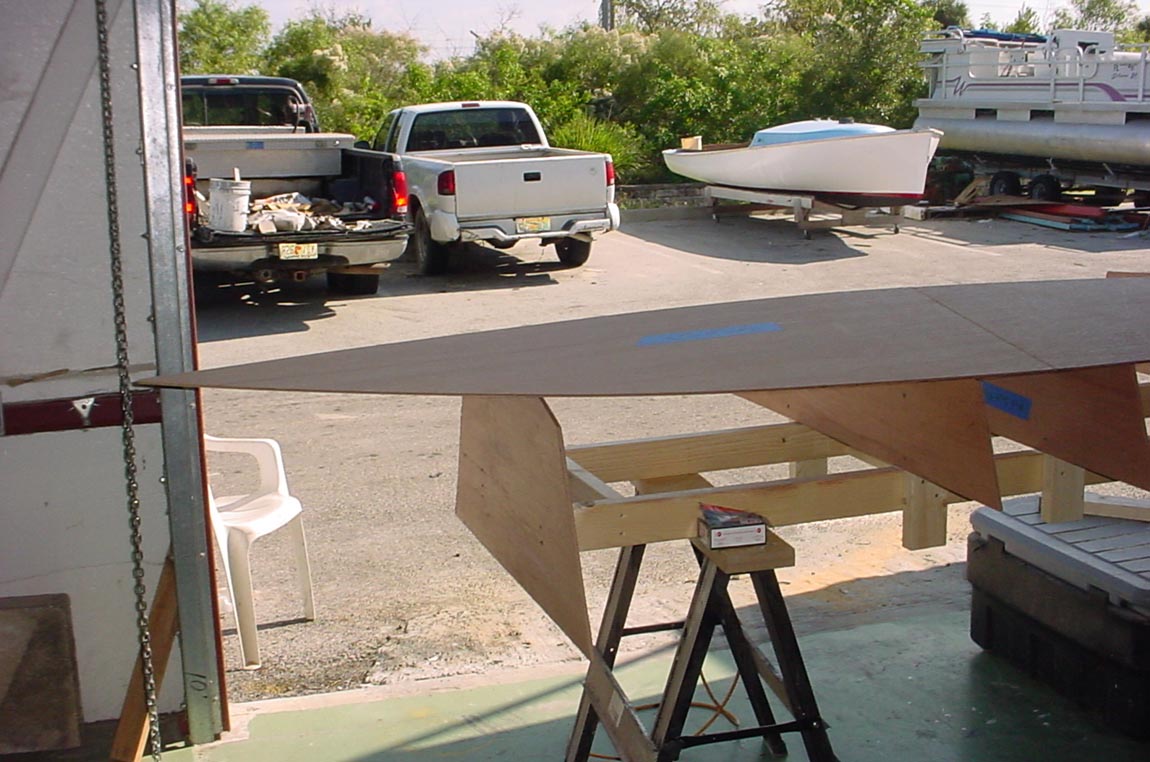
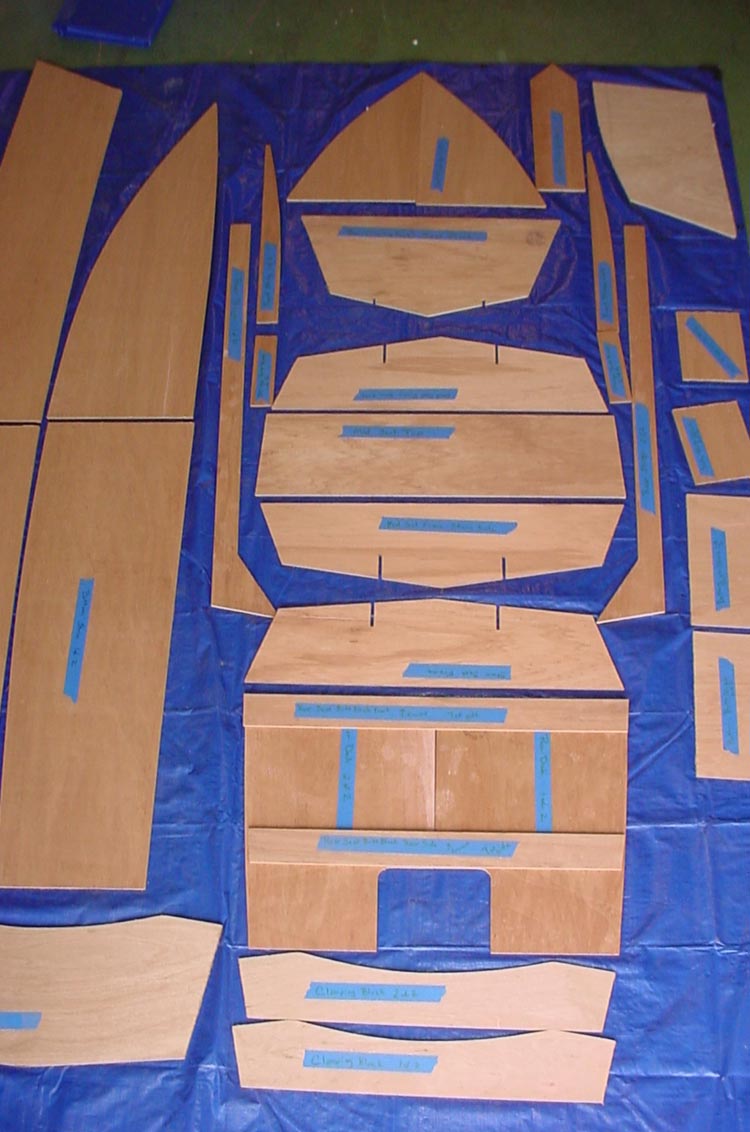
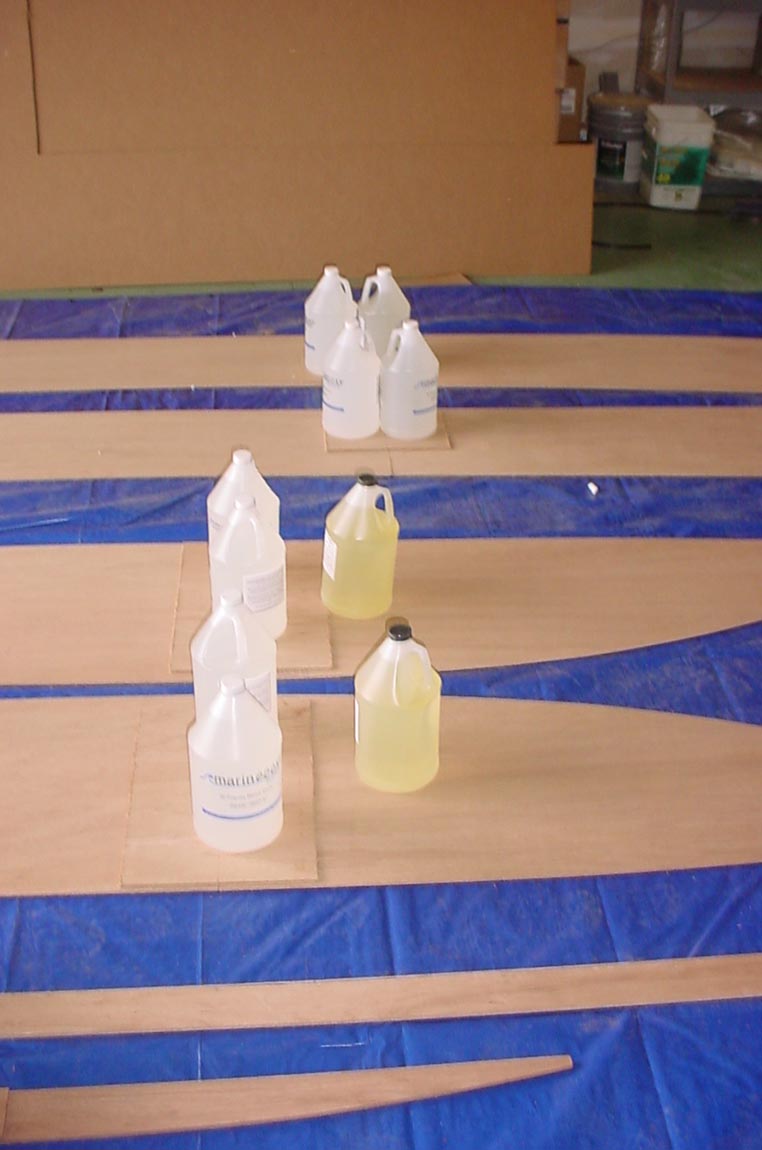
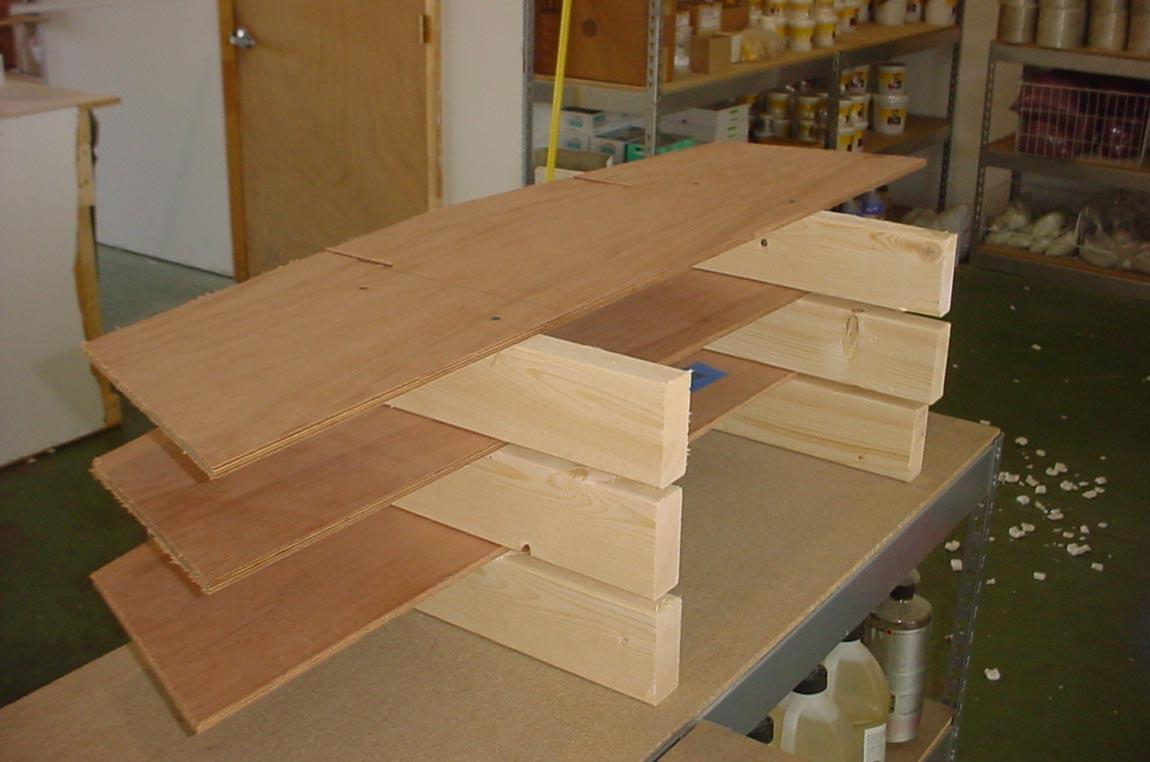
Here are all the parts.....

Image

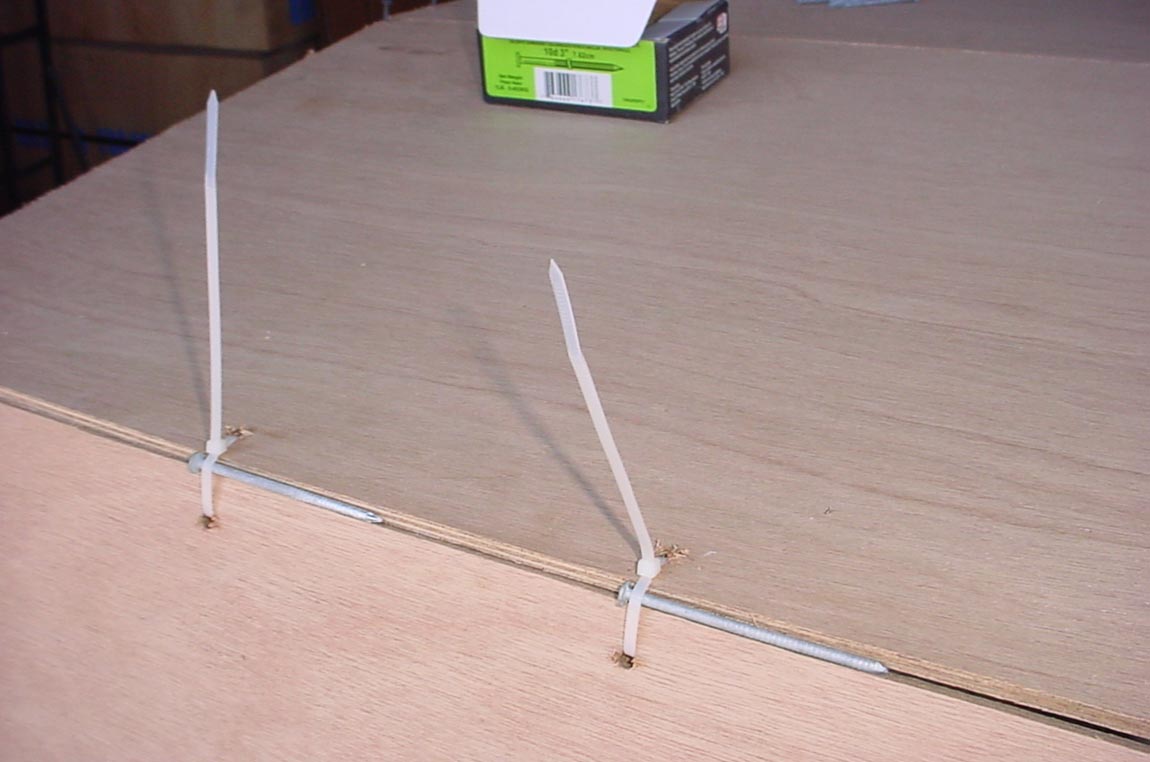
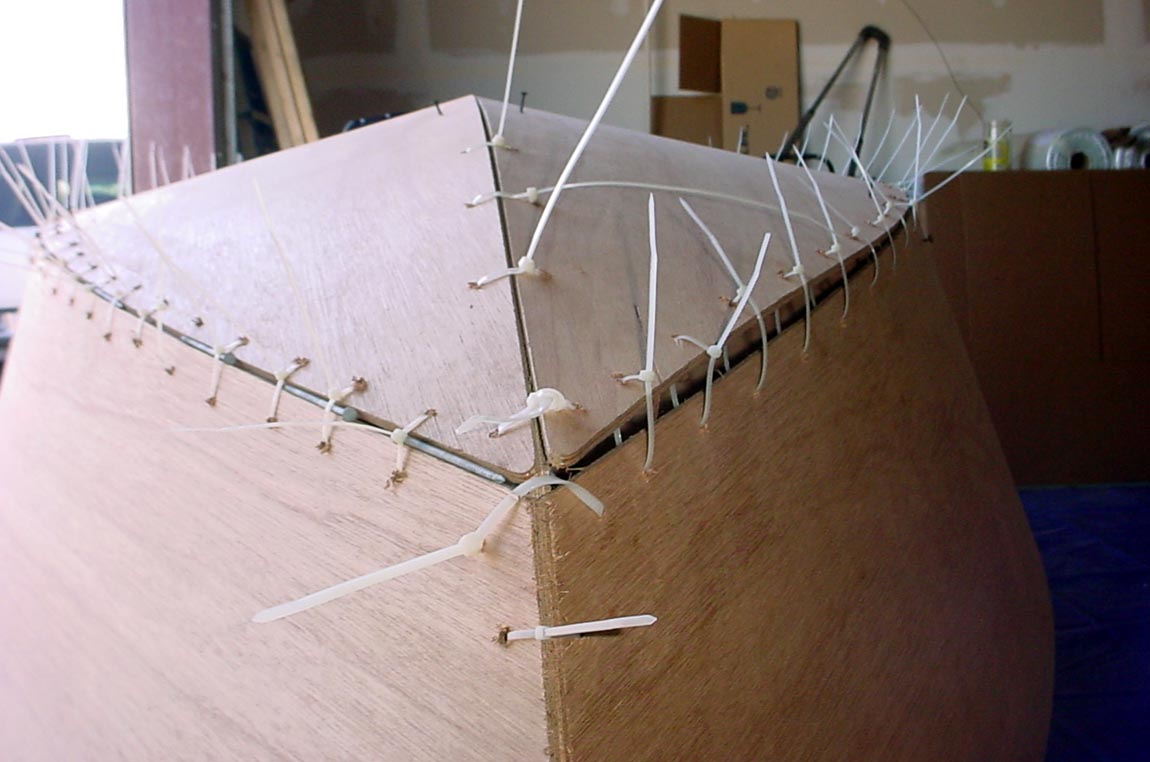
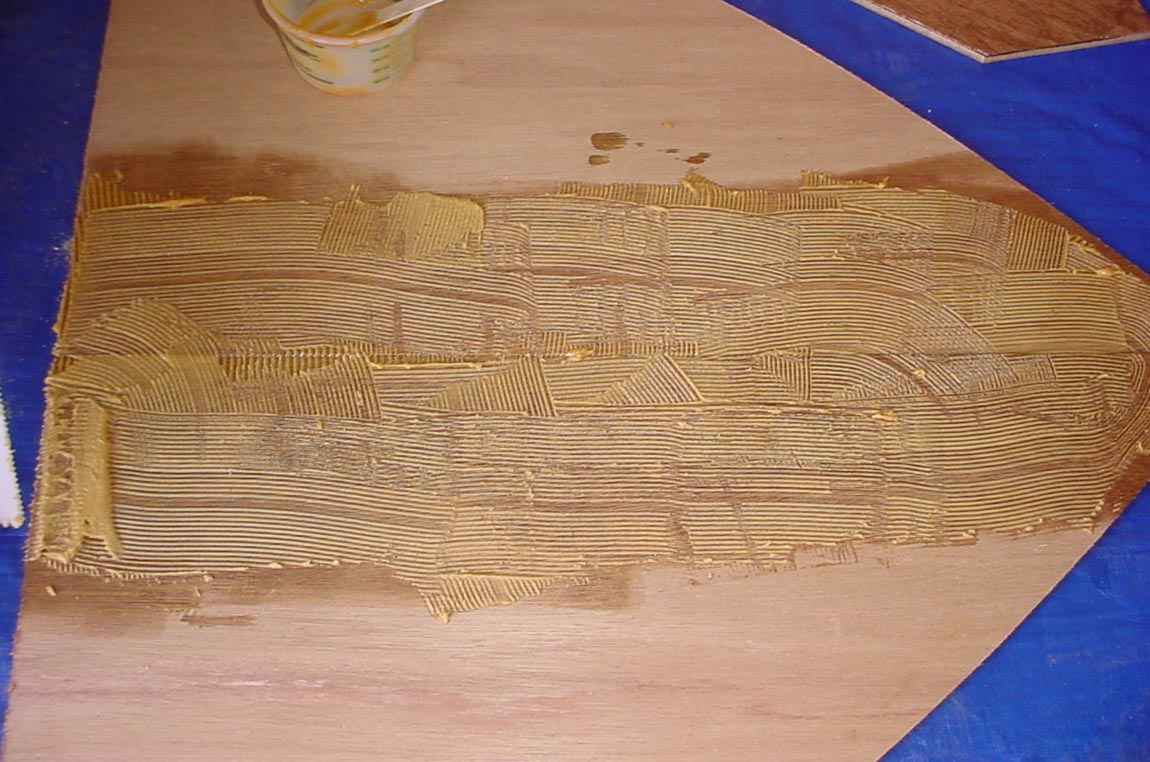
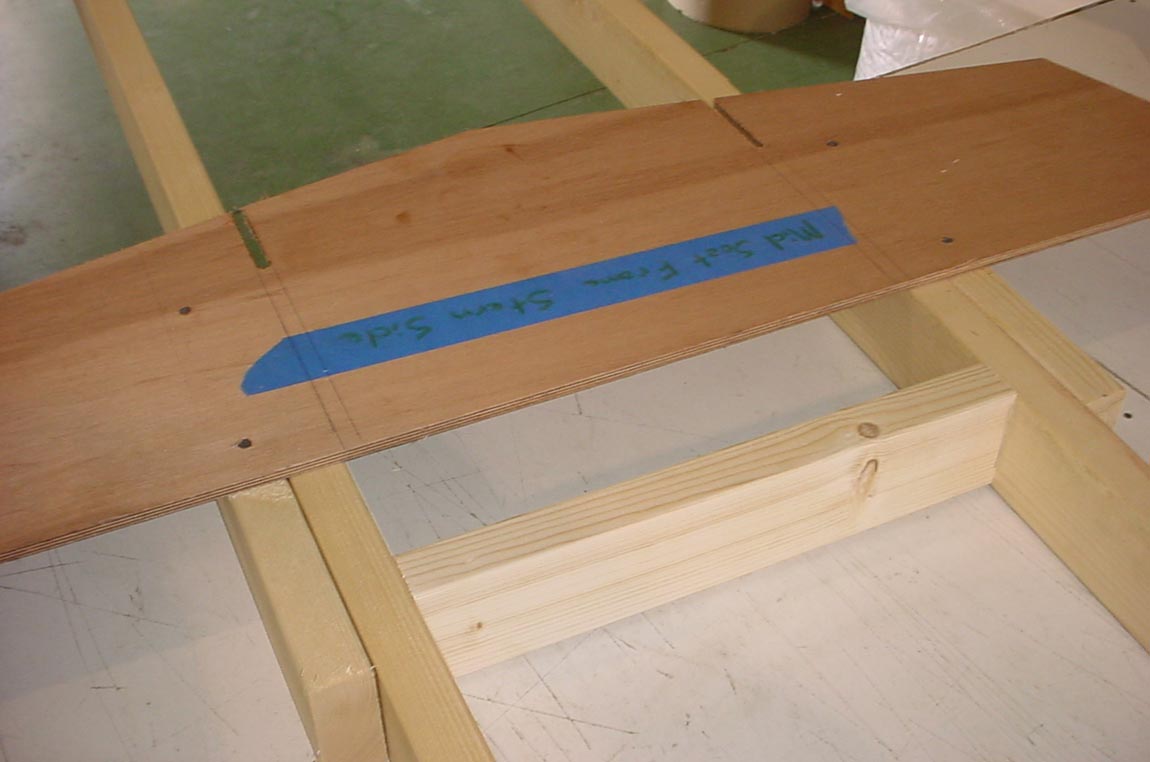
mixing glue and and putting together panels with buttblocks....

Image

Image

Image

Image

Image

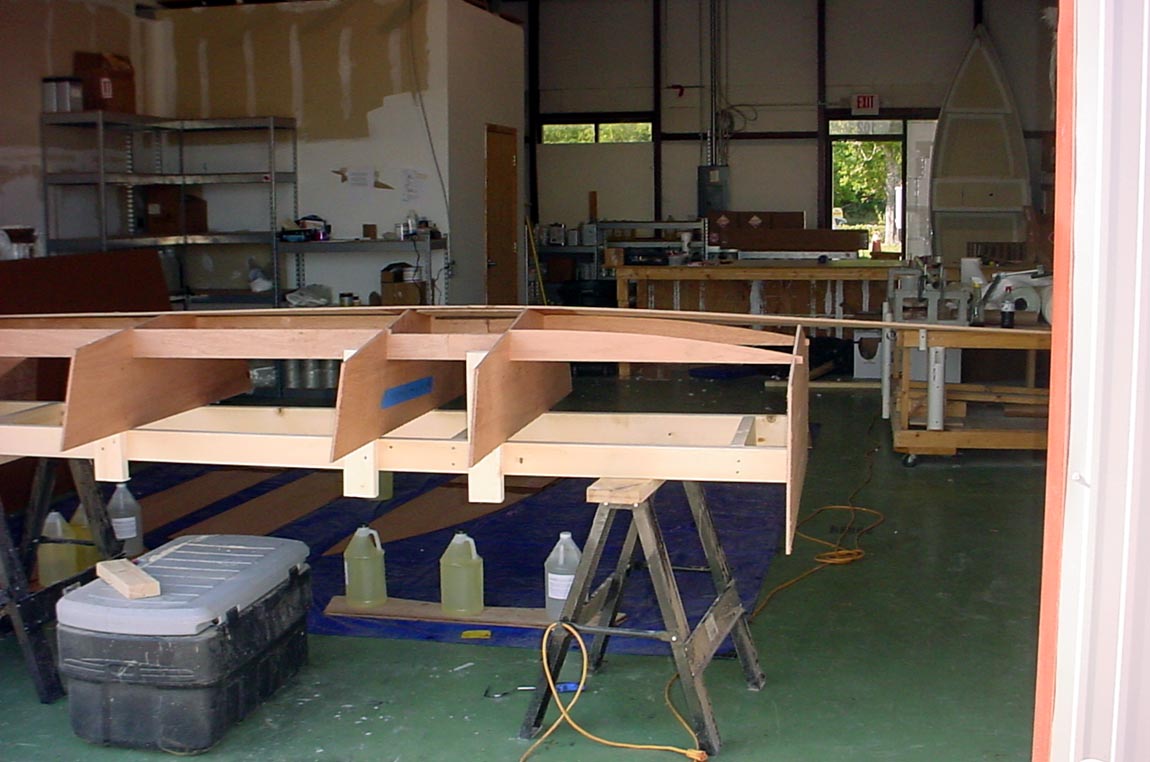
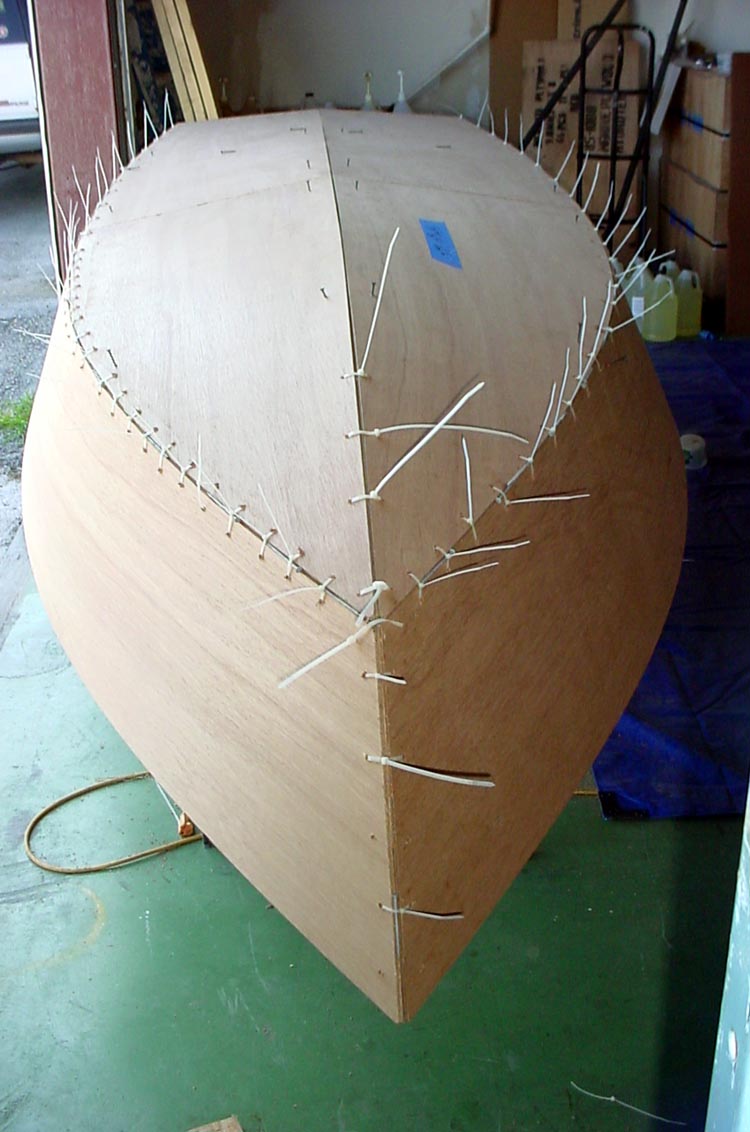
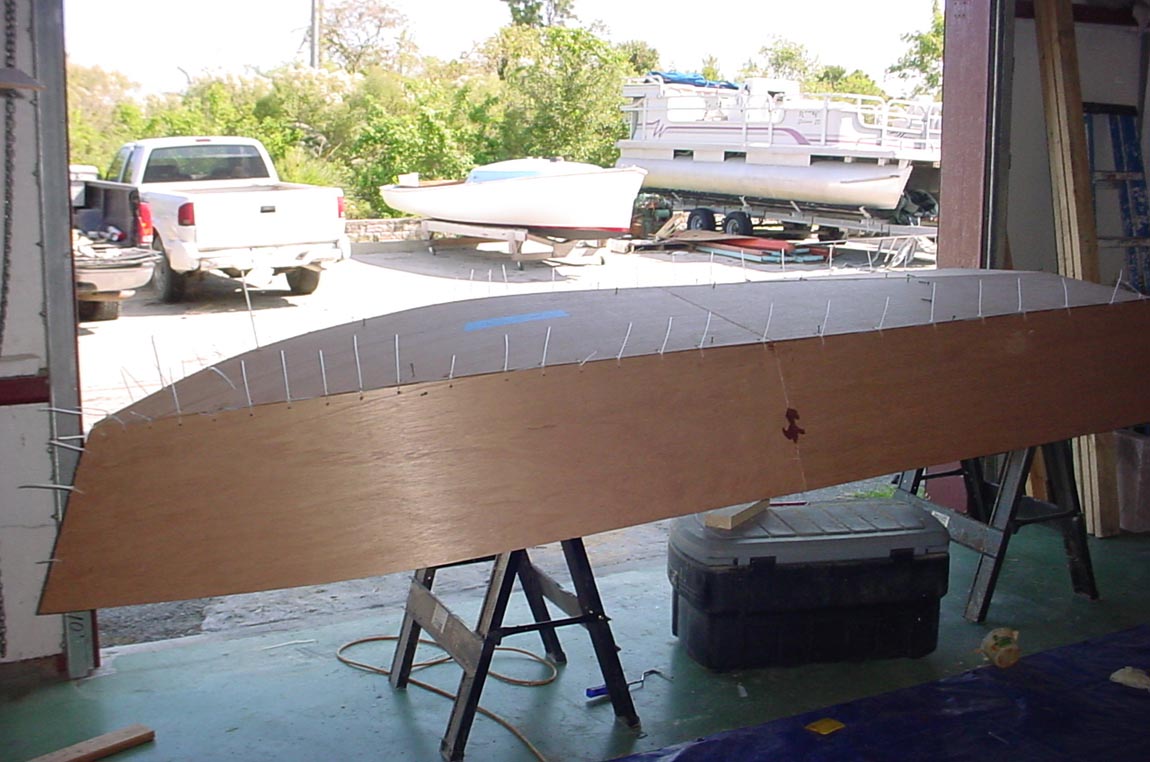
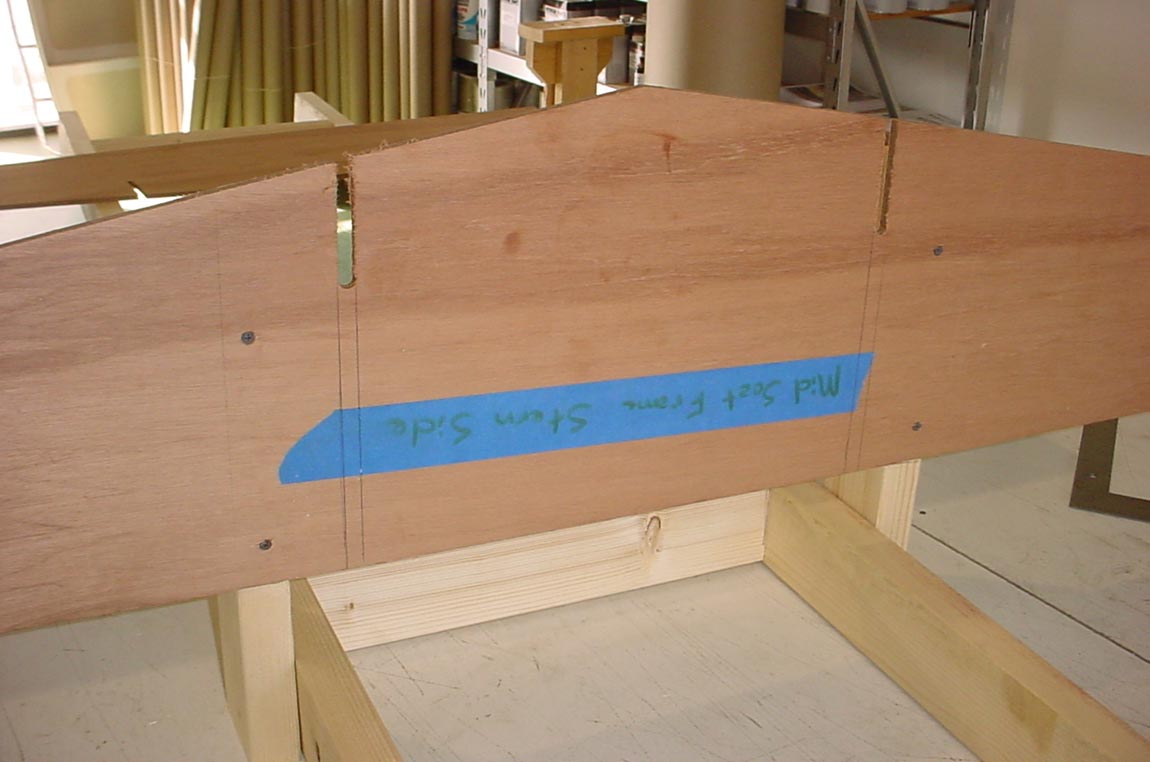
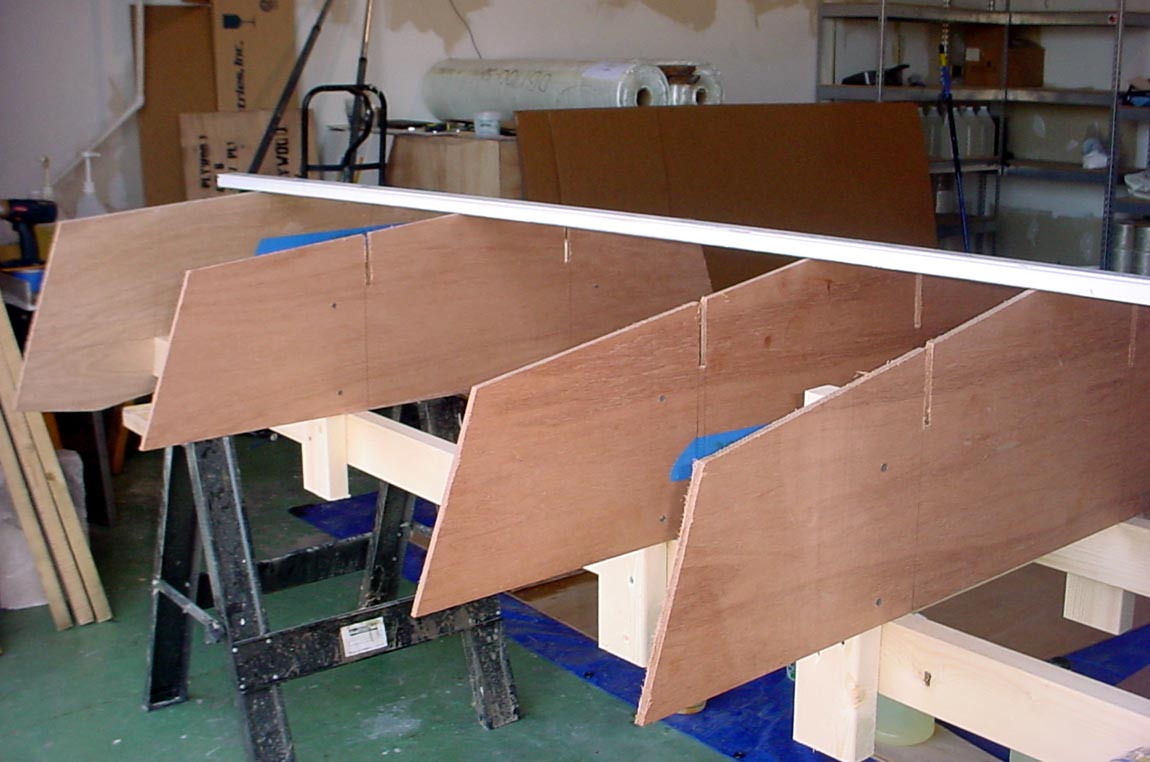
Here we are putting together the molds/frames on the strongback..

Image

Image

Image

Image

Image

Image

Posted: Tue Nov 14, 2006 4:44 pm
by TimF
Great set of photos - thanks Shine ! I look forward to the rest of the build. Must order epoxy for my FS14 and clear the remaining stuff out of my garage.

Tim F

Posted: Tue Nov 14, 2006 7:40 pm
by glcost
Looks like a good tutorial will be in the "box" too!

You show some nice details in the photos, like how the epoxy-woodflour glue consistancy looks and how you smeared it on the butt-block joint. All simple but invaluable stuff for builders.

Posted: Tue Nov 14, 2006 8:23 pm
by tech_support
The kit will come with DVD :D It will be VERY detailed

Posted: Wed Nov 15, 2006 9:52 am
by dborecky
Joel,

I am going to try to do that this weekend. I wish I would have had the kit for the FS14. That would have made life easier.

I see you did not glue the clamping boards to the transom prior to screwing to the strong back. Why? I already have my transom glued to the clamping boards and was wondering now if I messed up?????

Derrick

Posted: Wed Nov 15, 2006 10:23 am
by tech_support
dborecky wrote: I see you did not glue the clamping boards to the transom prior to screwing to the strong back. Why?
Derrick
No important reason, just makes it easier

NOTE: If you leave the clamping board off for this stage, you will need to compensate by making the strongback longer (by the thickness of the clamping board)

Posted: Wed Nov 15, 2006 2:41 pm
by tech_support
Only a little more work today. The wind picked up with a front coming through, so work was short so that Robert could go wind surfing :|

The panels are all stitched up, tomorrow we "tack weld" the panels with the epoxy glue.

We used nails as spacers to keep a constant gap/angle between panels. You can use anything small and round. Work towards the bow, alternating sides while tightening up the stitches (don’t do one side, then the other). Dry wall screws are mainly used to hold the panels in place while stitches are put in. Use as few screws as possible. Here are just a few of today's pictures.....

Image

Image

Image

Image

Image

Image

Posted: Wed Nov 15, 2006 2:56 pm
by baba101
Thats a lot of stitches...compared to my FL14...

Great tutorial...by the way...really makes me want to build another one...

Are you going to be selling the DVD seperately....a download perhaps...? I would like a copy... :!:

Posted: Wed Nov 15, 2006 4:45 pm
by mecreature
Keep the pics coming.. I have my work area cleared and getting ready to start my d-15 so this is good reinforcement..

Posted: Wed Nov 15, 2006 6:55 pm
by Cracker Larry
Will you leave those spacer nails in there?