
Murat Ozkan
Another side of boat building
-
Murat Ozkan
- Frequent Poster

- Posts: 11
- Joined: Fri Jul 18, 2008 4:41 am
I've been watching your progress all along. Excellent work, and congratulation! I only wish you weren't living in such an awful location. It must suck waking up there every morning. 
I love the hand written bow. It reminds me of my daughters' furniture in their bedroom, which we let them handpaint. And beautiful kids too.
I love the hand written bow. It reminds me of my daughters' furniture in their bedroom, which we let them handpaint.


-
ks8
- * Bateau Builder *

- Posts: 8403
- Joined: Mon Nov 24, 2003 1:00 am
- Location: NC USA
- Location: Now a much longer sail to Tampa Florida! Back to NC, Youngsville FM05tw
I lost track of this build for awhile. Beautiful boat Dimitris, and family.
I'm not Greek, do not have a Greek wife or children, do not live in Greece, but I enjoy a good gyro!
Thanks for updating the build progress. Maybe I should forget about custom lettering, as I'm getting the CV16 ready for a splash, and let my niece have at it with a marker pen... ? hmmm...
Is Alexandra looking forward to sailing her?
Thank you all. Visiting this forum has been an inspiration and a great support to keep on building.
Galaxidi is really beautiful but I can only spend there a few weeks every year. The rest of my life is in the big city.
Alexandra was really excited with the boat and the lettering. She was talking to everybody in the neighborhood about her new boat, that her daddy built it, etc. She tried a little bit of rowing but having me in the boat made it too heavy for her. Next year I will try sailing with her.
Most excited, however, was my son, two years and 3 months old. Every time I crossed the doorstep he was thinking that we were going to the boat and was running after me crying "boat, boat".
Lunch time, I am going for a gyro
Hello, everybody. I have been busy building but very lazy posting.
After the summer splash, I had to continue with oars, the sailing gear and painting her. I started with the rudder and the centreboard.
These are the three layers of the upper rudder. There are two cheeks and the a filler in middle the thickness of the blade. I glassed the inner sides of the cheeks and both sides of the filler to provide abrasion resistance and some space for the paint layers that will follow.
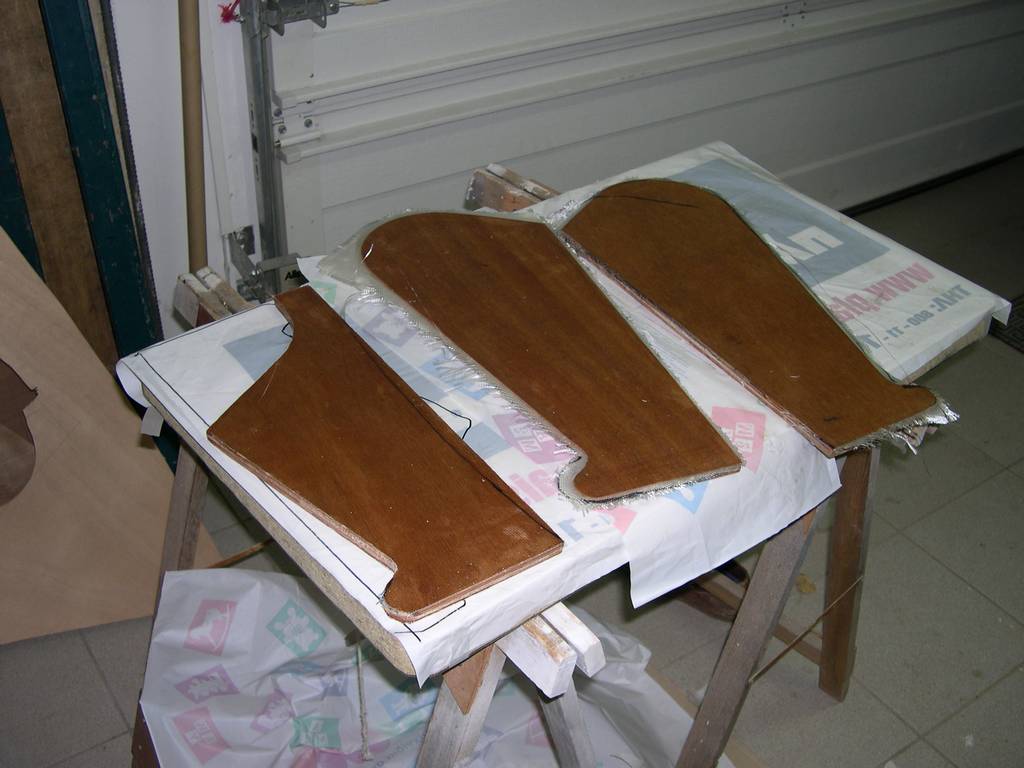
Here the cheeks and the filler are glued together. The holes for the gudgeon bolts are already there to help the alignment of the parts.
Here is the upper rudder and the blade.

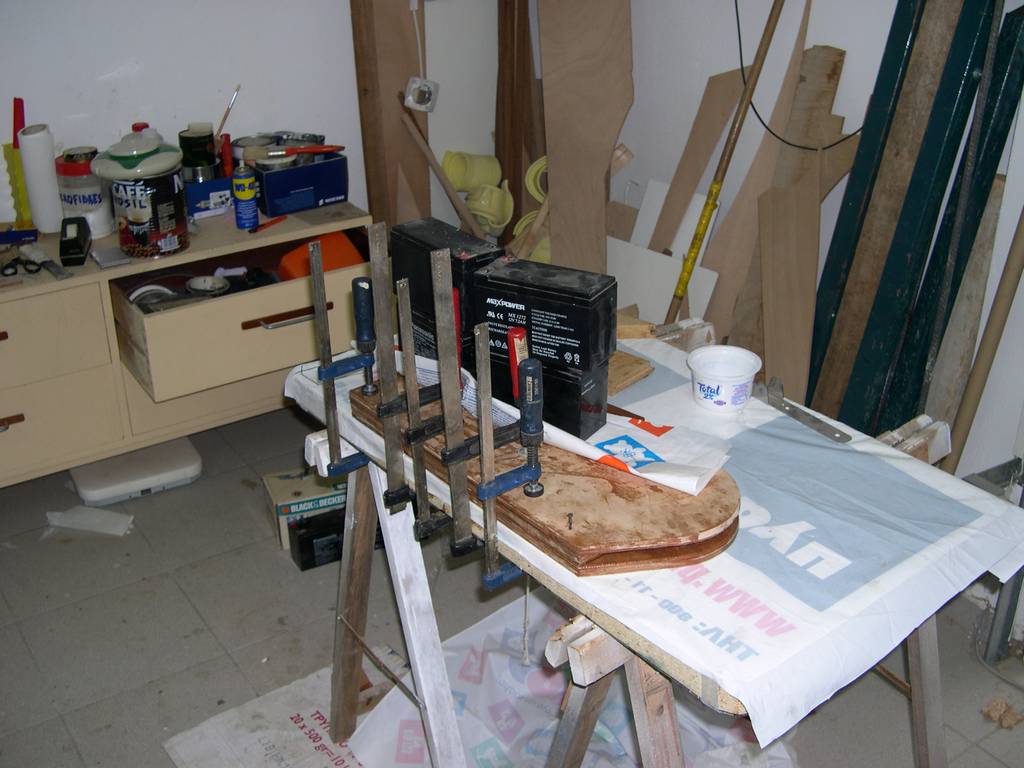
The centreboard is built by 4 layers of 5 mm plywood, glued together and glassed.
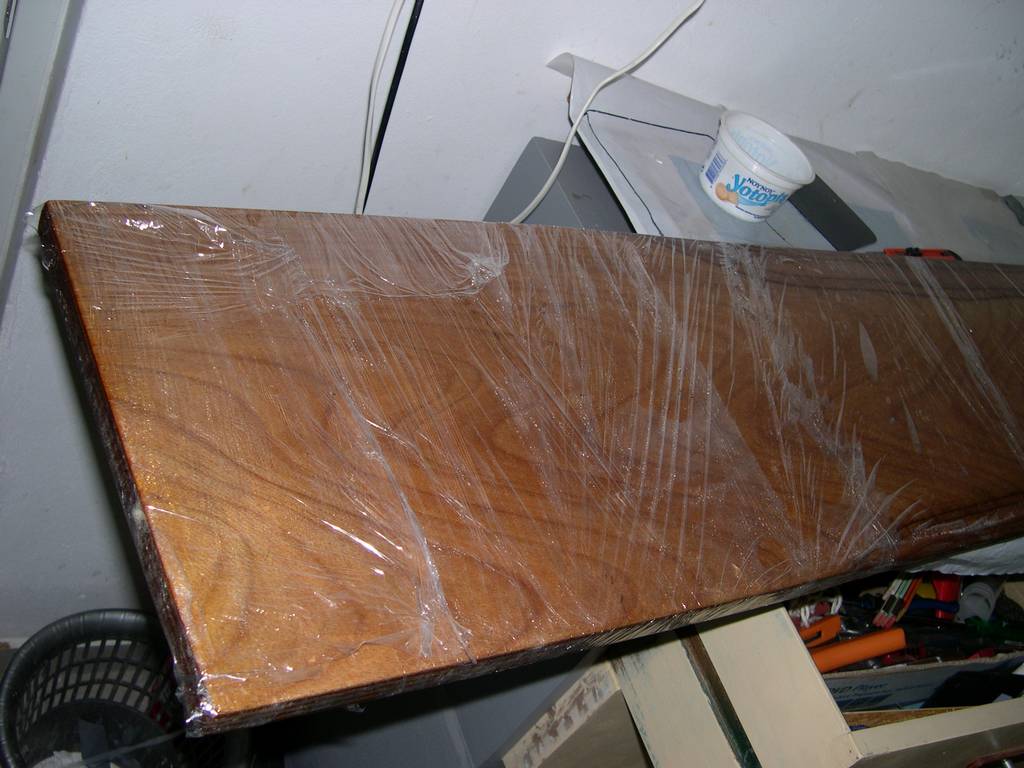
Here is the C/B glassed with one single piece of glass and wrapped around with shrink-wrap polyethylene film (originally intended to wrap sandwiches)
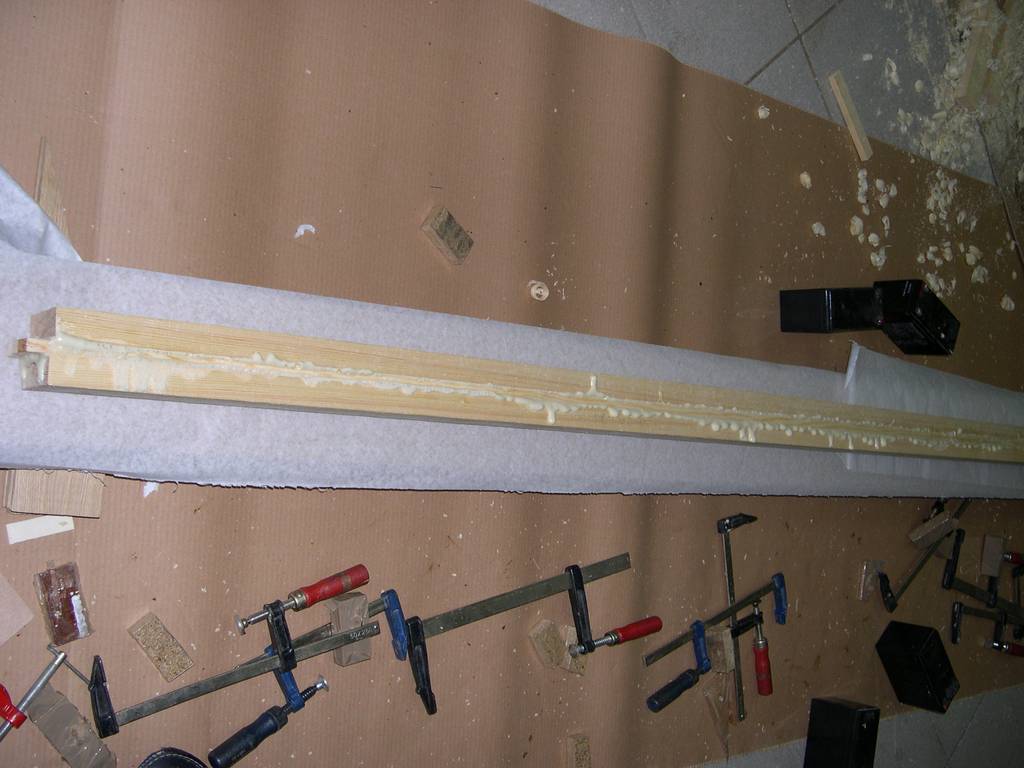
Oars have been an exercise to mast-making. They are made from construction quality pitch-pine (very low quality indeed), after the Jim Michalak plans, adapted for more length. Here are two 2-inch wide and 1 inch thick planks that will be glued. The blade is formed by two more 1-inch thicknesses glued at each side. This amounts to a 4 inch wide blade. The true thickness is somewhat more (about 11 centimetres) which is rather small. On the other hand the blades are long.
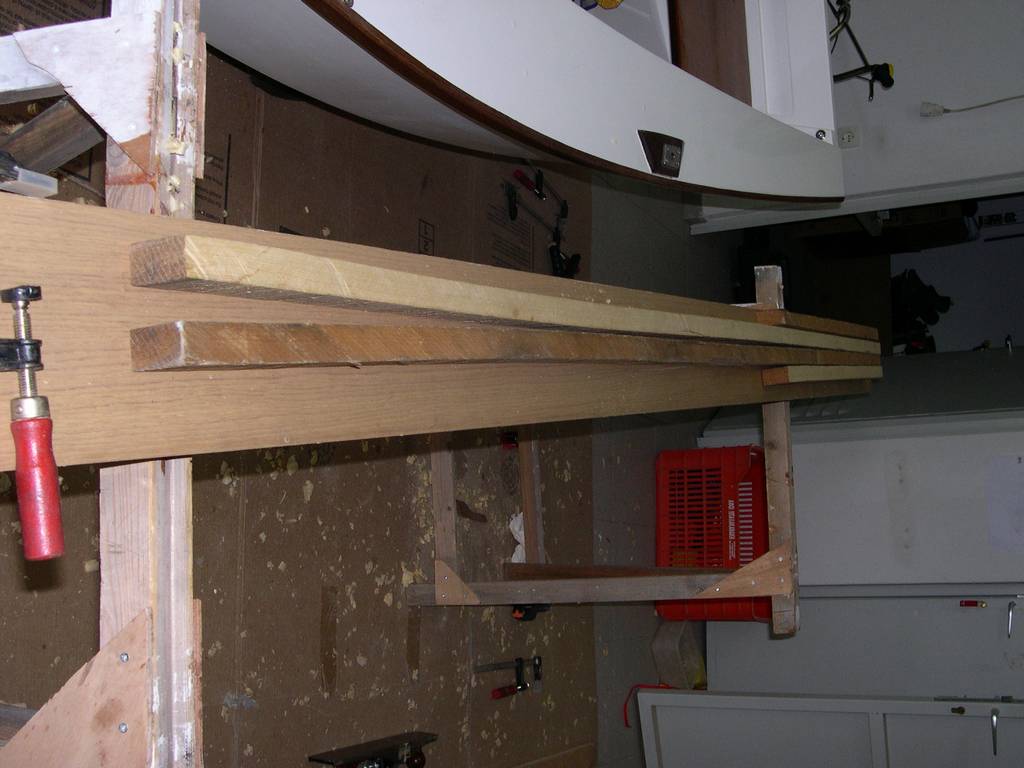
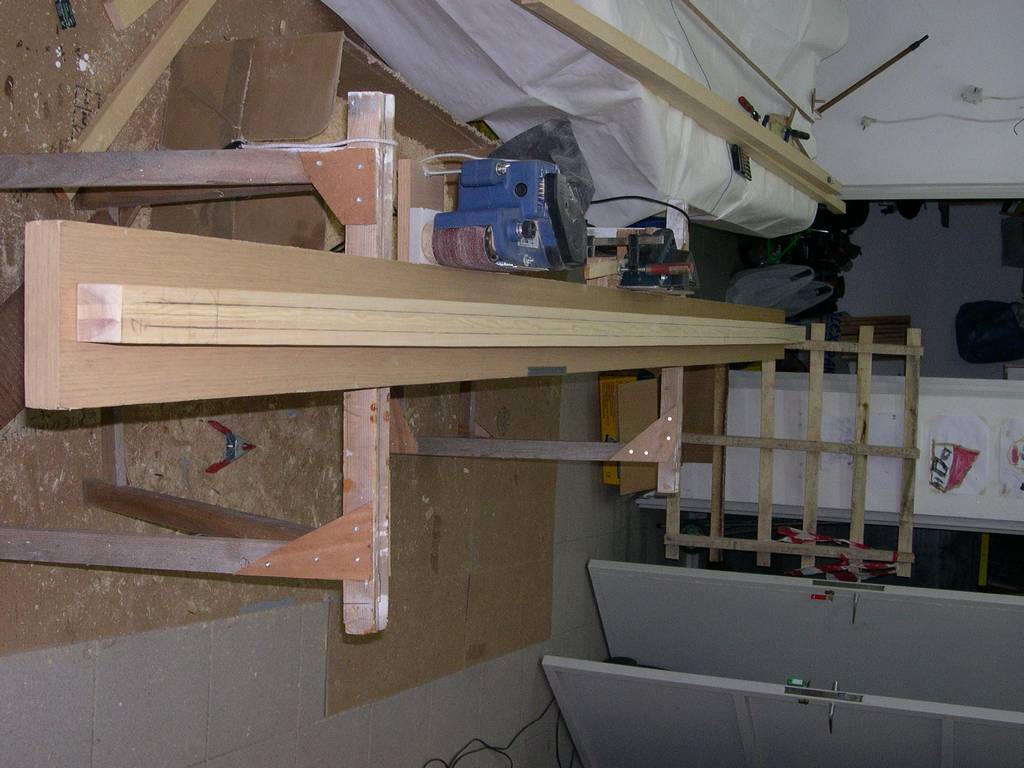
After gluing oars, i made a rough cutting of the blade tapering. These were the biggest hand-cuts I ever made.
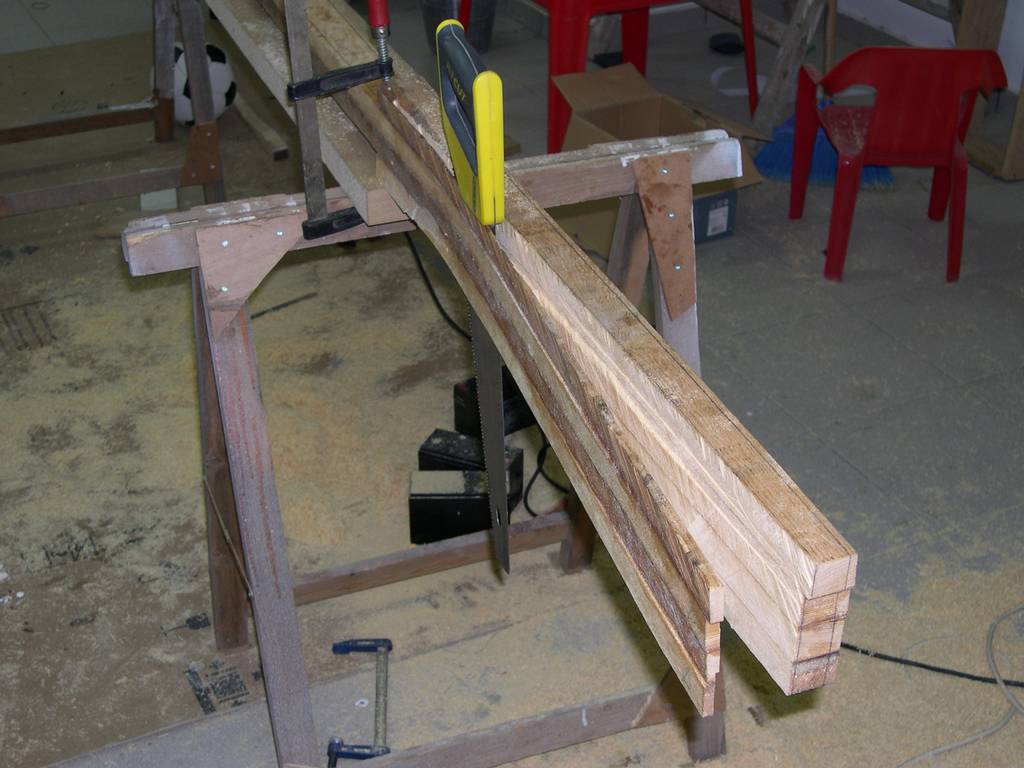
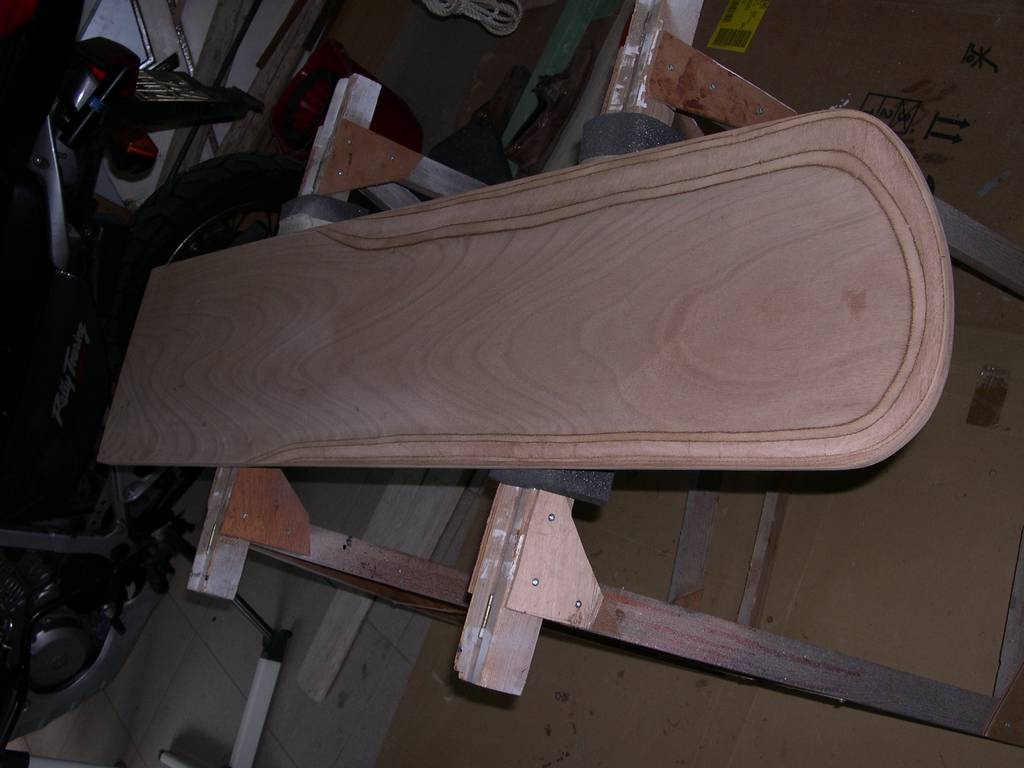
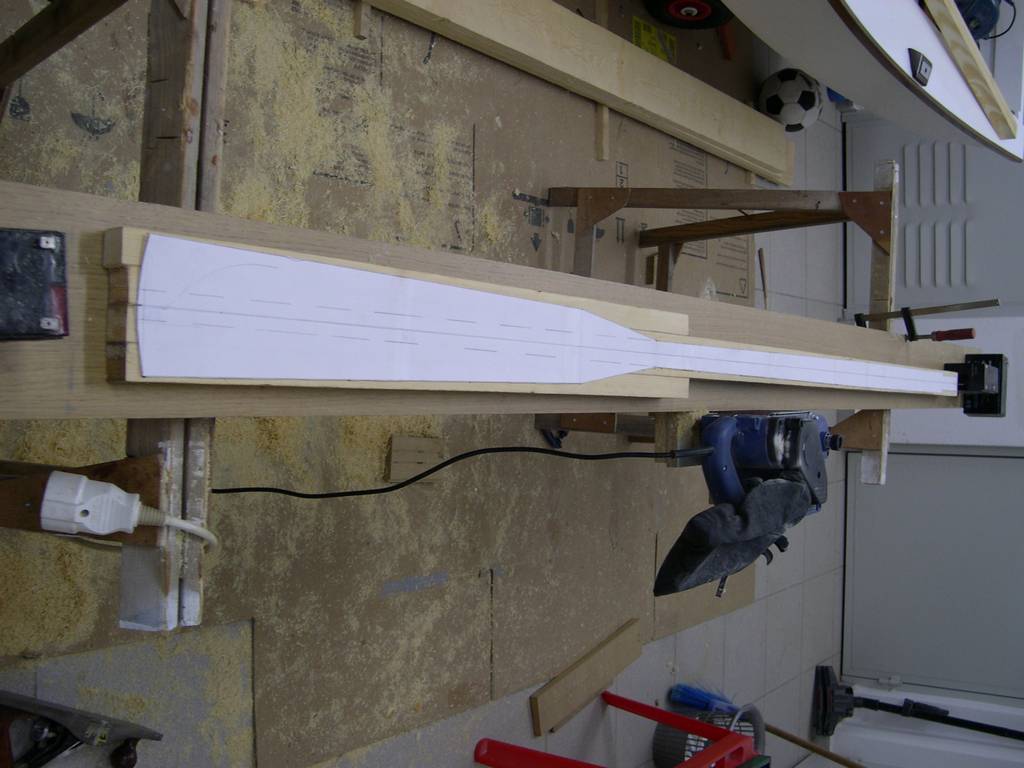
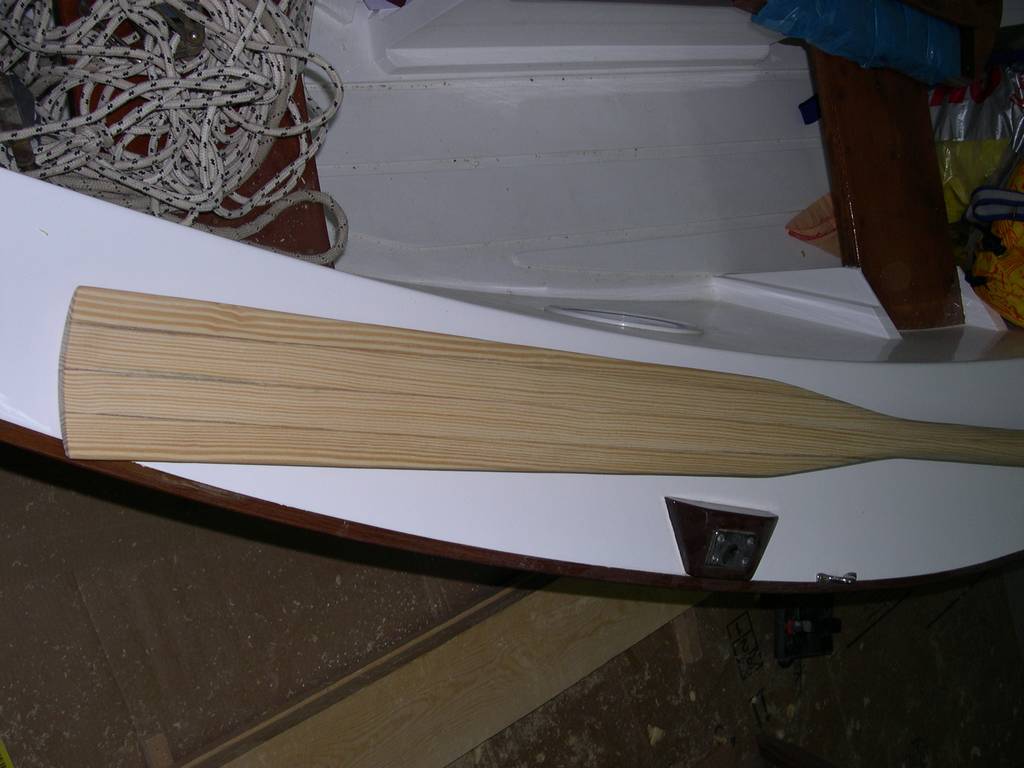
The next step was to mark the oar shape and then cut to shape. I use a paper template to transfer the oar shape to the wood, then used the jig-saw to cut the blade. I shaped the looms using the power planner and the belt sander.
Here is an oar, just before shaping of the loom and the handles. The blade has been shaped like a very flat rhombus using the power planer, the belt sander, the hand planer, the spokeshave and hand sanding. This has been the most tiring venture of the whole project.
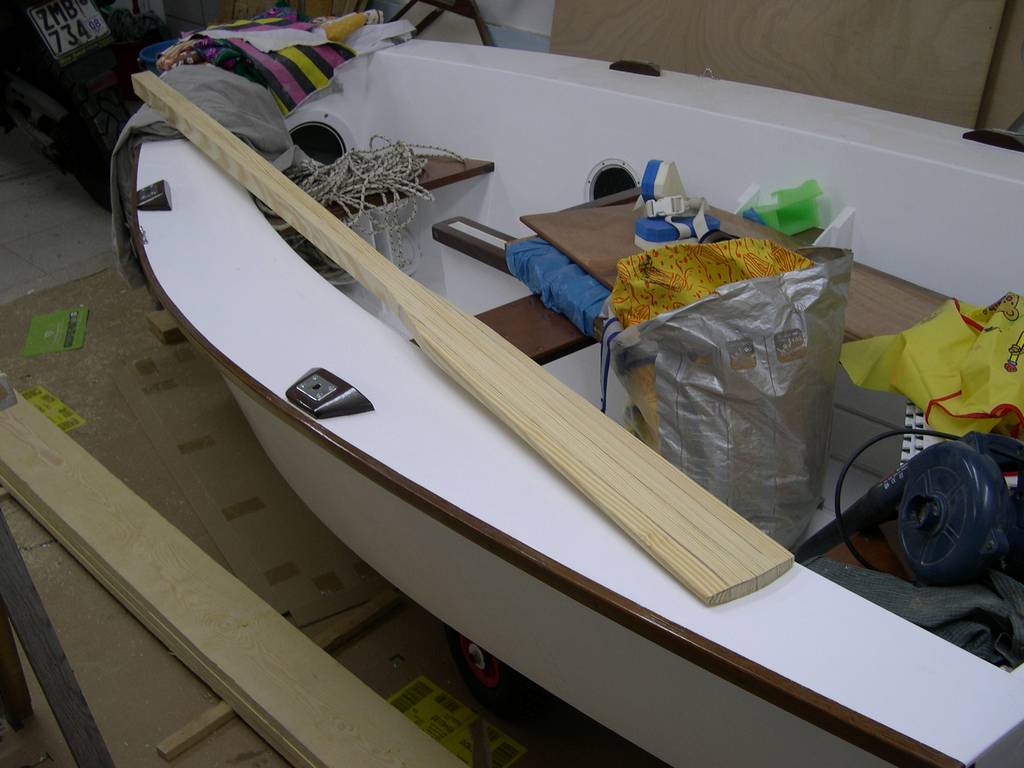
This is the final result, with the loom rounded.
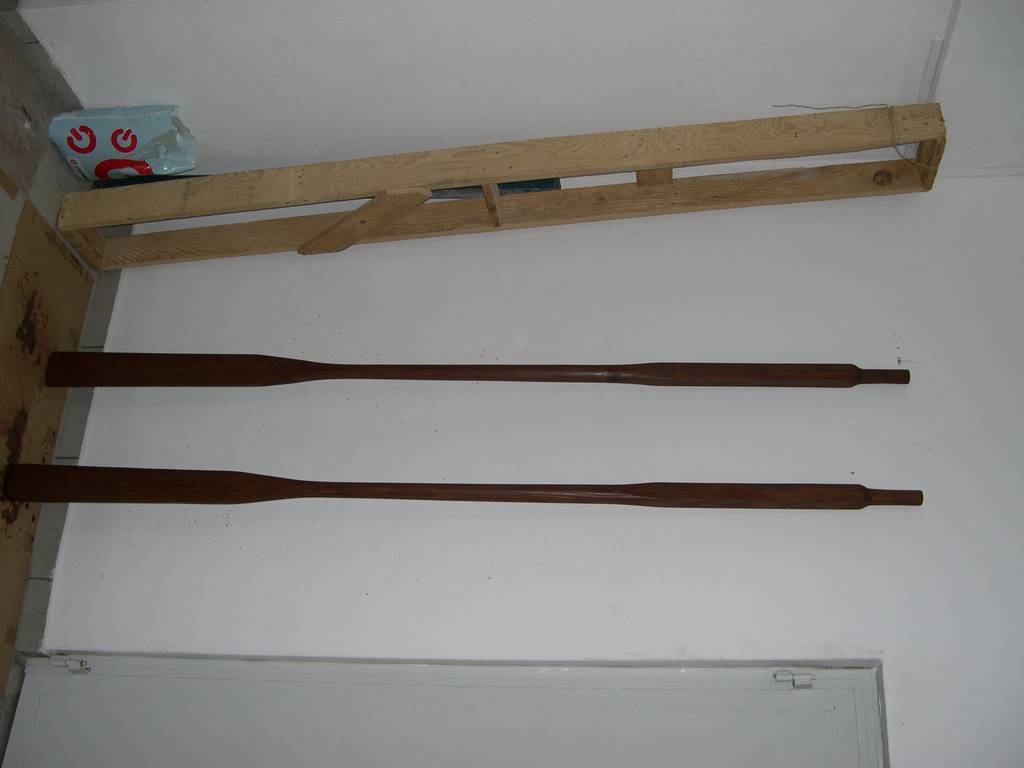
Here they are, tinted to an iroko colour. The area around the oarlocks will be served with thick cotton twine. I may also serve the handles. The twine will be varnished in place.
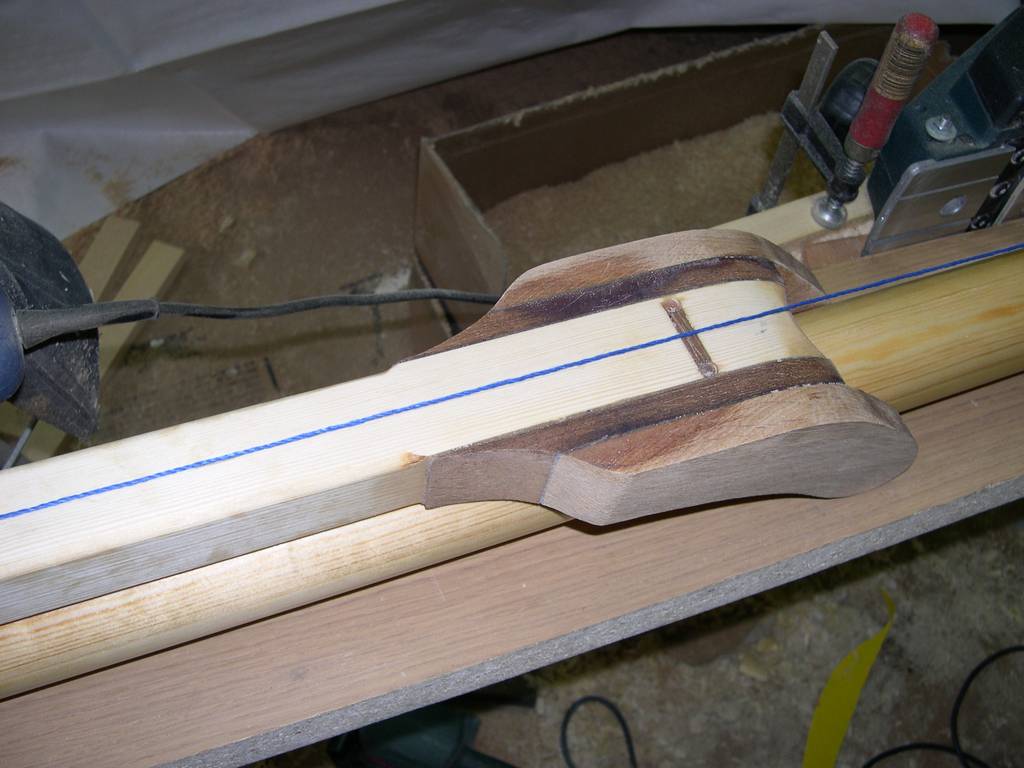
After finishing the oars, it was the turn of the spars. Spar making prooved as satisfying as boat building, if not more.
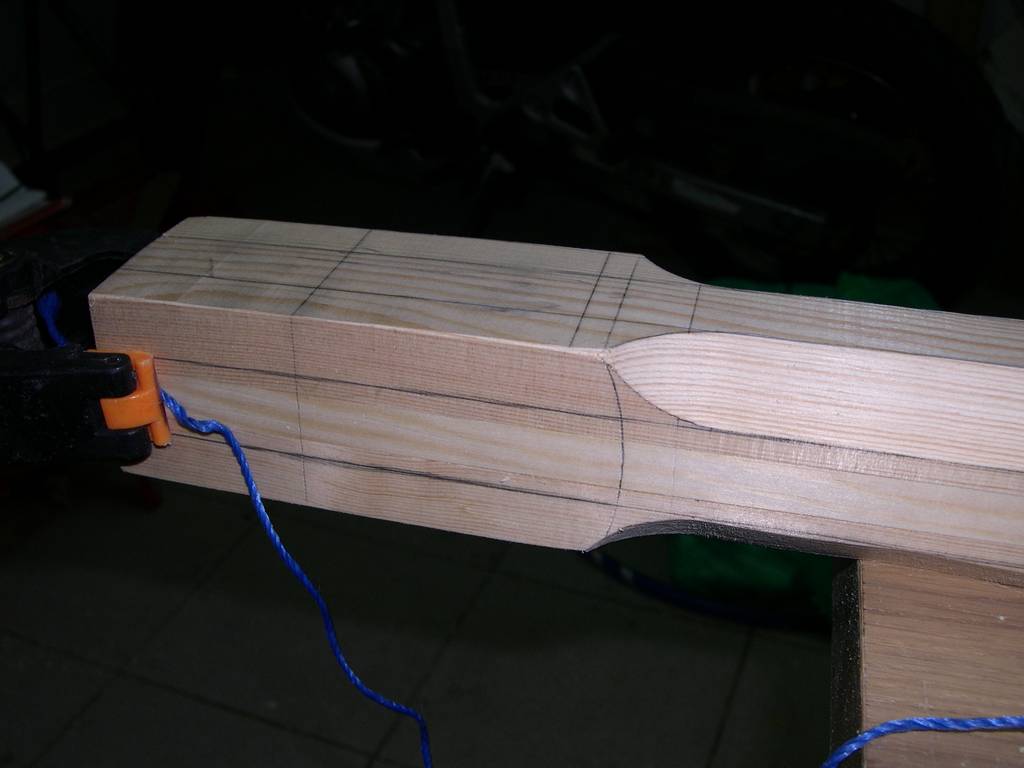
This is my mast. I opted for a gunter rig, which I designed myself after the original marconi rig. The original mast would be 15 feet long and very difficult to tow and store. The gunter mast will be 10.5 feet long and the yard 8.5 feet long. I kept the sail size and position exactly the same to maintain the balance. Spars are made from straight grain european pine and were sized following the rules in the Iain Oughtred book.
The mast is ready for rounding. The step will be left square to prevent it from rotating. You can see the jigs that I made to keep the belt sander and the planner stationary. I couldn't have made the job without them.
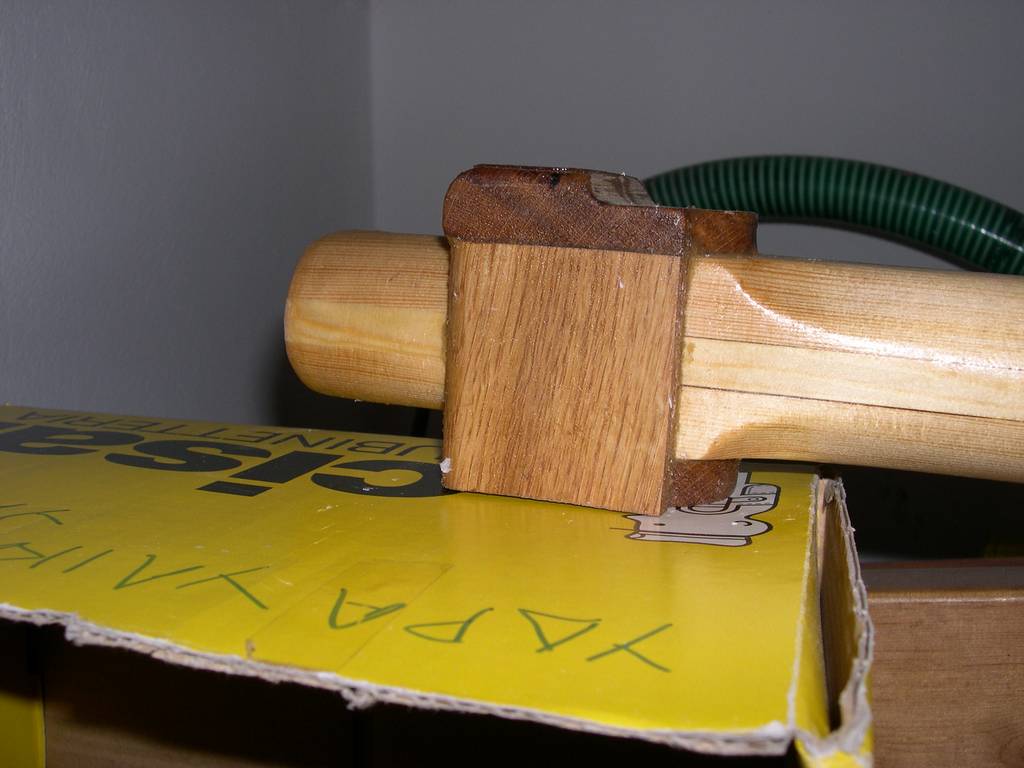
The masthead would have a square section were four small oak hounds will be glued. Above the hounds the mast would be round again.
This is the finished masthead. The stays will be server with twine and looped around the mast. A leather collar will be installed to protect the spar.
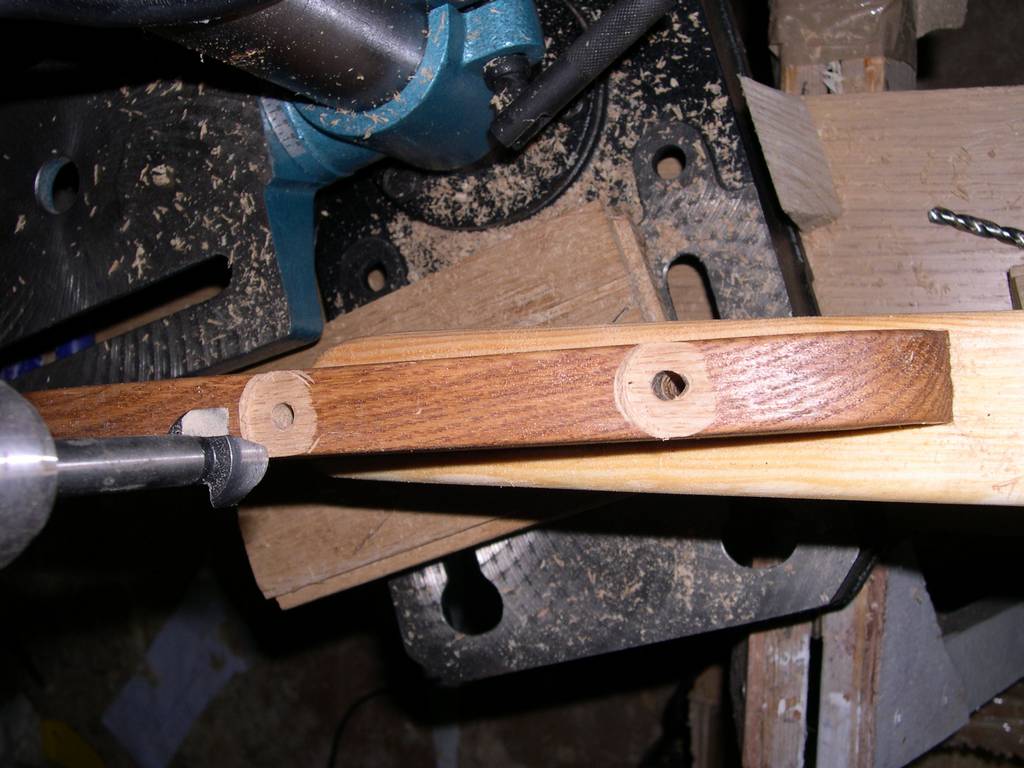
I decided to use boom jaws instead of a gooseneck. The jaws are made from leftovers of the oak flooring in my home. They will be through bolted with M6 stainless rod.
Opening these long holes has been very stressing. They should enter in the middle of the jaws and exit in the middle. It take a very small mistake to destroy a boom and a pair of jaws. Fortunately, everything ended up OK.
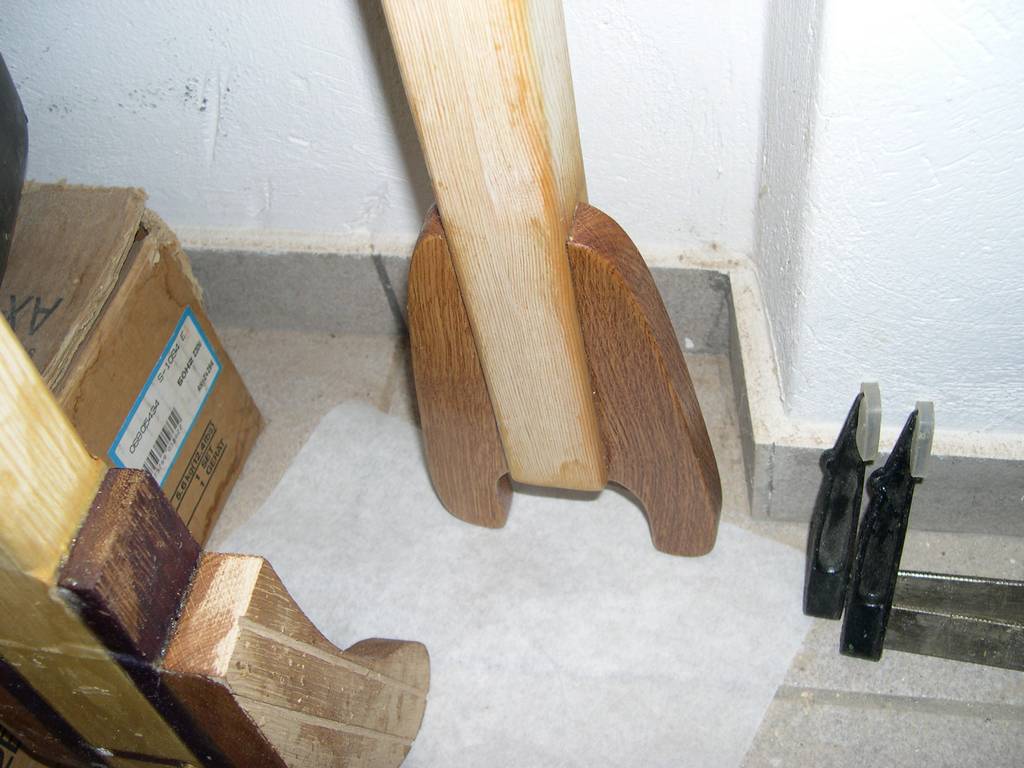
Here are the yard jaws. They are make from the leftover oak flooring planks and two iroko packers. I like the alternation of dark and light colors that resulted. The jaws will be trough bolted and lined with leather. The same is true for the boom jaws.
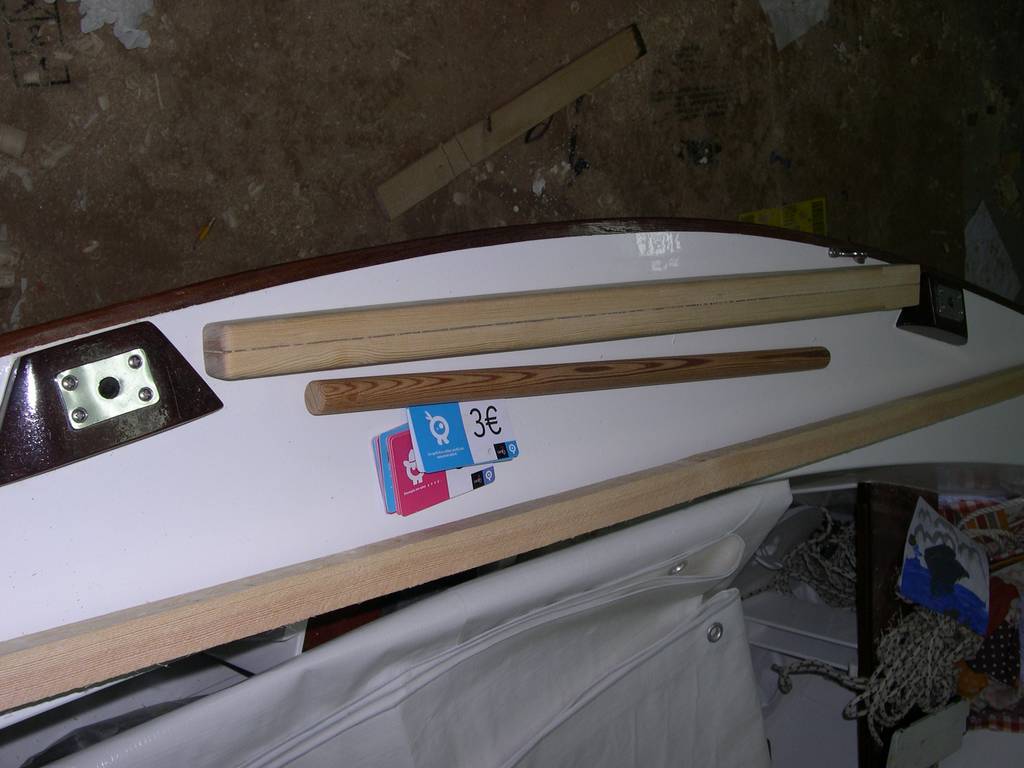
The tiller is made from pitch pine leftovers from the oars. Tiller extension is sized according to the plans but looks rather short to me. We'll see in the summer how it will work. It is cut from a broken broom handle so it is very easy to build a longer one.
The hull will be blue above the water line and white below. I will use an LPU paint above the waterline and an epoxy paint below. Here is the hull will only one layer of blue LPU. It has proven as difficult to work with as the white one, in the summer. There are a lot of brush marks. The blue paint does not flow as well as the white and in not as glossy either.

That's all up to now. I am getting close. I also plan to buy a used trailer to carry her around.
Regards to all of you
After the summer splash, I had to continue with oars, the sailing gear and painting her. I started with the rudder and the centreboard.
These are the three layers of the upper rudder. There are two cheeks and the a filler in middle the thickness of the blade. I glassed the inner sides of the cheeks and both sides of the filler to provide abrasion resistance and some space for the paint layers that will follow.
Here the cheeks and the filler are glued together. The holes for the gudgeon bolts are already there to help the alignment of the parts.
Here is the upper rudder and the blade.
The centreboard is built by 4 layers of 5 mm plywood, glued together and glassed.
Here is the C/B glassed with one single piece of glass and wrapped around with shrink-wrap polyethylene film (originally intended to wrap sandwiches)
Oars have been an exercise to mast-making. They are made from construction quality pitch-pine (very low quality indeed), after the Jim Michalak plans, adapted for more length. Here are two 2-inch wide and 1 inch thick planks that will be glued. The blade is formed by two more 1-inch thicknesses glued at each side. This amounts to a 4 inch wide blade. The true thickness is somewhat more (about 11 centimetres) which is rather small. On the other hand the blades are long.
After gluing oars, i made a rough cutting of the blade tapering. These were the biggest hand-cuts I ever made.
The next step was to mark the oar shape and then cut to shape. I use a paper template to transfer the oar shape to the wood, then used the jig-saw to cut the blade. I shaped the looms using the power planner and the belt sander.
Here is an oar, just before shaping of the loom and the handles. The blade has been shaped like a very flat rhombus using the power planer, the belt sander, the hand planer, the spokeshave and hand sanding. This has been the most tiring venture of the whole project.
This is the final result, with the loom rounded.
Here they are, tinted to an iroko colour. The area around the oarlocks will be served with thick cotton twine. I may also serve the handles. The twine will be varnished in place.
After finishing the oars, it was the turn of the spars. Spar making prooved as satisfying as boat building, if not more.
This is my mast. I opted for a gunter rig, which I designed myself after the original marconi rig. The original mast would be 15 feet long and very difficult to tow and store. The gunter mast will be 10.5 feet long and the yard 8.5 feet long. I kept the sail size and position exactly the same to maintain the balance. Spars are made from straight grain european pine and were sized following the rules in the Iain Oughtred book.
The mast is ready for rounding. The step will be left square to prevent it from rotating. You can see the jigs that I made to keep the belt sander and the planner stationary. I couldn't have made the job without them.
The masthead would have a square section were four small oak hounds will be glued. Above the hounds the mast would be round again.
This is the finished masthead. The stays will be server with twine and looped around the mast. A leather collar will be installed to protect the spar.
I decided to use boom jaws instead of a gooseneck. The jaws are made from leftovers of the oak flooring in my home. They will be through bolted with M6 stainless rod.
Opening these long holes has been very stressing. They should enter in the middle of the jaws and exit in the middle. It take a very small mistake to destroy a boom and a pair of jaws. Fortunately, everything ended up OK.
Here are the yard jaws. They are make from the leftover oak flooring planks and two iroko packers. I like the alternation of dark and light colors that resulted. The jaws will be trough bolted and lined with leather. The same is true for the boom jaws.
The tiller is made from pitch pine leftovers from the oars. Tiller extension is sized according to the plans but looks rather short to me. We'll see in the summer how it will work. It is cut from a broken broom handle so it is very easy to build a longer one.
The hull will be blue above the water line and white below. I will use an LPU paint above the waterline and an epoxy paint below. Here is the hull will only one layer of blue LPU. It has proven as difficult to work with as the white one, in the summer. There are a lot of brush marks. The blue paint does not flow as well as the white and in not as glossy either.
That's all up to now. I am getting close. I also plan to buy a used trailer to carry her around.
Regards to all of you
-
ks8
- * Bateau Builder *
- Posts: 8403
- Joined: Mon Nov 24, 2003 1:00 am
- Location: NC USA
- Location: Now a much longer sail to Tampa Florida! Back to NC, Youngsville FM05tw
Thanks for the update. 
Looking forward to pictures this spring or summer with the new rig and oars. I've been planning a similar rig that I can stow when fishing, in case of engine problems. I know what you mean by those holes in the boom jaws. Had the same issue lately with the holes in the tiller cheeks and rudderhead. It worked out, but one day, maybe, we'll get that drill press.
Looking forward to pictures this spring or summer with the new rig and oars. I've been planning a similar rig that I can stow when fishing, in case of engine problems. I know what you mean by those holes in the boom jaws. Had the same issue lately with the holes in the tiller cheeks and rudderhead. It worked out, but one day, maybe, we'll get that drill press.
Who is online
Users browsing this forum: No registered users and 10 guests