
Another side of boat building
-
Cracker Larry

- * Bateau Builder - Expert *

- Posts: 22491
- Joined: Fri Mar 11, 2005 3:39 pm
- Location: Savannah, GA

Re: Another side of boat building
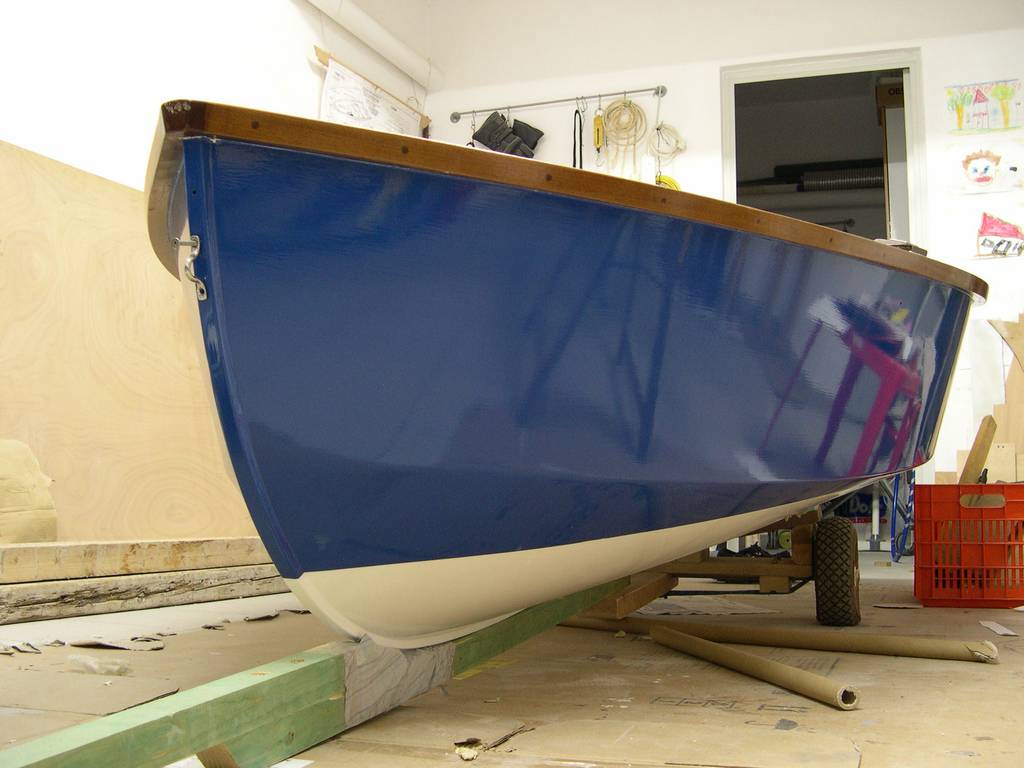
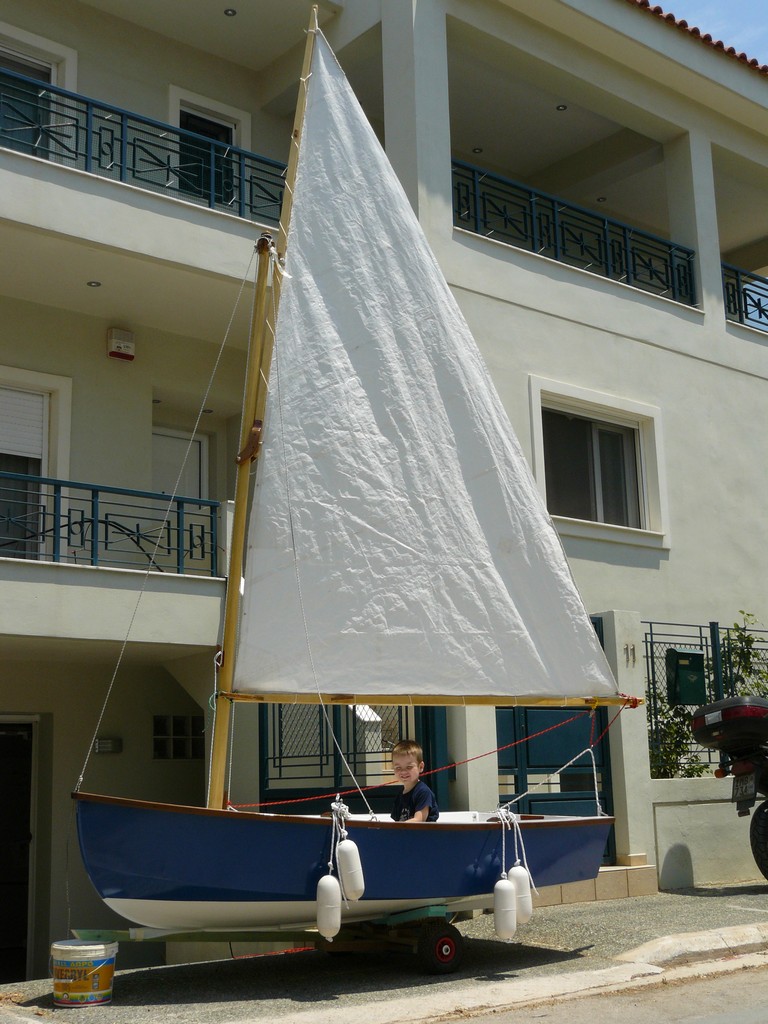
My first post in the new forum just when another major milestone was reached. All work on the hull has finished. This is the result of 3 coats of LPU on the sides and 2 coats of epoxy paint on the bottom. I followed the instructions on the can but it proved that I did not reduce the first coat of the LPU enough and I had brushmarks and uneven flow. I tried to remove as much brushmarks as I could, but as you can see I did not remove them all. The next 2 coats were reduced to 50% and the result was much much better. The light brushmarks that are here are all horizontal and, I think, serve to hide other imperfections, like dust, bugs, etc. Anyway, this is wooden boat, remeber 
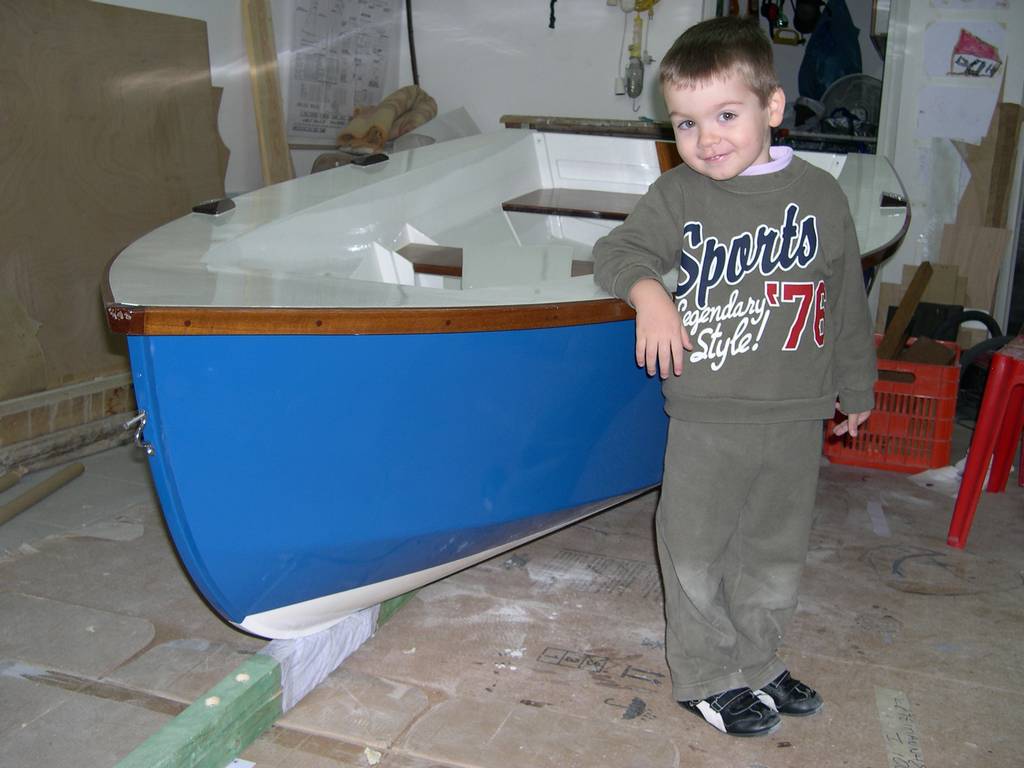
My son, next to the boat. When I started building, he was not even born.
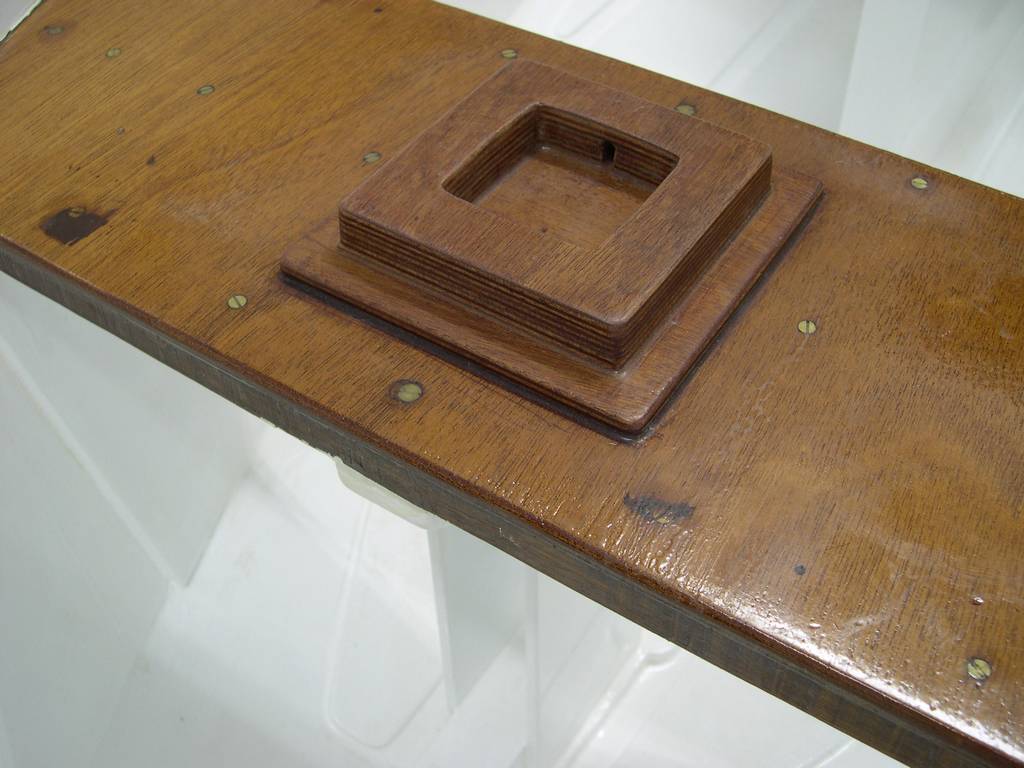
The mast step is made from 3 laminated layers of 1/4 plywood, glued on another 1/4 layer and then on top of the front bench.
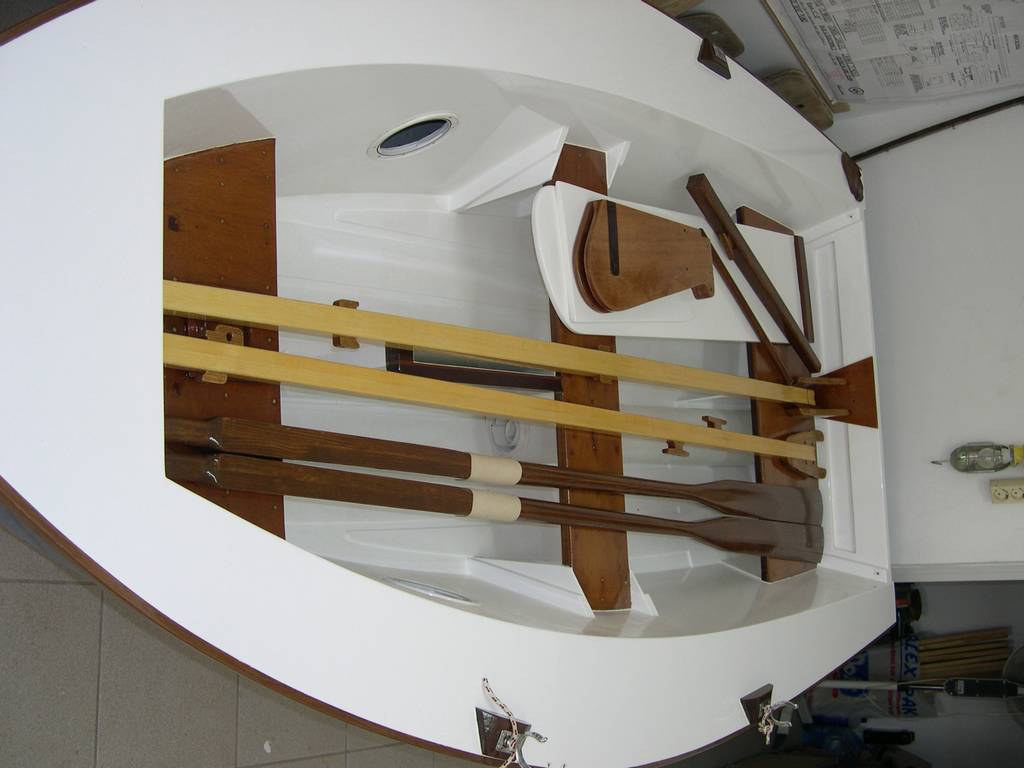
Here are all the sailing and rowing hardware, except the mast. The oars have been served in cotton string in the oarlock area. The string haw been varnished and is now hard and stable.
A free source of leather that will line the boom and yard jaws.
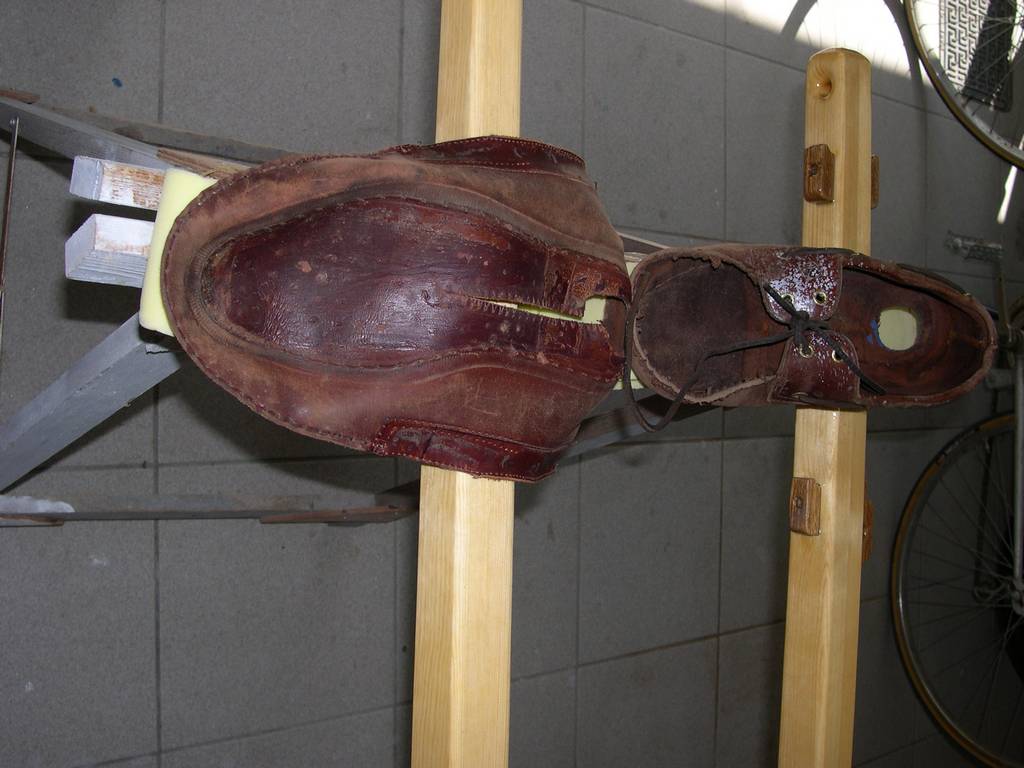
There are two layers of leather at the boom jaws. The smaller part is the thickness of the jaws. The other layer goes on top. They were both glued with contact cement. More leather was applied on the yard jaws.
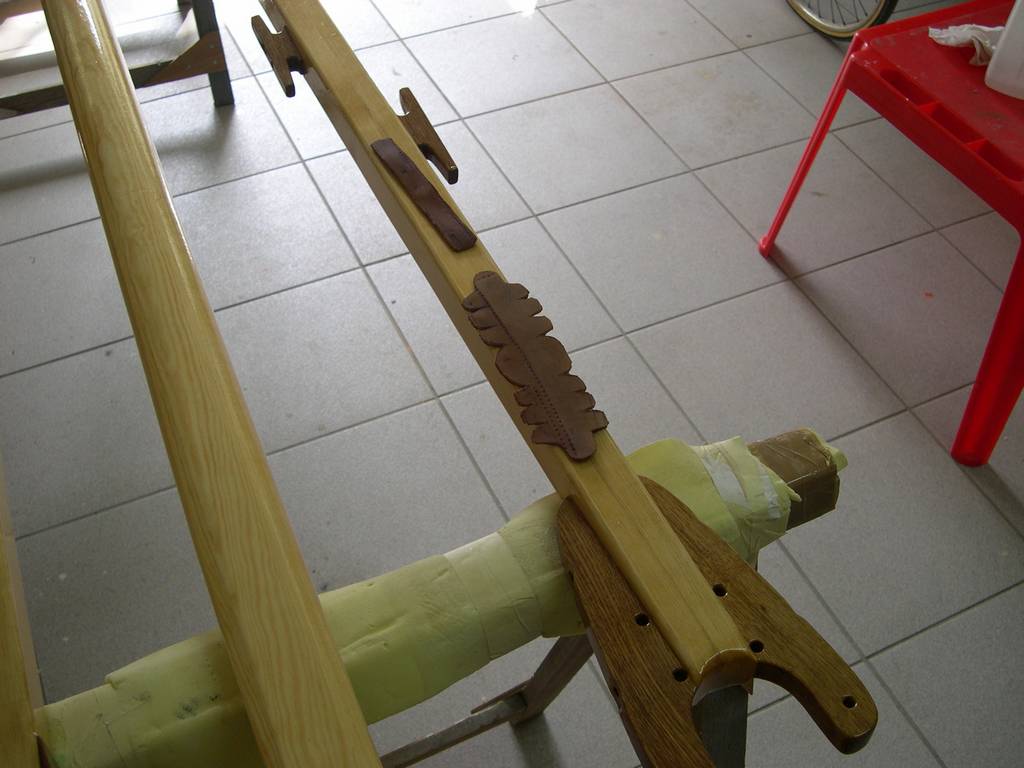
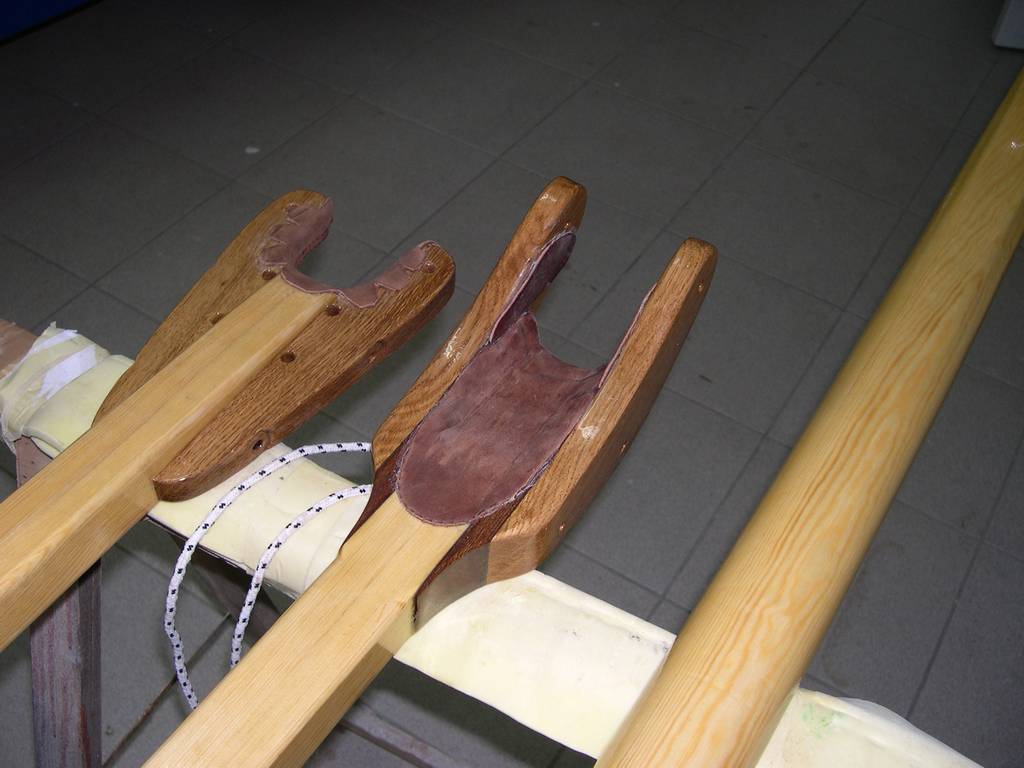
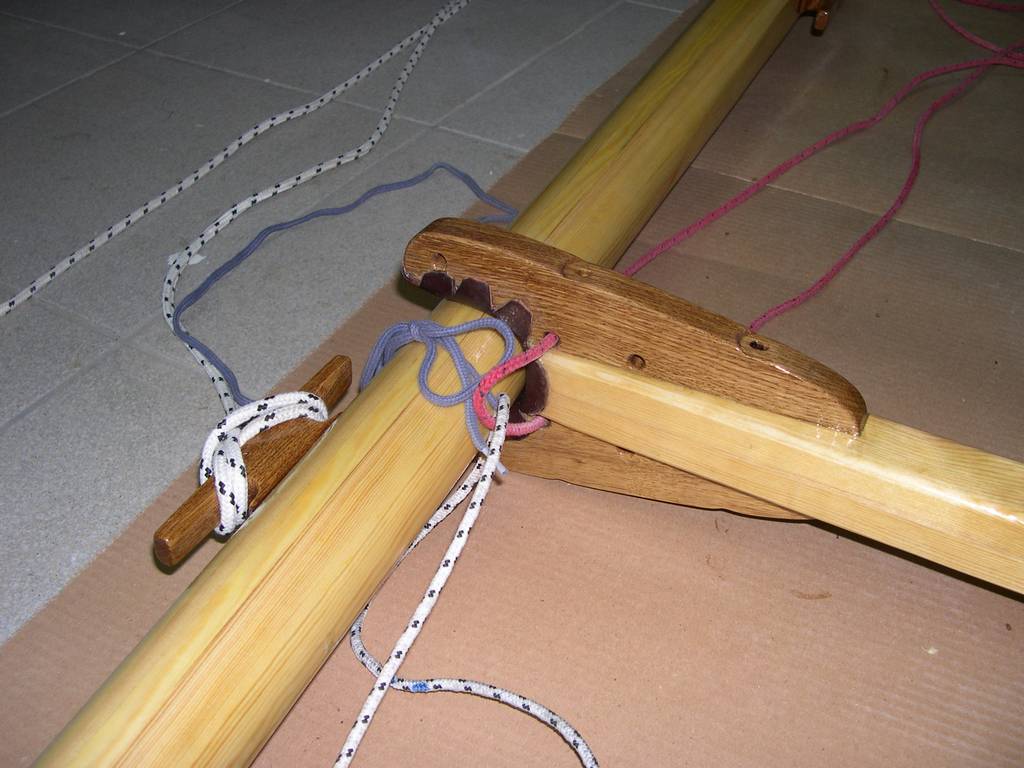
After leathering I made a trial fit of the rig on the floor. I also took measurements for the sail. All hardware for the mast and the boom were made of oak and glued and screwed on the mast.
Here is a detail of the boom-mast joint. I find the result aesthetically pleasant. I hope that it will be functional as well. Notice the the jaws are not in line with the boom, so that they will be perpendicular to the mast once the sail is hoisted.
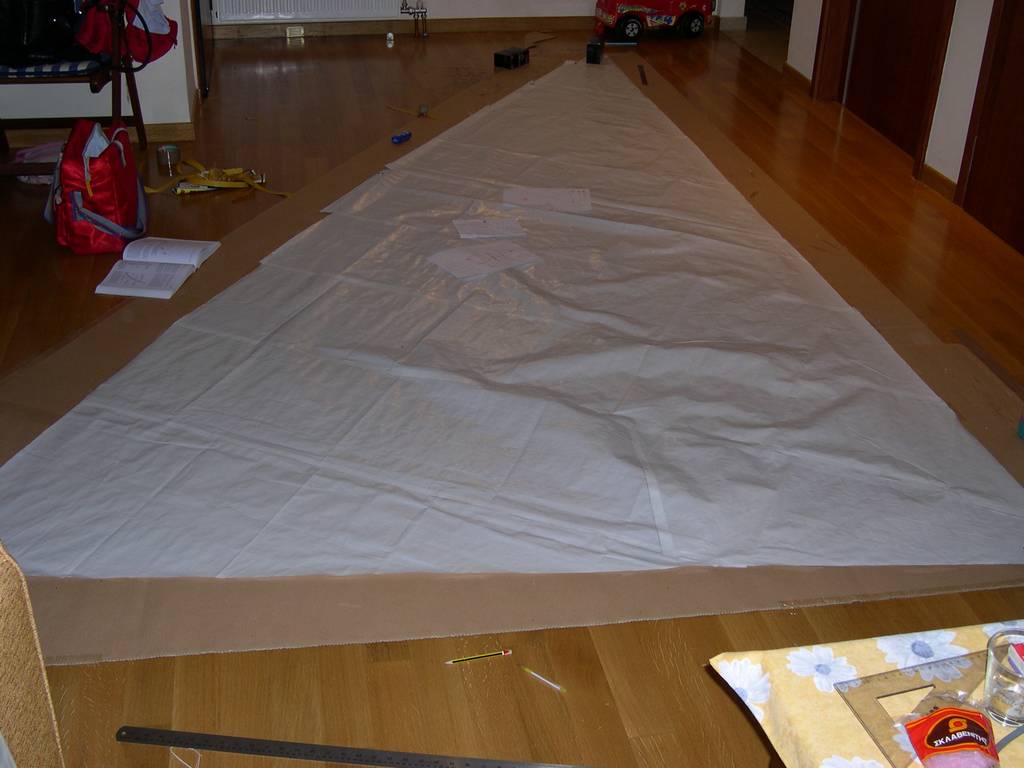
Time to make a sail. I used cheap white polytarp material that I cut to 18" strips as dacron sailcloth would be. Although the material is cheap, I will not use cheap techniques. I will use traditional sailmaking techniques from the Emiliano Marino book "Sailmaker's apprentice". I consider this sail as an excercise in sailmaking. If things work out I will make a real dacron sail later.
Marino's book is simply excellent for traditional sailmaking.
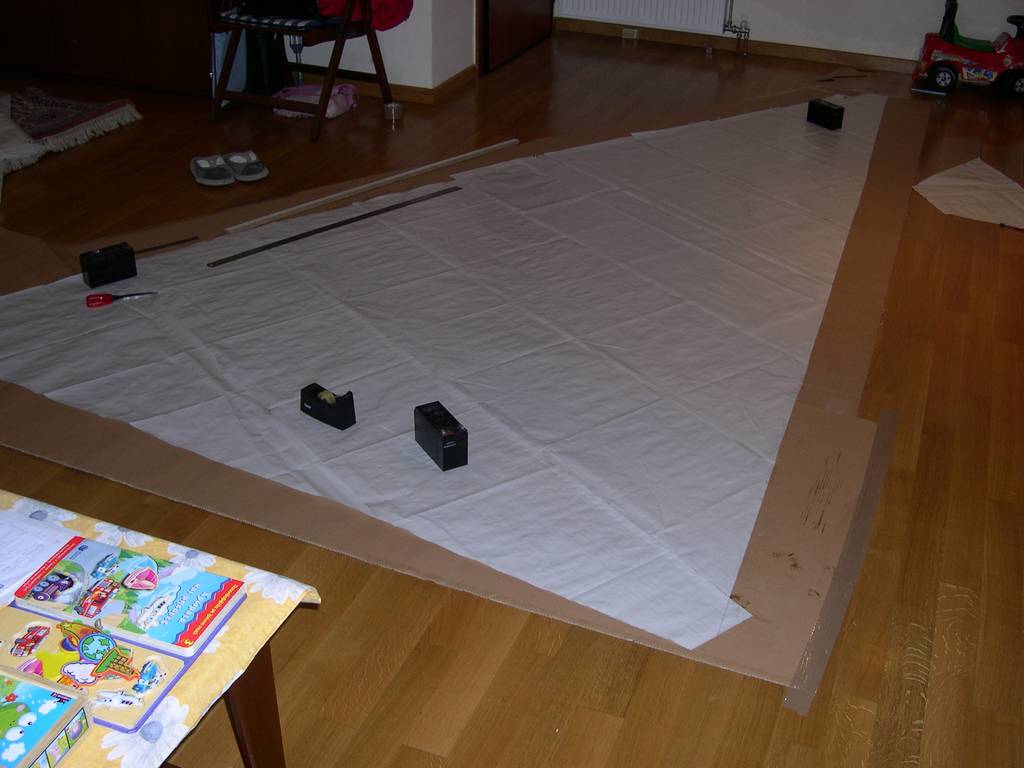
The sail after the broadseams were glued with carpet tape. Notice how the belly of the sail has started to develop. The sail is not flat any more. I gave little fullness to the sail in anticipation of stretch in polytarp material.
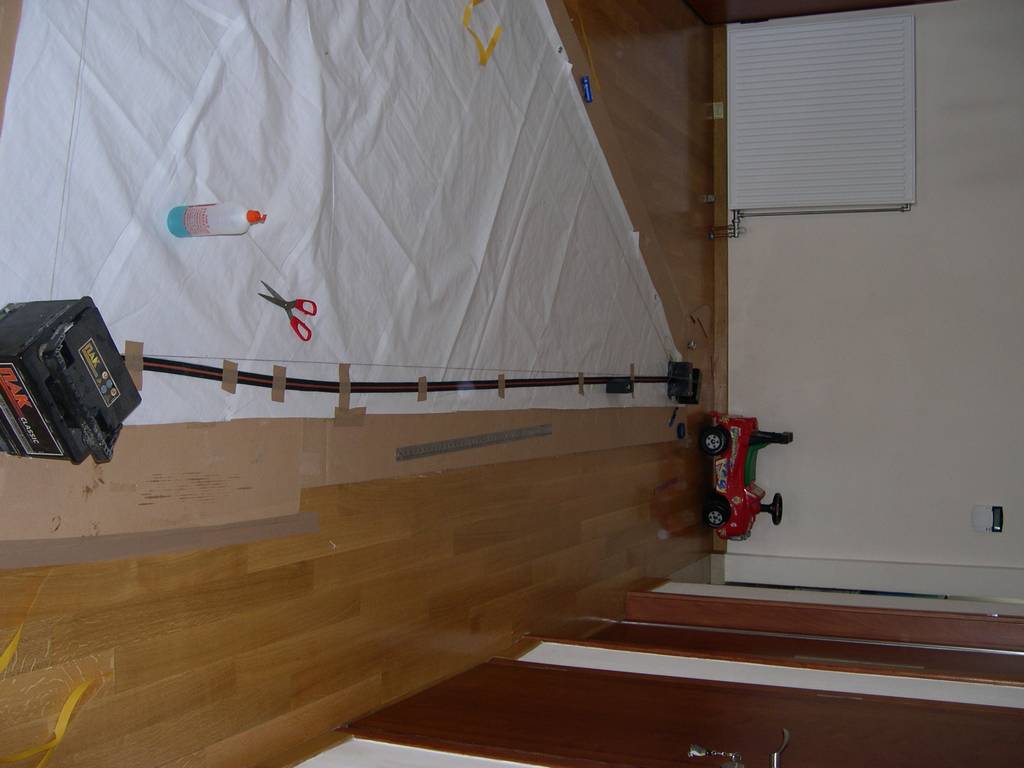
I used the webbing method to draw the luff and foot curves because I did not have such a long batten. The batteries are used instead of spikes to keep the webbing tight.
That's all for the moment. Now, I'm going to oil my sewing machine.
Regards to all of you.
My son, next to the boat. When I started building, he was not even born.
The mast step is made from 3 laminated layers of 1/4 plywood, glued on another 1/4 layer and then on top of the front bench.
Here are all the sailing and rowing hardware, except the mast. The oars have been served in cotton string in the oarlock area. The string haw been varnished and is now hard and stable.
A free source of leather that will line the boom and yard jaws.
There are two layers of leather at the boom jaws. The smaller part is the thickness of the jaws. The other layer goes on top. They were both glued with contact cement. More leather was applied on the yard jaws.
After leathering I made a trial fit of the rig on the floor. I also took measurements for the sail. All hardware for the mast and the boom were made of oak and glued and screwed on the mast.
Here is a detail of the boom-mast joint. I find the result aesthetically pleasant. I hope that it will be functional as well. Notice the the jaws are not in line with the boom, so that they will be perpendicular to the mast once the sail is hoisted.
Time to make a sail. I used cheap white polytarp material that I cut to 18" strips as dacron sailcloth would be. Although the material is cheap, I will not use cheap techniques. I will use traditional sailmaking techniques from the Emiliano Marino book "Sailmaker's apprentice". I consider this sail as an excercise in sailmaking. If things work out I will make a real dacron sail later.
Marino's book is simply excellent for traditional sailmaking.
The sail after the broadseams were glued with carpet tape. Notice how the belly of the sail has started to develop. The sail is not flat any more. I gave little fullness to the sail in anticipation of stretch in polytarp material.
I used the webbing method to draw the luff and foot curves because I did not have such a long batten. The batteries are used instead of spikes to keep the webbing tight.
That's all for the moment. Now, I'm going to oil my sewing machine.
Regards to all of you.
-
ks8
- * Bateau Builder *

- Posts: 8403
- Joined: Mon Nov 24, 2003 1:00 am
- Location: NC USA
- Location: Now a much longer sail to Tampa Florida! Back to NC, Youngsville FM05tw
Re: Another side of boat building
Very nice! Looking forward to the sail being filled and fulfilled. 
Regards to the family, and enjoy the first sail!
Regards to the family, and enjoy the first sail!
-
gk108

- * Bateau Builder - Expert *
- Posts: 3356
- Joined: Thu Jul 28, 2005 6:53 pm
- Location: The Peach State
Re: Another side of boat building
That looks good! I learned a lot about what I needed for my dacron sail by making one out of inexpensive material first.
CC, D15, V10
Re: Another side of boat building
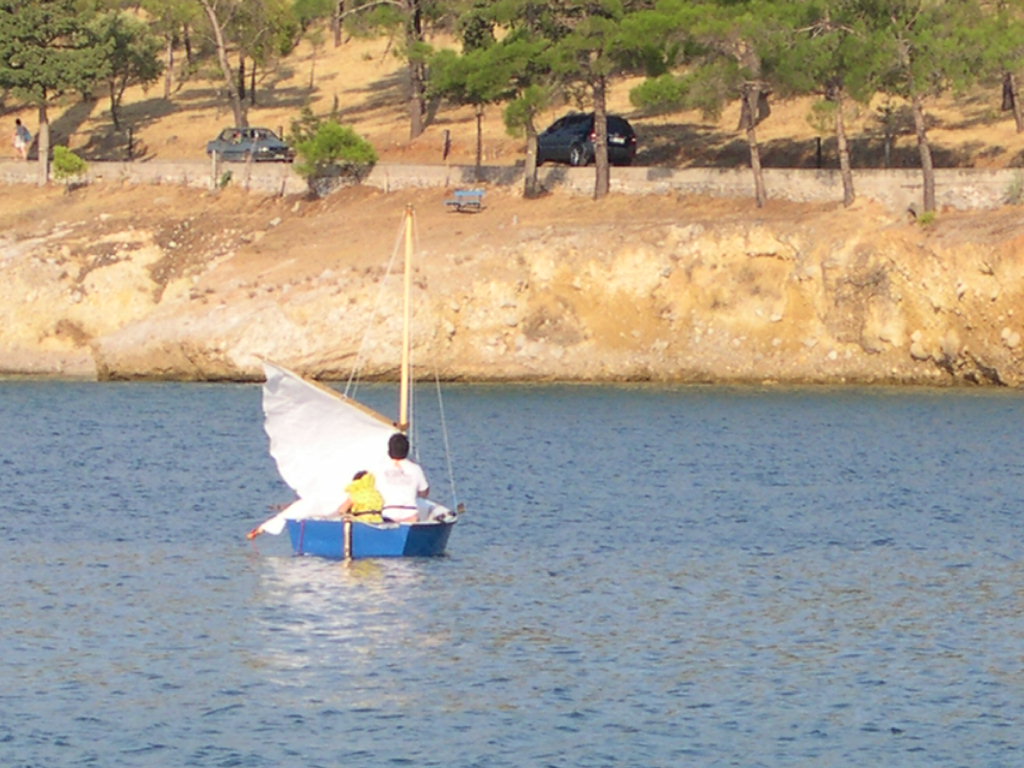
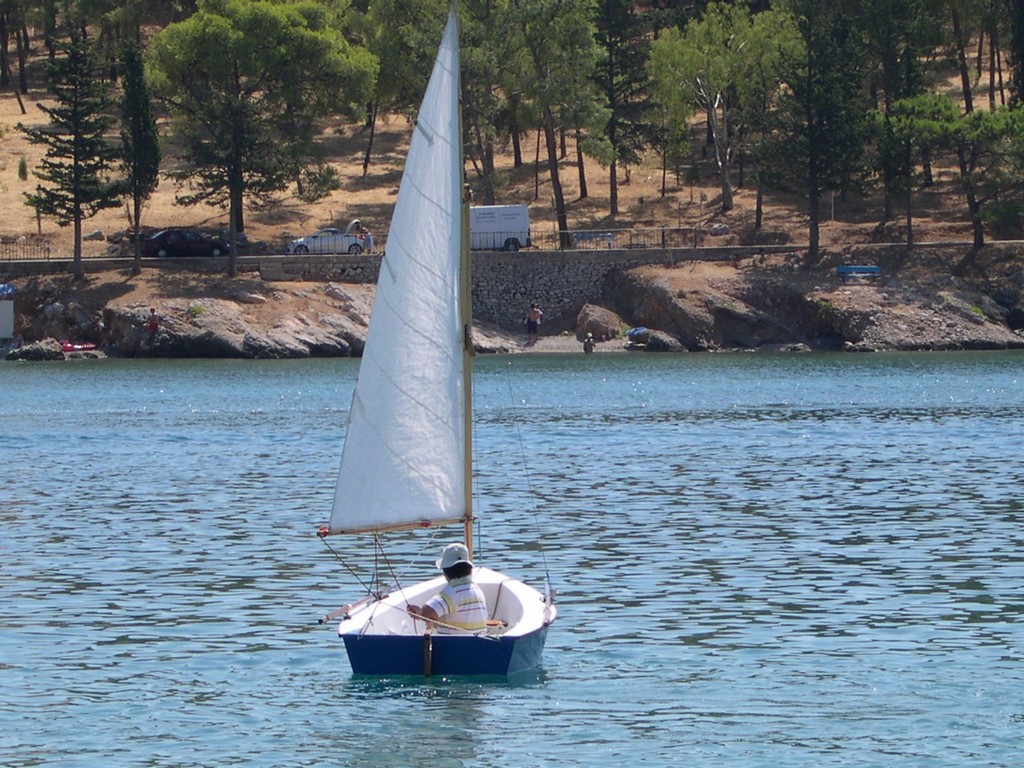
I was planning to post a lot of pictures, but the photos are trapped inside the camera. I can't find neither the card reader nor the USB cable. So here's just one picture that a friend of mine has taken that shows her fully rigged.
Since then, I have finished the installation of the rudder, the tiller, battens for the sail, spectra shrouds. I will try to post some more pictures next week.
Vacations and hopefully dinghy sailing start at August 15.
[[ EDITED ]]
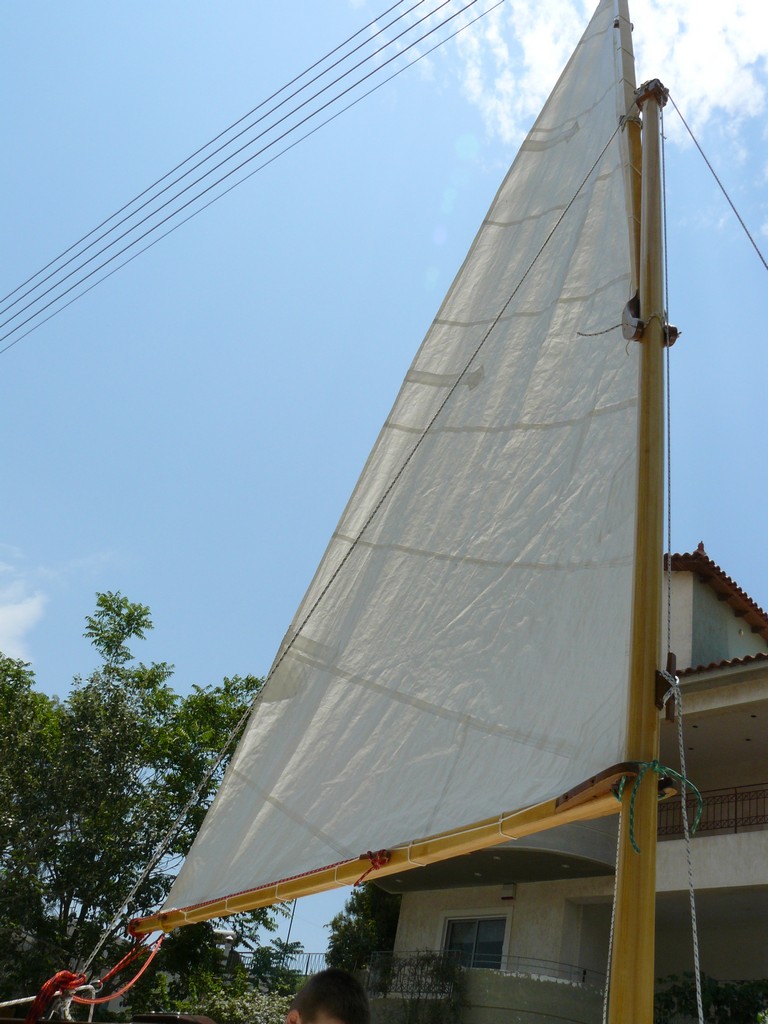
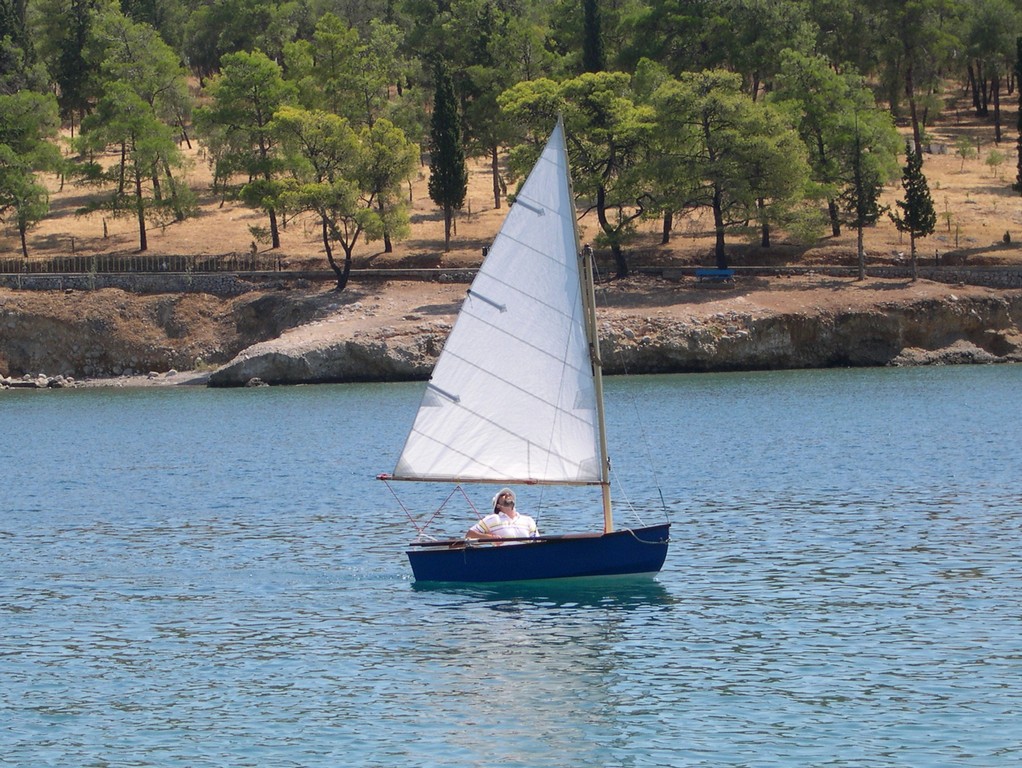
I found another one that shows nicely the polytarp sail that I sewed.
Regards to all of you
Since then, I have finished the installation of the rudder, the tiller, battens for the sail, spectra shrouds. I will try to post some more pictures next week.
Vacations and hopefully dinghy sailing start at August 15.
[[ EDITED ]]
I found another one that shows nicely the polytarp sail that I sewed.
Regards to all of you
-
Cracker Larry
- * Bateau Builder - Expert *
- Posts: 22491
- Joined: Fri Mar 11, 2005 3:39 pm
- Location: Savannah, GA
Re: Another side of boat building
That's some fine work Dimitris 
Completed GF12 X 2, GF16, OD18, FS18, GF5, GF18, CL6
"Ships are the nearest things to dreams that hands have ever made." -Robert N. Rose
-
gk108
- * Bateau Builder - Expert *
- Posts: 3356
- Joined: Thu Jul 28, 2005 6:53 pm
- Location: The Peach State
Re: Another side of boat building
Yes it is! That second picture is good enough to see the broadseaming on the sail. Vacation certainly will be fun this year.
CC, D15, V10
Re: Another side of boat building
Back from holidays with the first sailing miles on Tina. It was my first dinghy sailing experience and I found it really very satisfying. Everything work properly, no accidents or serious mishaps and the air was easy most of the times.
The boat could easily handle my size (6 feet) and weight (220 pounds) but I found it rather difficult to move my weight around fast enough when jibing. Se was well balanced and developed only a slight weather helm under all conditions. She pointed well, although I think the sail was shallow and was depowered when I beat too hard.
I sailed totally about 30 n.m. during these fifteen days. I GPSed about half of them. The maximum speed I was was on a run during a 4 scale wind, 4.1 knots. Beating in this wind involved moving all my weight on the gunwale to avoid the capsize. In slow winds it was hard to point higher that 55 degrees, tacking at 110 degrees. In stronger winds I could easily tack at 100 degrees, without loosing speed.
I almost capsized once during a jibe in a 20 knots breeze. Everything went so fast that I didn't realize what happened, except that I just tried to prevent the capsize. After the boat came to irons I realized it was full of water and I had the bailing bucket inside the flotation chamber. Fortunately, I managed to sail her back to her berth, even full of water. Another day, I made a capsize drill, only to find out that the capsized boat without my weight in it would not take any water and was very easy to upright.
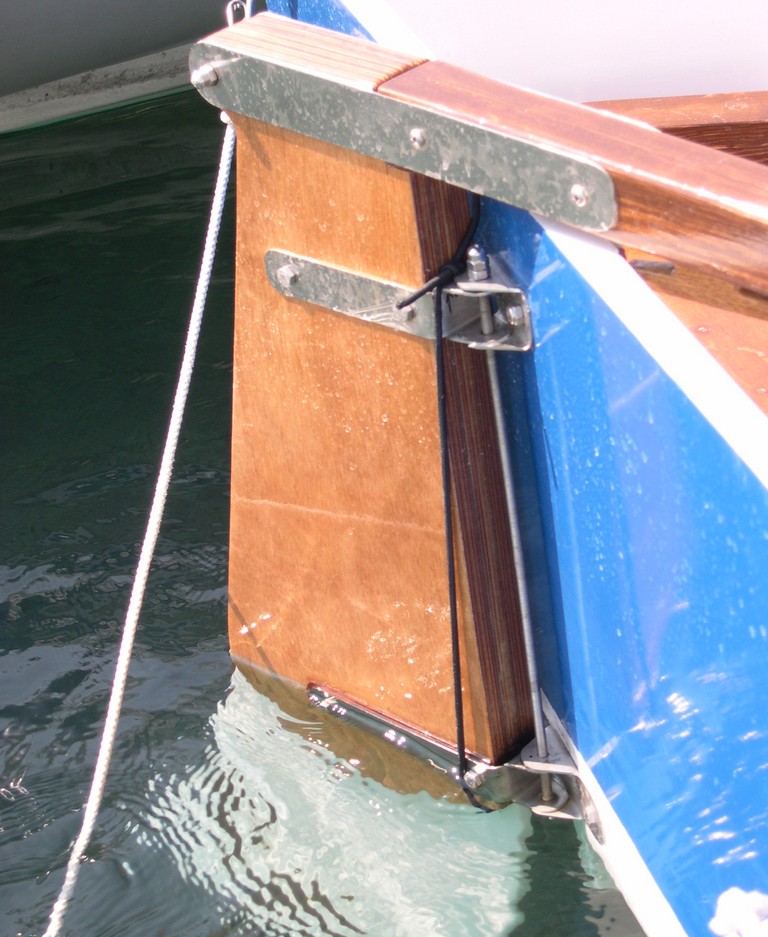
Here are some photos. The technical ones first.
This is a detail of the rudder setup. The outer bolt of lower gudgeon also serves as the pivot for the blade. The tiller pivots around an axle at the rear of the ruuder. Some times I dropped it in the water when rowing because it interfered with the oars. I think the tiller is long for my size.
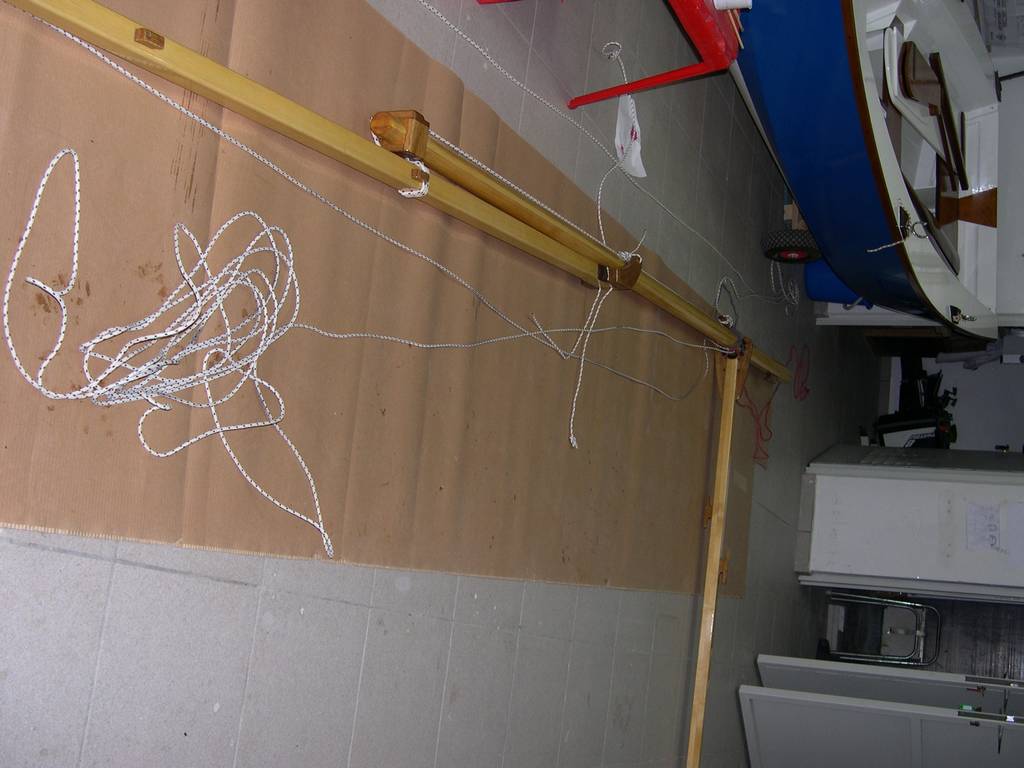
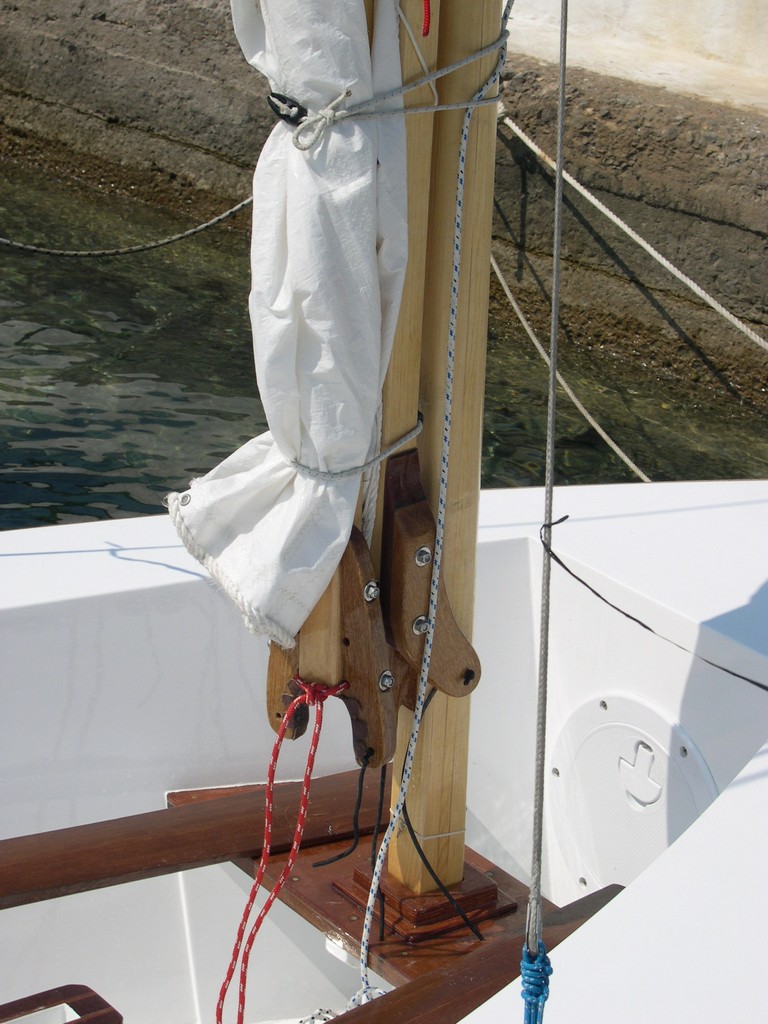
This is the stowage arrangement for the spars and sail. It takes some time to tidy everything up but the boat is stable and it is not difficult to tidy up everything or raise the sail.
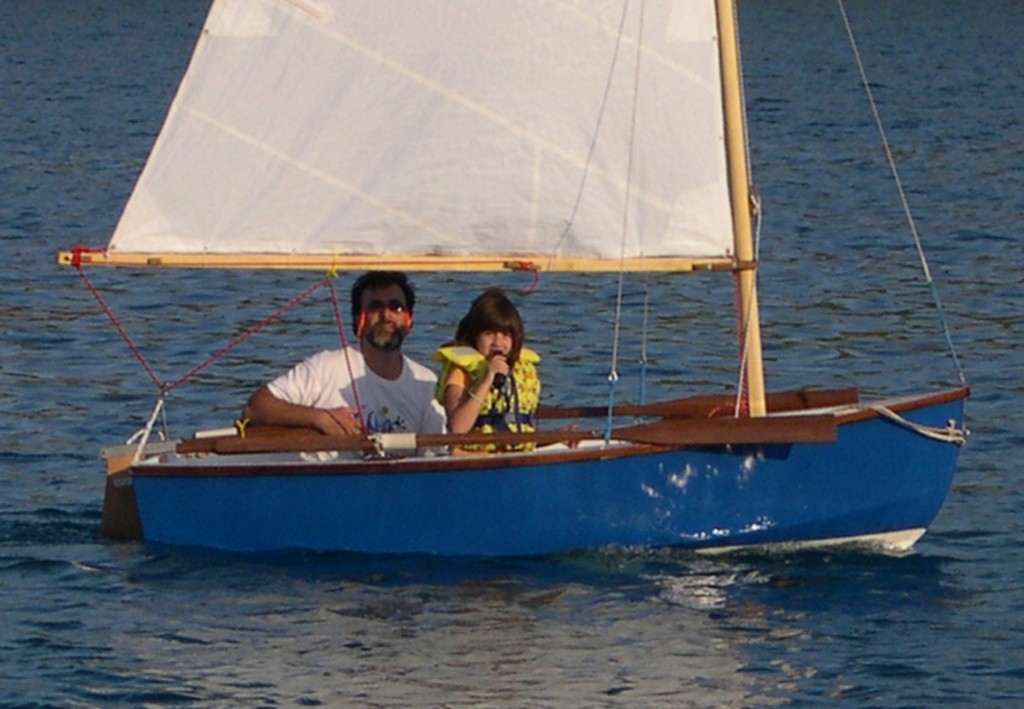
First hoisting of the sail with my daughter inside. I had made some practice during the previous days, when the wind was stronger.
Sailing with my daughter

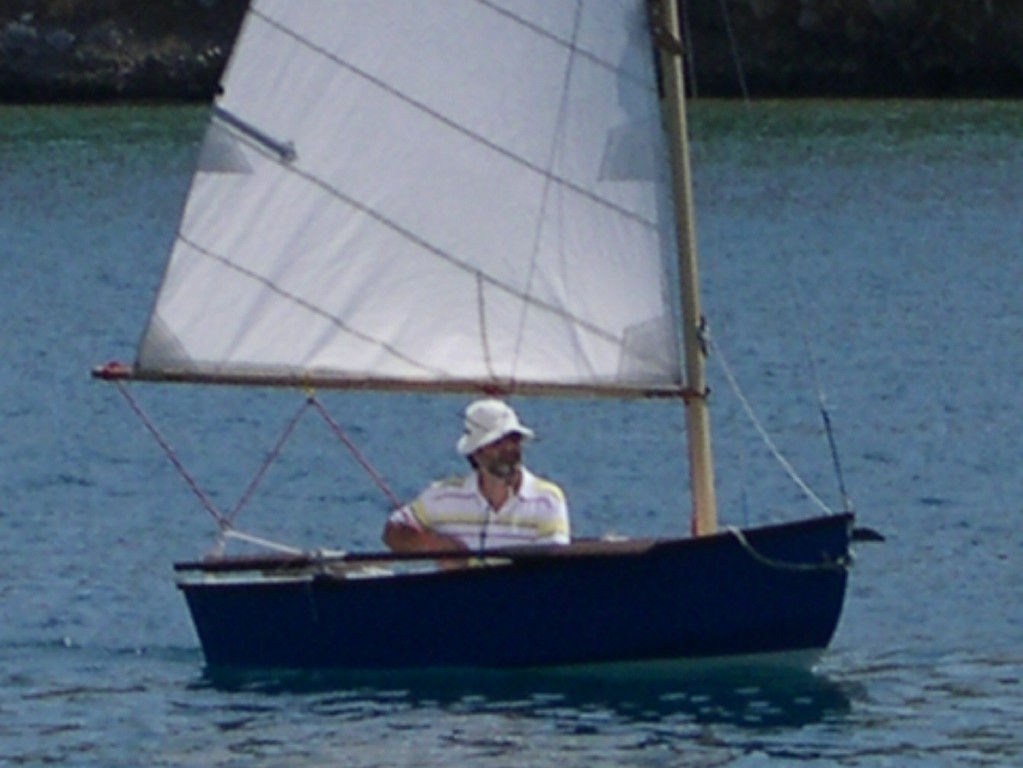
A closer view
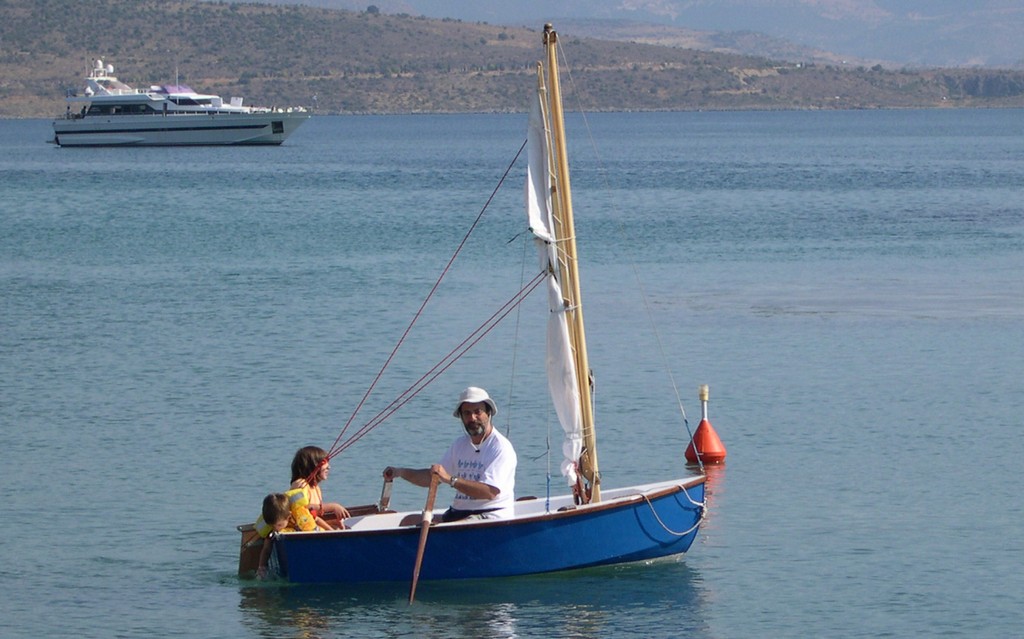
Rowing with both kids sitting at the aft bench. She lists aft. It would be better if I sent the kids to the bow.
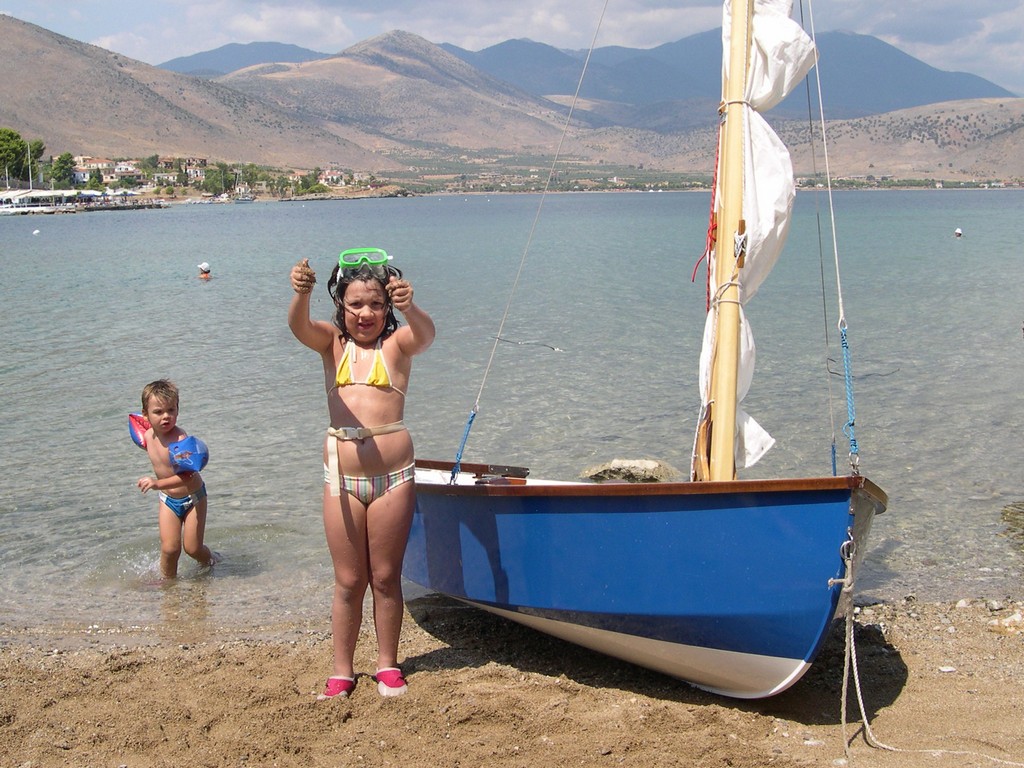
From a swimming excursion
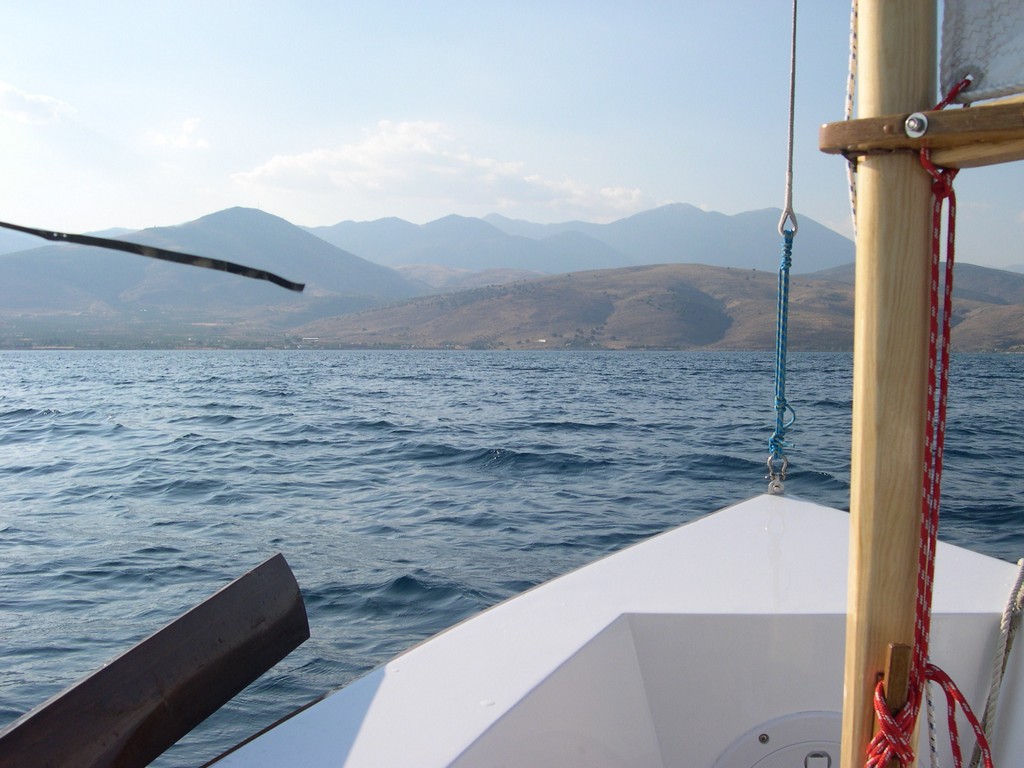
A view from the cockpit
Two pics showing the full sail.
Heading back to port.
She is now back at the safety of my garage.
Regards to all of you.
Dimitris
The boat could easily handle my size (6 feet) and weight (220 pounds) but I found it rather difficult to move my weight around fast enough when jibing. Se was well balanced and developed only a slight weather helm under all conditions. She pointed well, although I think the sail was shallow and was depowered when I beat too hard.
I sailed totally about 30 n.m. during these fifteen days. I GPSed about half of them. The maximum speed I was was on a run during a 4 scale wind, 4.1 knots. Beating in this wind involved moving all my weight on the gunwale to avoid the capsize. In slow winds it was hard to point higher that 55 degrees, tacking at 110 degrees. In stronger winds I could easily tack at 100 degrees, without loosing speed.
I almost capsized once during a jibe in a 20 knots breeze. Everything went so fast that I didn't realize what happened, except that I just tried to prevent the capsize. After the boat came to irons I realized it was full of water and I had the bailing bucket inside the flotation chamber. Fortunately, I managed to sail her back to her berth, even full of water. Another day, I made a capsize drill, only to find out that the capsized boat without my weight in it would not take any water and was very easy to upright.
Here are some photos. The technical ones first.
This is a detail of the rudder setup. The outer bolt of lower gudgeon also serves as the pivot for the blade. The tiller pivots around an axle at the rear of the ruuder. Some times I dropped it in the water when rowing because it interfered with the oars. I think the tiller is long for my size.
This is the stowage arrangement for the spars and sail. It takes some time to tidy everything up but the boat is stable and it is not difficult to tidy up everything or raise the sail.
First hoisting of the sail with my daughter inside. I had made some practice during the previous days, when the wind was stronger.
Sailing with my daughter
A closer view
Rowing with both kids sitting at the aft bench. She lists aft. It would be better if I sent the kids to the bow.
From a swimming excursion
A view from the cockpit
Two pics showing the full sail.
Heading back to port.
She is now back at the safety of my garage.
Regards to all of you.
Dimitris
-
cape man

- * Bateau Builder - Expert *
- Posts: 8278
- Joined: Sun Jan 20, 2008 12:02 pm
- Location: Lithia, Florida
Re: Another side of boat building
Looks like she is all you wanted her to be! Congrats!
The world always seems brighter when you've just made something that wasn't there before - Neil Gaiman
Who is online
Users browsing this forum: No registered users and 7 guests