Page 1 of 2
Clearncalm's FS14
Posted: Fri Mar 09, 2007 10:47 pm
by clearncalm
I think I have successfully created a gallery for my FS14 build. If I'm doing it right the link will follow.
http://gallery.bateau2.comindex.php?cat=17051
It's not showing up blue, so it may not work. Let's see if it works. If not I'll try again.
I'll be darned if I can figure out how to post a picture to this forum. Any help would be appreciated.

I have a list of lessons learned in my head that I want to share when I have some time.
I've been following the progress of dborecky, muscrat100, and racerrob. I think were all at about the same stage.
[/url]
http://gallery.bateau2.comindex.php?cat=17051[url][/url]
Posted: Sat Mar 10, 2007 8:58 am
by Dougster
That looks good to me---I like the tip on putting marks on the glass and hull when dry fitting, to help line up later.
Need all the tips I can get Dougster
Posted: Sat Mar 10, 2007 9:05 am
by chrisobee
Open the gallery in one window and the message you are editing in another.
Go the gallery and right click on the large photo that you want to display in the forum. Select properies.
Highlight the contents of the pictures location. This will include http at the begining and .jpg or .JPG at the end. Right click the highlighted area and select copy.
Return to your message. click the IMG button once. paste in your location click the IMG button a second time.
It is important not to move the cursor with the arrow keys or with a mouse click in between the IMG button clicks
Posted: Sat Mar 10, 2007 9:59 am
by tech_support
nice and clean job....
Posted: Sat Mar 10, 2007 10:42 pm
by clearncalm
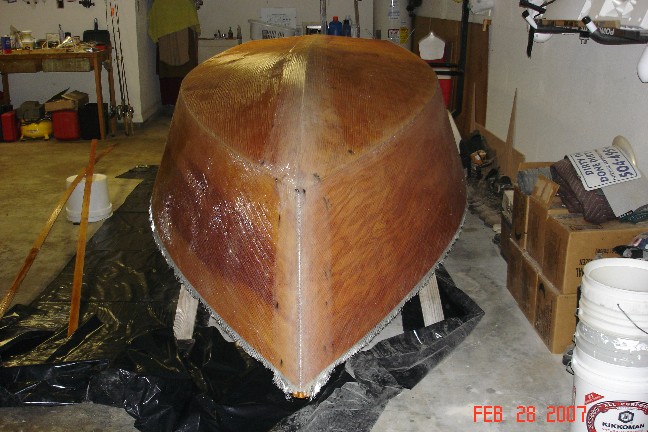
Testing to see if I have been able to follow chrisobee's instructions correctly on how to post a picture.....
If this works you should see a shot of the bow and a transom shot with the first coat of primer still wet.

Posted: Sat Mar 10, 2007 10:44 pm
by clearncalm
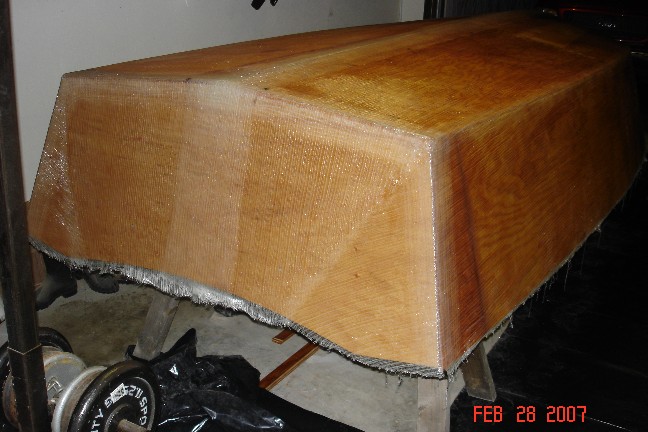
Well I got one right. One more time.
Transom shot.
Posted: Sat Mar 10, 2007 10:46 pm
by clearncalm
Thank you chrisobee. I would have never figured that out on my own.
Posted: Sun Mar 11, 2007 3:42 am
by chrisobee
The message editor is a little twitchy. you have to be consistent in its use to be successful. I'm very pleased that I could help.
Posted: Sun Mar 11, 2007 9:15 am
by MadRus
Hi Clearncalm,
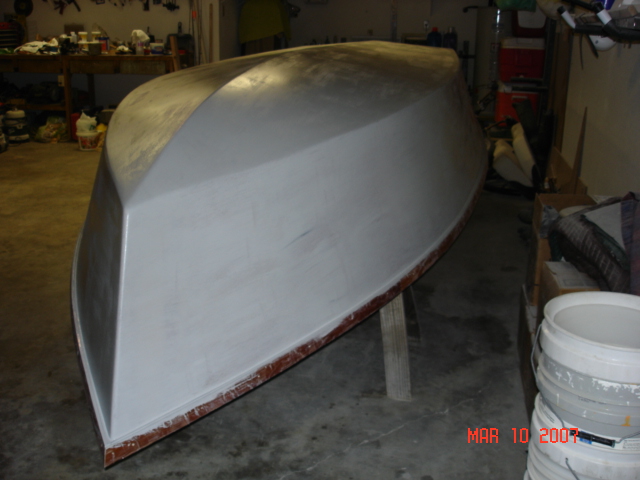
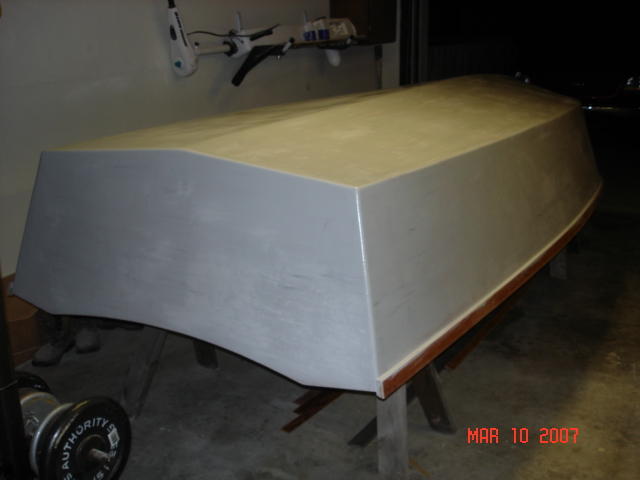
I was reading your images in the gallery. The S3 primer is designed to be sanded almost completely off. It's a high build primer, and very thick with lots of solids by design. To get the most out of it, it should be thick and rolled on, not brushed, in my opinion. Try using a paddle from your kitchen electric beater (or mixer) inserted into your power drill to break up the solids, or you can buy a paint mixing wand from the big box stores. It might not fit well in a quart of primer, but it should fit in a gallon size bucket of paint. This will help you reach maximum density or dynamic equilibrium or whatever you would like to call it... even distribution of the solids within the liquid. Then get a small roller, those four or six inch foam rollers work great. Get it on there thick and then sand it down after it cures, you won't believe how fine it comes out- better than my finished paint job usually.
Posted: Tue Mar 20, 2007 10:40 pm
by clearncalm
I take back what I said bad about the System 3 epoxy primer. It goes on fine when thinned with 50/50 water and alcohol and then rolled with a 6 inch foam roller, just as Madrus said. Just don't try to brush it. It sands incredibly well.
My outside is done except for the finish paint. My boat has been turned right side up, seams and corners are fileted, and tape is down the middle. Waiting on some more epoxy and slow hardener before attempting the big inside glassing.