
Steve, I feel your pain on the 12hr swing shift. Just got off night shift this a.m. start back on days monday, I'm lucky though my wife loves to mow the yard, I guess any time she gets a break from the kids she's happy. Well, good luck this weekend.
Daniel
A British FS17
-
colonialc19
- Very Active Poster

- Posts: 612
- Joined: Tue Apr 24, 2007 4:09 pm
- Location: Colonial Heights,VA
Hi,
Since I last posted I have taken delivery of 10 sheets of 6mm okume plywood from Robbins timber in Bristol. For the frames I used far eastern bs1088,but this stuff is worlds apart.The hull skin will be made from this & the side decks for the gunwales. The sole will be 10mm robbins elite as well,with the console a mixture of the far eastern stuff & robbins elite.

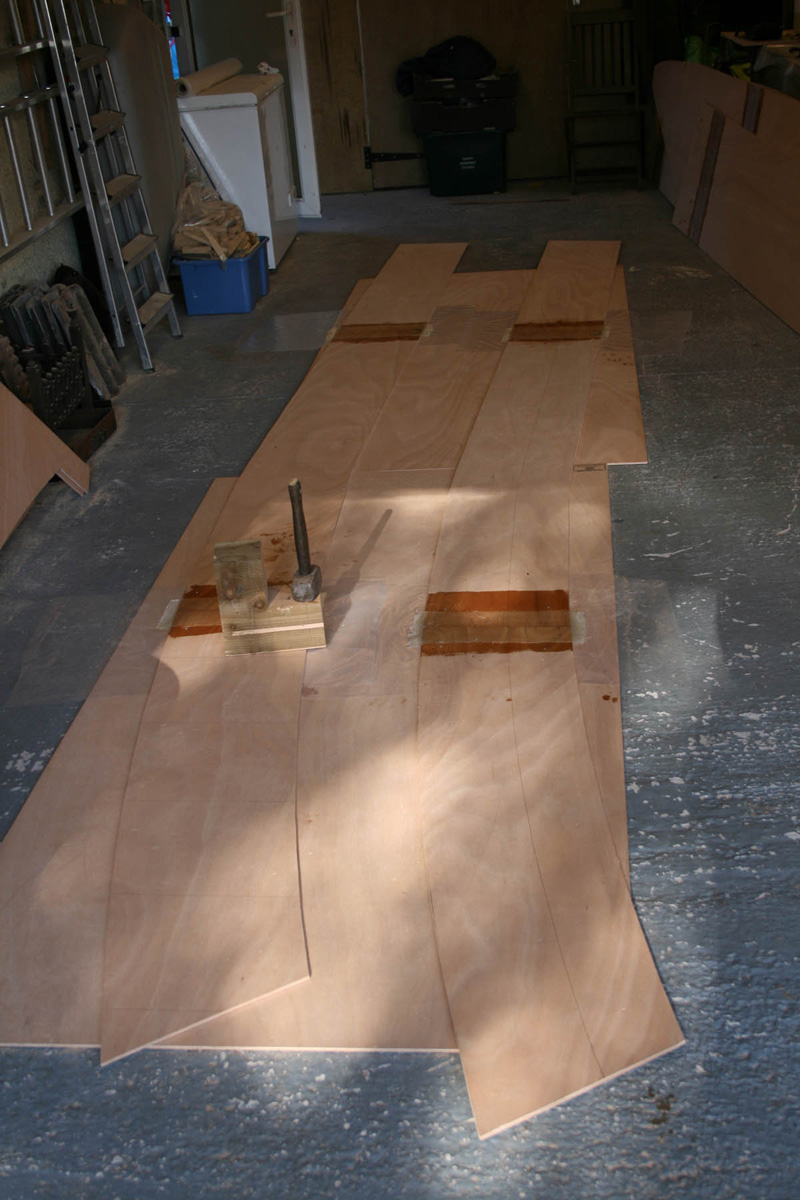
I have cut out the side & bottom panels of the hull & tonight I started to tape the panel sections together.Room is a bit tight,as you may be able to see from the photo's, so some planning is required so I don't paste myself in a corner.
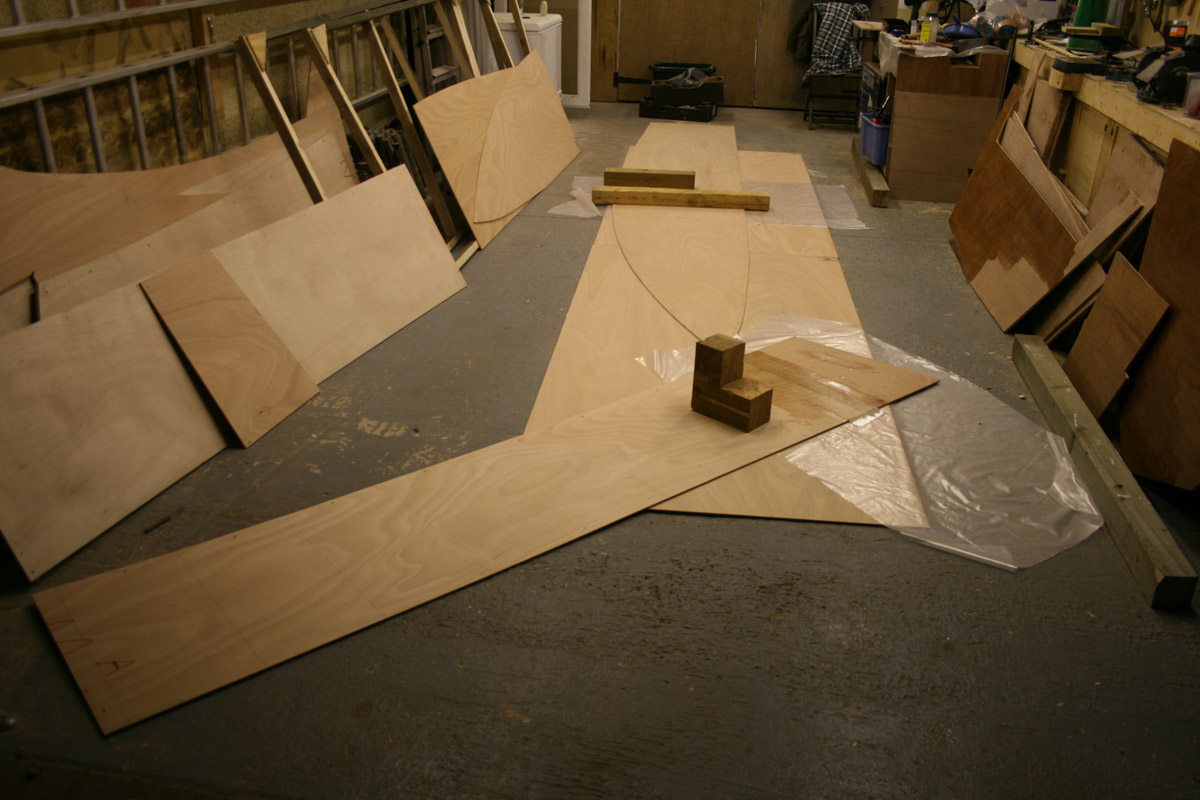
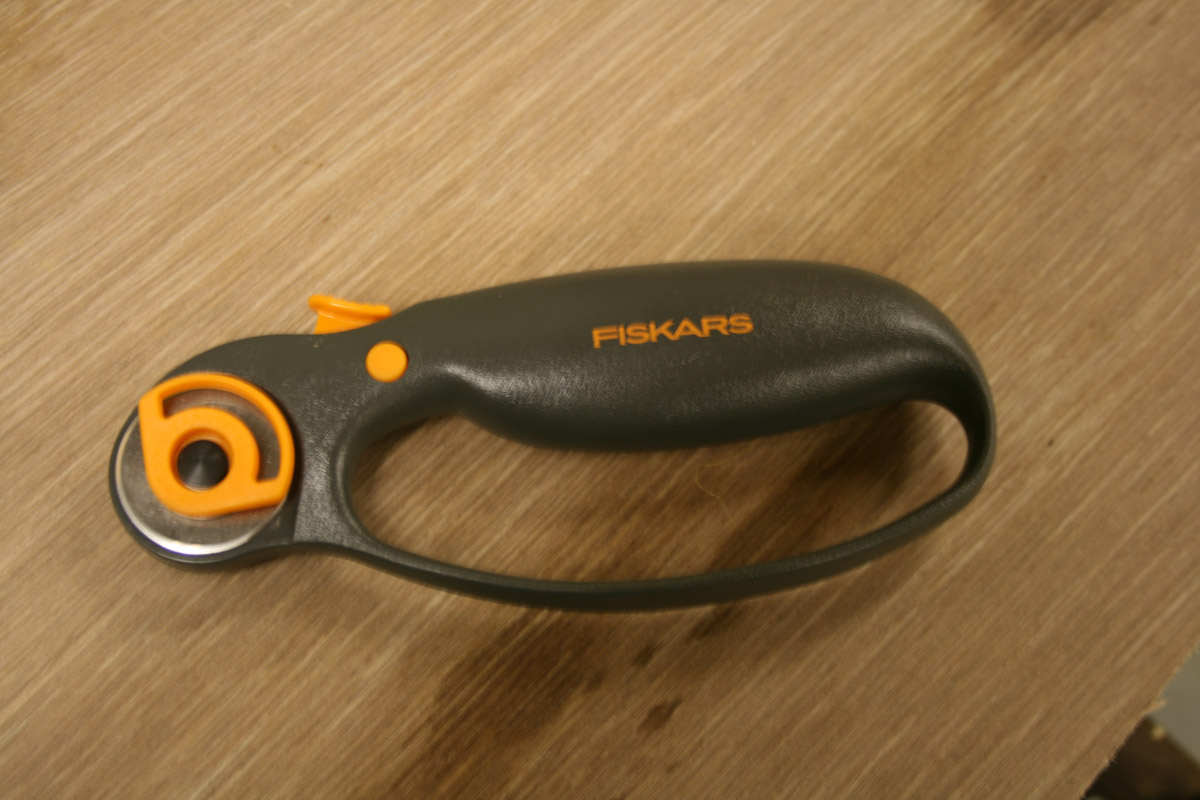
I went & got a fabric cutter from our local haberdashery which is making short work of cutting the biax tape.(thanks wobbly!)
I would welcome any comments on the picture of the tape lamination below.I think it is o.k,with no bubbles in it but it is the first one i've done
so ANY constructive comment is appreciated.
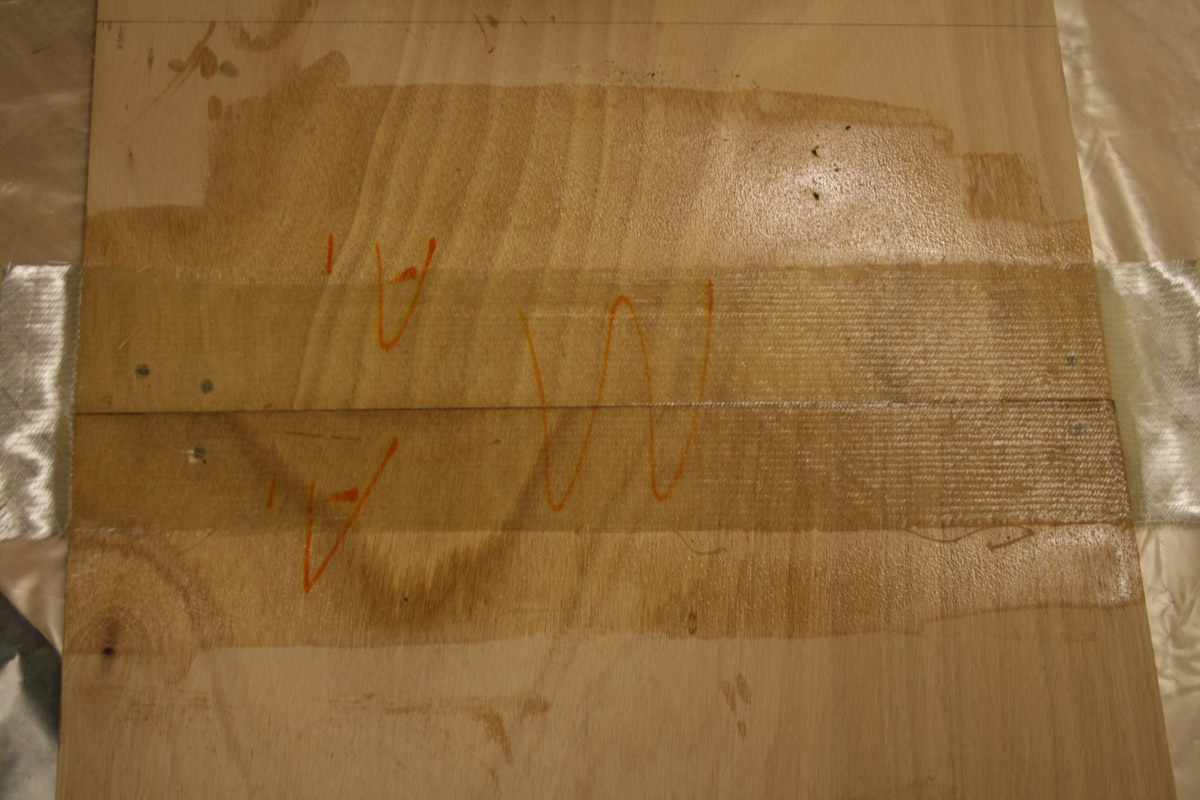
I am also using any leftover resin to coat the frames, so far between the gluing & taping I have coated all of A, both motorwell sides & half of E
as you can also see in the pics.
cheers,
Steve
Since I last posted I have taken delivery of 10 sheets of 6mm okume plywood from Robbins timber in Bristol. For the frames I used far eastern bs1088,but this stuff is worlds apart.The hull skin will be made from this & the side decks for the gunwales. The sole will be 10mm robbins elite as well,with the console a mixture of the far eastern stuff & robbins elite.
I have cut out the side & bottom panels of the hull & tonight I started to tape the panel sections together.Room is a bit tight,as you may be able to see from the photo's, so some planning is required so I don't paste myself in a corner.
I went & got a fabric cutter from our local haberdashery which is making short work of cutting the biax tape.(thanks wobbly!)
I would welcome any comments on the picture of the tape lamination below.I think it is o.k,with no bubbles in it but it is the first one i've done
so ANY constructive comment is appreciated.
I am also using any leftover resin to coat the frames, so far between the gluing & taping I have coated all of A, both motorwell sides & half of E
as you can also see in the pics.
cheers,
Steve

Progress
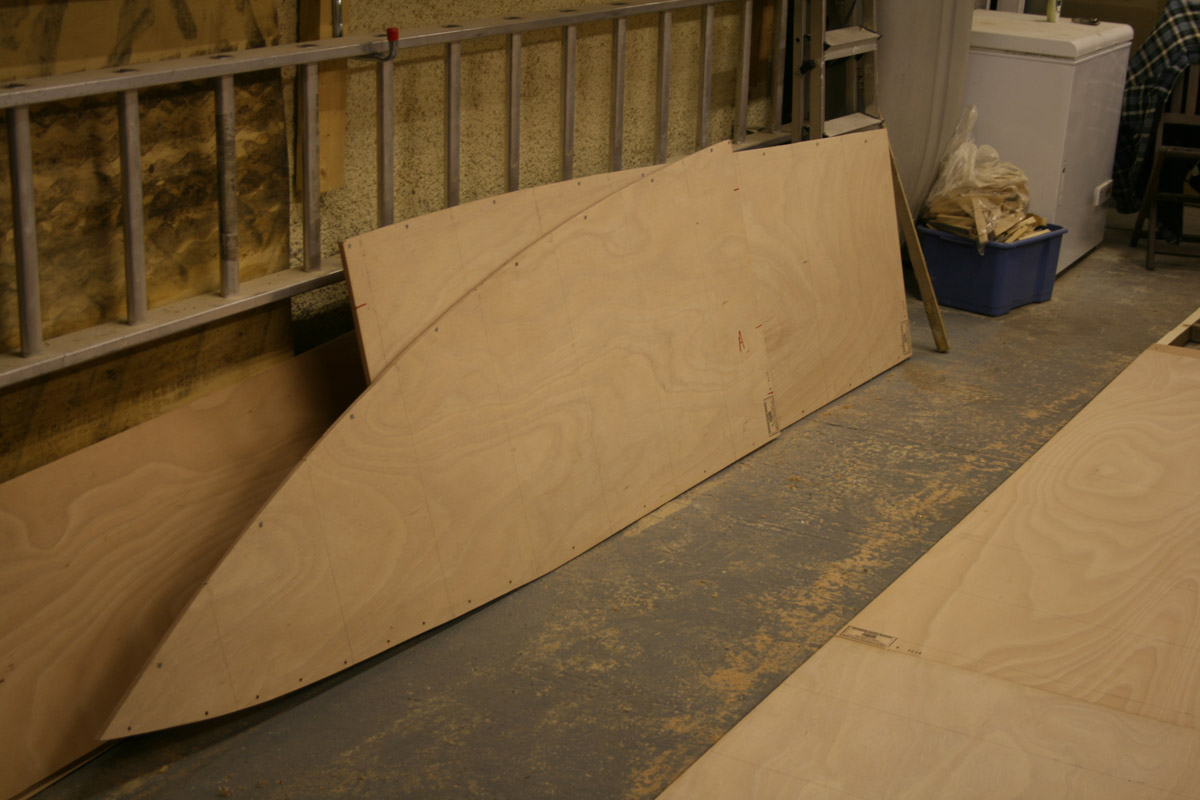
I have finished assembling all the hull panels & have used the side panels to mark & cut the bulwark extensions as described in the building notes.
Here they are with the splices curing-
I have also built the jig, BUT incredible as it might seem a fortnight of rummaging through every timber yard for a raduis of ten miles did'nt yeild two straight,unwarped 2x8 beams. So I have selected two of the least bent ones. These are straight lengthways but have a slight
upwards cast to them,so I am going to lift the frames slightly on the jig to allow me to adjust them up or down using a water level. To this end I have mounted frame A about 40mm high & levelled it. This I will use as the datum for all the other frames.
You may be able to see the deck line above the jig crossmember in this pic-
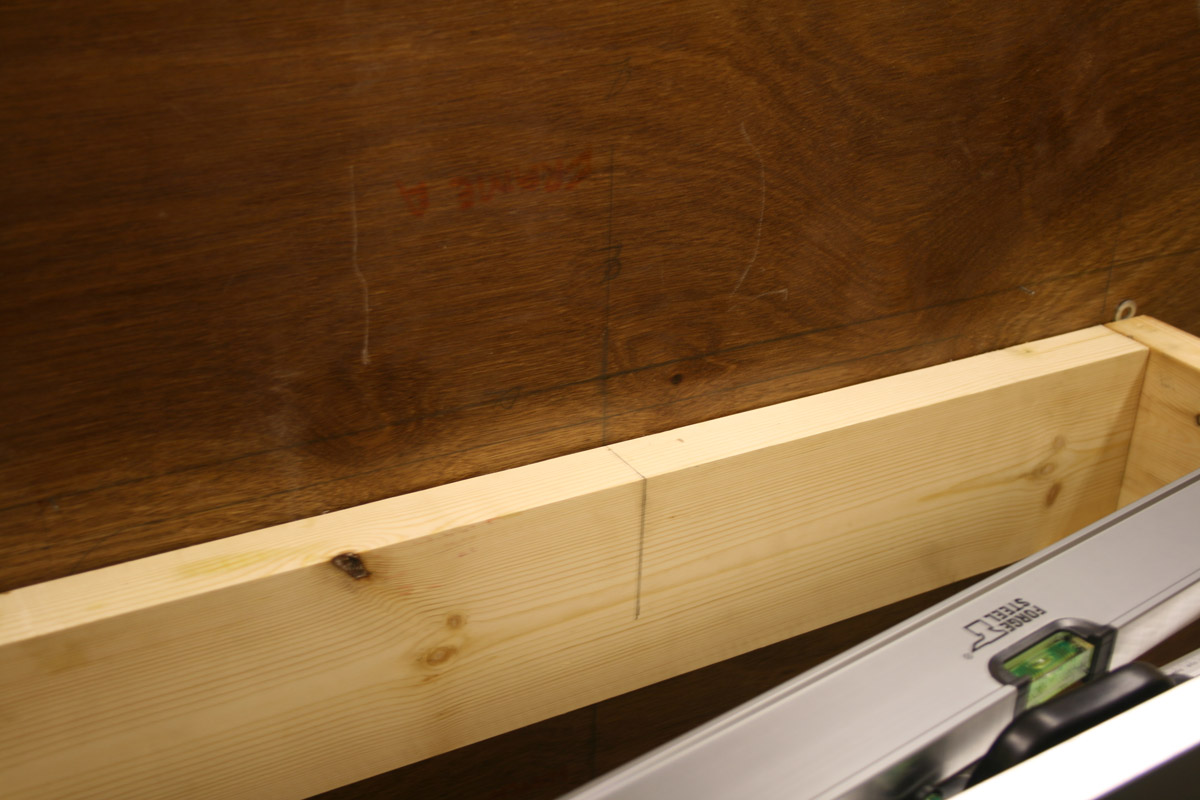
to centre the frames I have marked the centre of the jig using a stringline.
A couple of views of the jig-
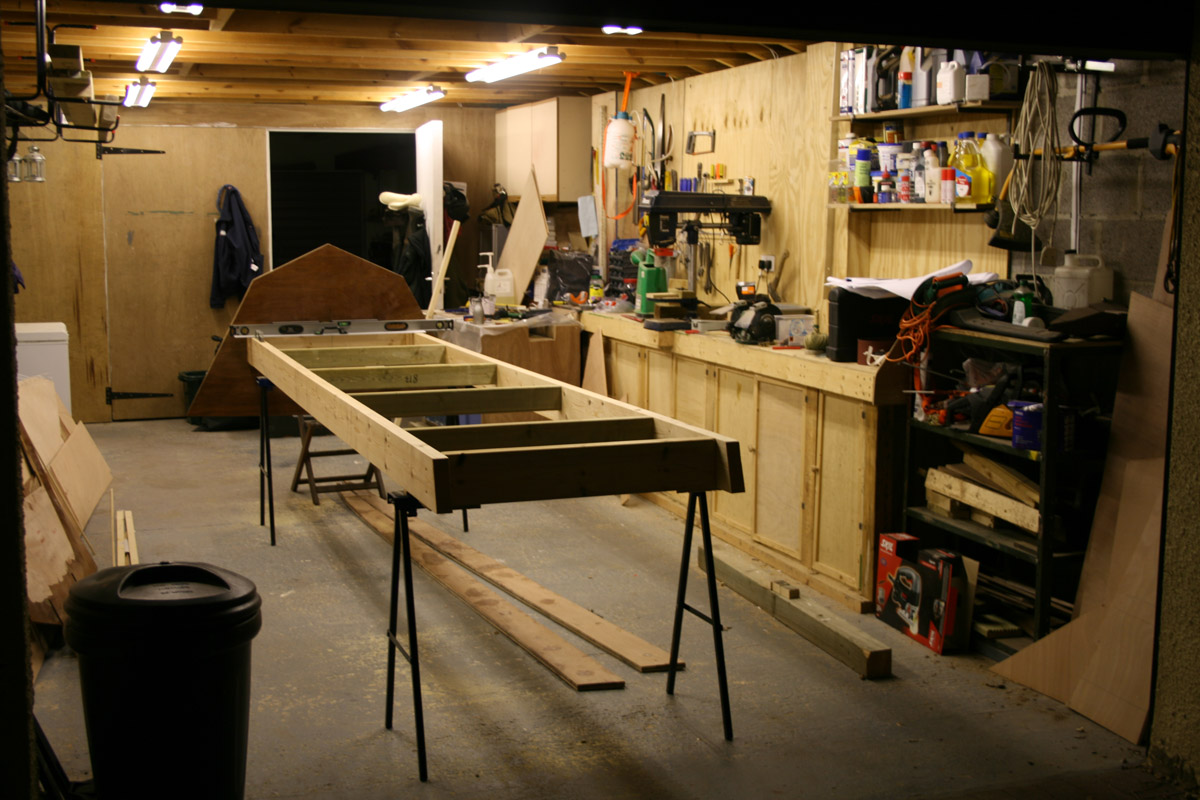
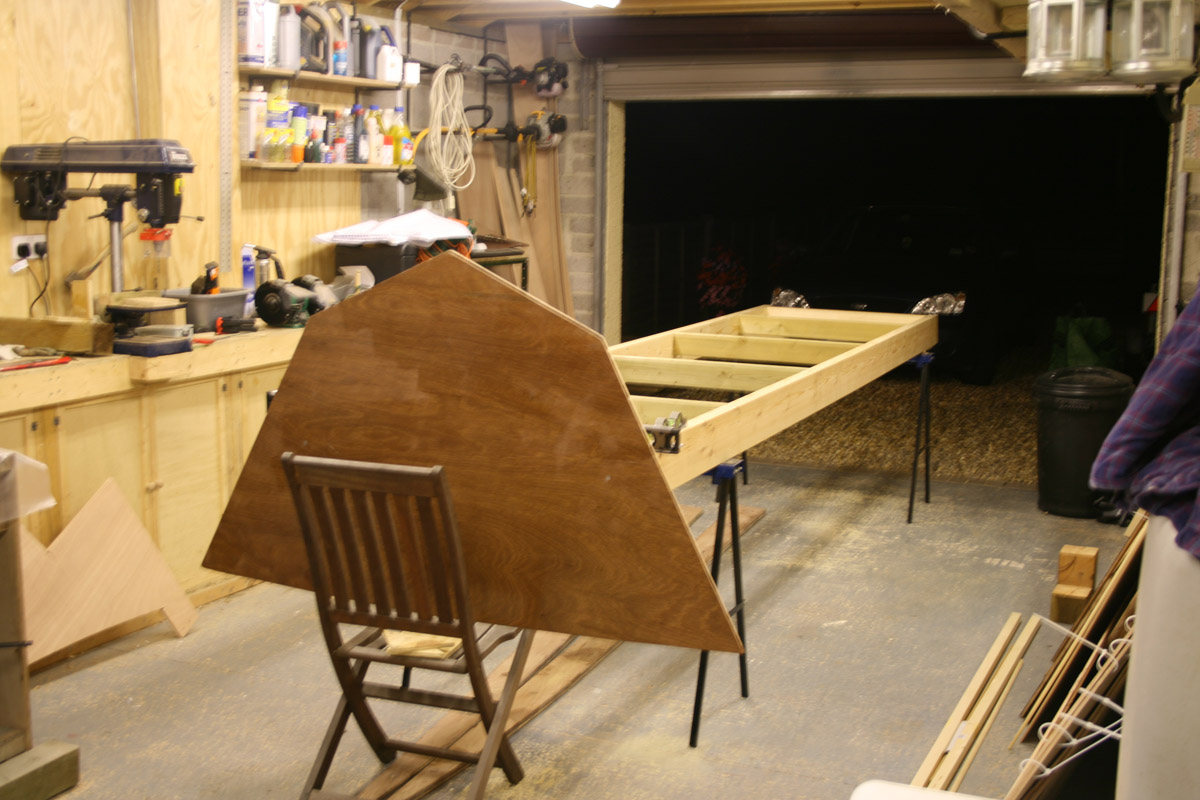
The chair was my third hand with some scrap ply packers, as I am single handed. I'd be lost without speed clamps.
Regards,
steve
I have finished assembling all the hull panels & have used the side panels to mark & cut the bulwark extensions as described in the building notes.
Here they are with the splices curing-
I have also built the jig, BUT incredible as it might seem a fortnight of rummaging through every timber yard for a raduis of ten miles did'nt yeild two straight,unwarped 2x8 beams. So I have selected two of the least bent ones. These are straight lengthways but have a slight
upwards cast to them,so I am going to lift the frames slightly on the jig to allow me to adjust them up or down using a water level. To this end I have mounted frame A about 40mm high & levelled it. This I will use as the datum for all the other frames.
You may be able to see the deck line above the jig crossmember in this pic-
to centre the frames I have marked the centre of the jig using a stringline.
A couple of views of the jig-
The chair was my third hand with some scrap ply packers, as I am single handed. I'd be lost without speed clamps.
Regards,
steve
-
Daniel Huckleberry
- Very Active Poster
- Posts: 862
- Joined: Mon Jun 19, 2006 12:40 pm
- Location: Fairhope, Alabama
Thanks guys,
Today I have mounted B & C frames & levelled them. I am thinking about the transom now as the building notes describe setting it of the width of the jig,& using the motorwell sides to set the height. As I have a wonky jig I will have to think of a way to do something similar, but up in the air.
That may make interesting reading, when I get there!
cheers,
Steve
P.S
The beams that looked straight when I bought them are'nt "!"£$**% straight either. £60 for wood thats not true..........at least dick Turpin had the decency to wear a mask when he did highway robbery.
-
colonialc19
- Very Active Poster
- Posts: 612
- Joined: Tue Apr 24, 2007 4:09 pm
- Location: Colonial Heights,VA
Who is online
Users browsing this forum: No registered users and 11 guests