
Hi lower
Did you use 3/4" for the transom and one 3/4" for the clamping board?
Did you make adjustment to the motorwell sides or lenghten/shorten the Hull sides and bottom?
Thanks
Lower's FS17
Sorry, I didn't have much time to respond over the holidays. Bushmaster...I followed the plans. 3/8" ply--4 thick.
So, I did have a chance to work on the boat some during the holidays. I hoped to have gotten a lot more done, but unfortunalty you can only go as fast as the process allows. 3 nights a few hours each night...went something like this:
Stitch...problems...cut...stitch...not right...cut....stitch....curse....cut....stitch...measure...cut....go inside read forums...follow advice...stitch...still not right...cut...curse louder...remeasure everything....seems right...stitch....I think you get the point. Sound familiar Steve, Jeremy, Daniel???
I don't know why that was so hard. Spent all the time I had alloted for the boat on stitching! In the end I pretty much got it, but it sucked. Can't wait to move on!
10-12 hrs to stich the hull? thats not bad. It helps now that you can tab the panels & allow the fillet to cure
then just work on it when you have an odd 1/2hr or so.
one tip I will say works well is to get under the hull & tape up the back of the joints with packing tape.use the bag method for filleting,I only mixed up about a tennis ball size at a time.It really does save money on epoxy.
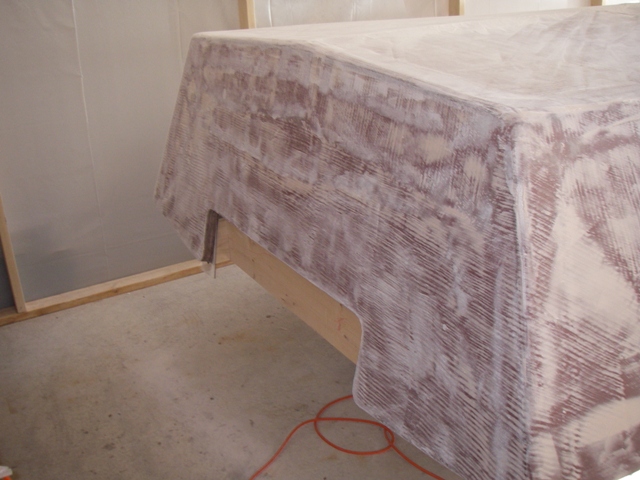
how about a pic?
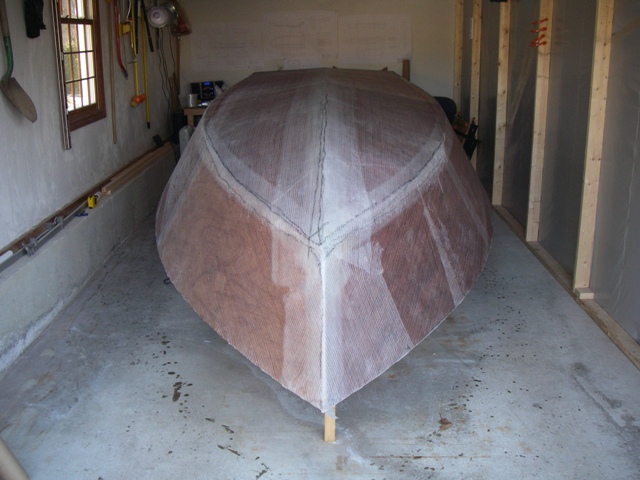
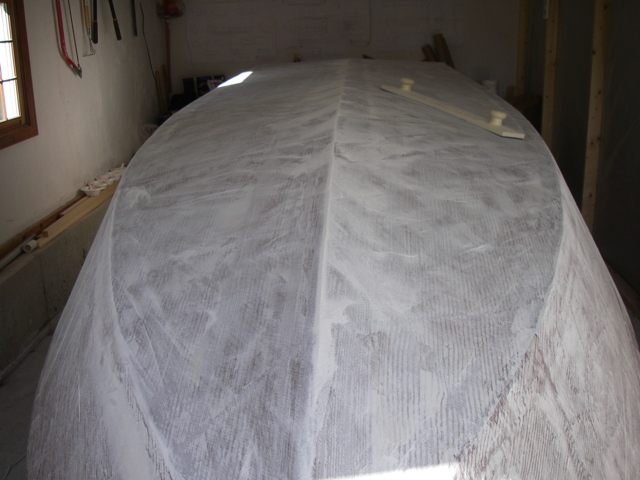
it gets better from here as you will see progress
regards,
steve
then just work on it when you have an odd 1/2hr or so.
one tip I will say works well is to get under the hull & tape up the back of the joints with packing tape.use the bag method for filleting,I only mixed up about a tennis ball size at a time.It really does save money on epoxy.
how about a pic?
it gets better from here as you will see progress
regards,
steve
-
colonialc19
- Very Active Poster

- Posts: 612
- Joined: Tue Apr 24, 2007 4:09 pm
- Location: Colonial Heights,VA
Lower,
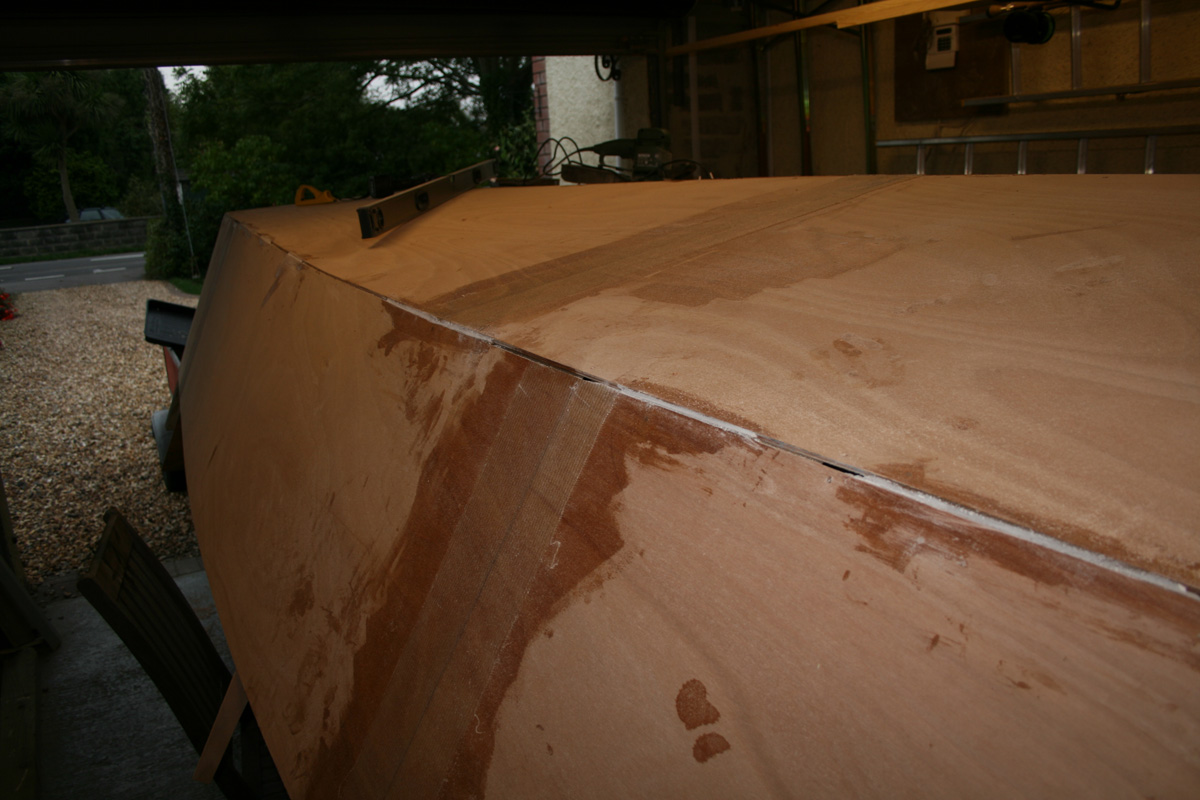
The stiching sounds about right, took me about 4 tries if I remember right, probally the worst part for me so far. After you do your fillets/glue, make for sure you round those chines and transom edges, I had some problems there didn't put enough radius on them.
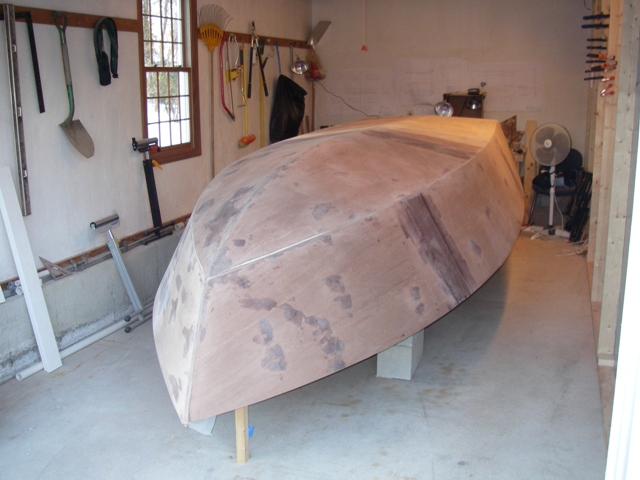
Just getting to see the basic hull together is really exciting, thats when the fun begins.

Daniel
The stiching sounds about right, took me about 4 tries if I remember right, probally the worst part for me so far. After you do your fillets/glue, make for sure you round those chines and transom edges, I had some problems there
Just getting to see the basic hull together is really exciting, thats when the fun begins.
Daniel
-
bushmaster
- Active Poster

- Posts: 244
- Joined: Mon Dec 10, 2007 11:50 am
This is exactly where I am. At first I had to take blood pressure breaks. Now I've just accepted that I have lots of planing to do and it will eventually work out. Shooting for fair... But definitely harder than I thought it would be. A friend called it a 3-D jigsaw puzzle...Lower wrote:3 nights a few hours each night...went something like this:
Stitch...problems...cut...stitch...not right...cut....stitch....curse....cut....stitch...measure...cut....go inside read forums...follow advice...stitch...still not right...cut...curse louder...remeasure everything....seems right...stitch....I think you get the point. Sound familiar Steve, Jeremy, Daniel???
-david
See my blog: http://buildingtx18.blogspot.com/view or drop "view" from the end for the old interface
Thanks for the comments guys. Steve...I'll give you props man. Your stiching looks textbook!
My stitching came out alright. Most areas look pretty good, but I do have a few 3/8" gaps or so. I realized a couple of my side panel splices weren't "perfect" meaning angled slightly, leaving a gap in that area. Also made it hard to align everything. Once I discovered that it made it a little easier. I allowed the gap to stay and worked around it. Pulling that gap tight really killed the bottom panel straightness. Oh...and getting to bow to come down was a $%#@% too.
Thanks for the tips though. I've already taped the underside. Now it's just time to break out the epoxy. Daniel...I'll be sure to round those edges down. I saw and learned from your experience. Thanks.
I'm just such a perfectionist...it's really hard to accept errors. I know in my head it's all fine, buy my science brain wants everything to be perfect! I keep saying to myself...It's your first boat...continue on...
Who is online
Users browsing this forum: Google [Bot] and 1 guest