Regarding the posting of pictures to the forum area:
Acceptable forum image metadata specs:
640 pixels wide x 480 pixels height (it seems the forum accepts up to 800 x 600)
100 DPI or PPI (pixels per inch) or less
file size under 1024k (1 mb)
24 bit color RGB or 8 bit grayscale
I do not know what the forum would do with settings outside (greater than) these ranges. As long as I have stayed within these specs, I have never had a problem. For instance, I do not know if a 48 bit color CMYK image will display or even upload.
Now, putting that into easier language:
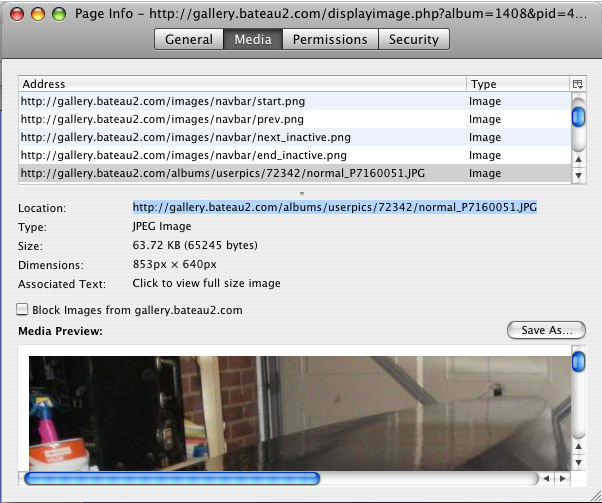
JPG images have not only the actual image data, but also something called *metadata*. Forum Web browser pages typically do not show the *metadata* of jpg's, but often utilize some of the metadata for formatting the display of the picture. *Metadata* includes things like:
physical dimensions in inches or pixels
the resolution within those dimensions in DPI or PPI
the camera, lense, speed, f stop, date and time when the image was taken
the GPS coordinates of the image (on many smart phones now)
Many *image* gallery services on the web, like the Coppermine that Bateau uses, does not care too much about metadata. The gallery software figures it out enough to know whether the image is allowable in specified limits of size for the gallery. The webmaster sets some of those limits.
The forum pages are another matter. They might be much more tempermental regarding metadata. The forum pages may not *figure out* how to fit unspecified image dimensions into the forum page display, even though the gallery software is not as picky. Results? One posts to the gallery pages alright, but the links into the forum are rejected.
If needful metadata is NOT present in the image file that is uploaded, the forum pages might not accept it, and give any number of reasons for rejecting the image link, such as the one you are getting.
How does metadata get included in an image file?
The device software capturing the image (scanner, digital camera, smartphone camera) often attaches the metadata, but some device software packages (the software in the device - firmware) do not attach metadata if your preferences or settings do not require it to do so. Who wants to read that manual?
So, if you are getting that message when trying to post image links, most likely it is either because some metadata is outside of the allowable range that has been specified by a webmaster (and the error message is misleading), or, the image file is missing some required metadata, and the forum software, not being as clever as the gallery software, is not taking the required computer clock cycles to run extra code to *figure it out* (this makes the forum more efficient as long as uploaded images contain the necessary metadata).
Solution:
If your image files are missing required metadata (dimensions and pixel resolution within those dimensions), then simply edit your images in a graphics program, before uploading to the gallery. Use a graphics program that will add the required metadata. I think, these days, just about every editing program adds the metadata to the image file, even if it doesn't tell you that it is doing so, other than in that fine print on page 1073 addendum ZX of the user manual. So open your images in any graphics editing program, look for some command that gives you the ability to specifically assign dimensions and resolution, make sure they are within forum limits, save the file, and THEN upload it into the gallery, finally linking the uploaded gallery image into the forum posting.
If you want users to have access to a higher res image (even though the forum rejects it), upload the higher res image into the gallery only (but it won't link into the forum). Bear in mind also that Bateau has an occasional need to upgrade hardware capacity, if users regularly post very high res images into the galleries. Hardware may be cheaper than ever, but the labor and downtime to accomplish the upgrade is expensive. Sticking with those specs given at the beginning of this post, will work without the need for continual hardware upgrades (we all suffer during the upgrade downtime).
The webmaster can provide more exacting details, but, imho, they are not needed at all by the end user (us), and I hope this post already says more than enough to resolve the image posting and linking difficulty, assuming your images are being uploaded to the Bateau galleries. If you are using another gallery service, still, make sure your images have the required metadata before the upload into those other picture gallery services.
There is a wide range of experience among the users of these forums at Bateau. If you share what camera and editing software you are using, there is sure to be at least one builder who can tell you what setting to correct so your images will be accepted into the forum pages as well as the galleries.
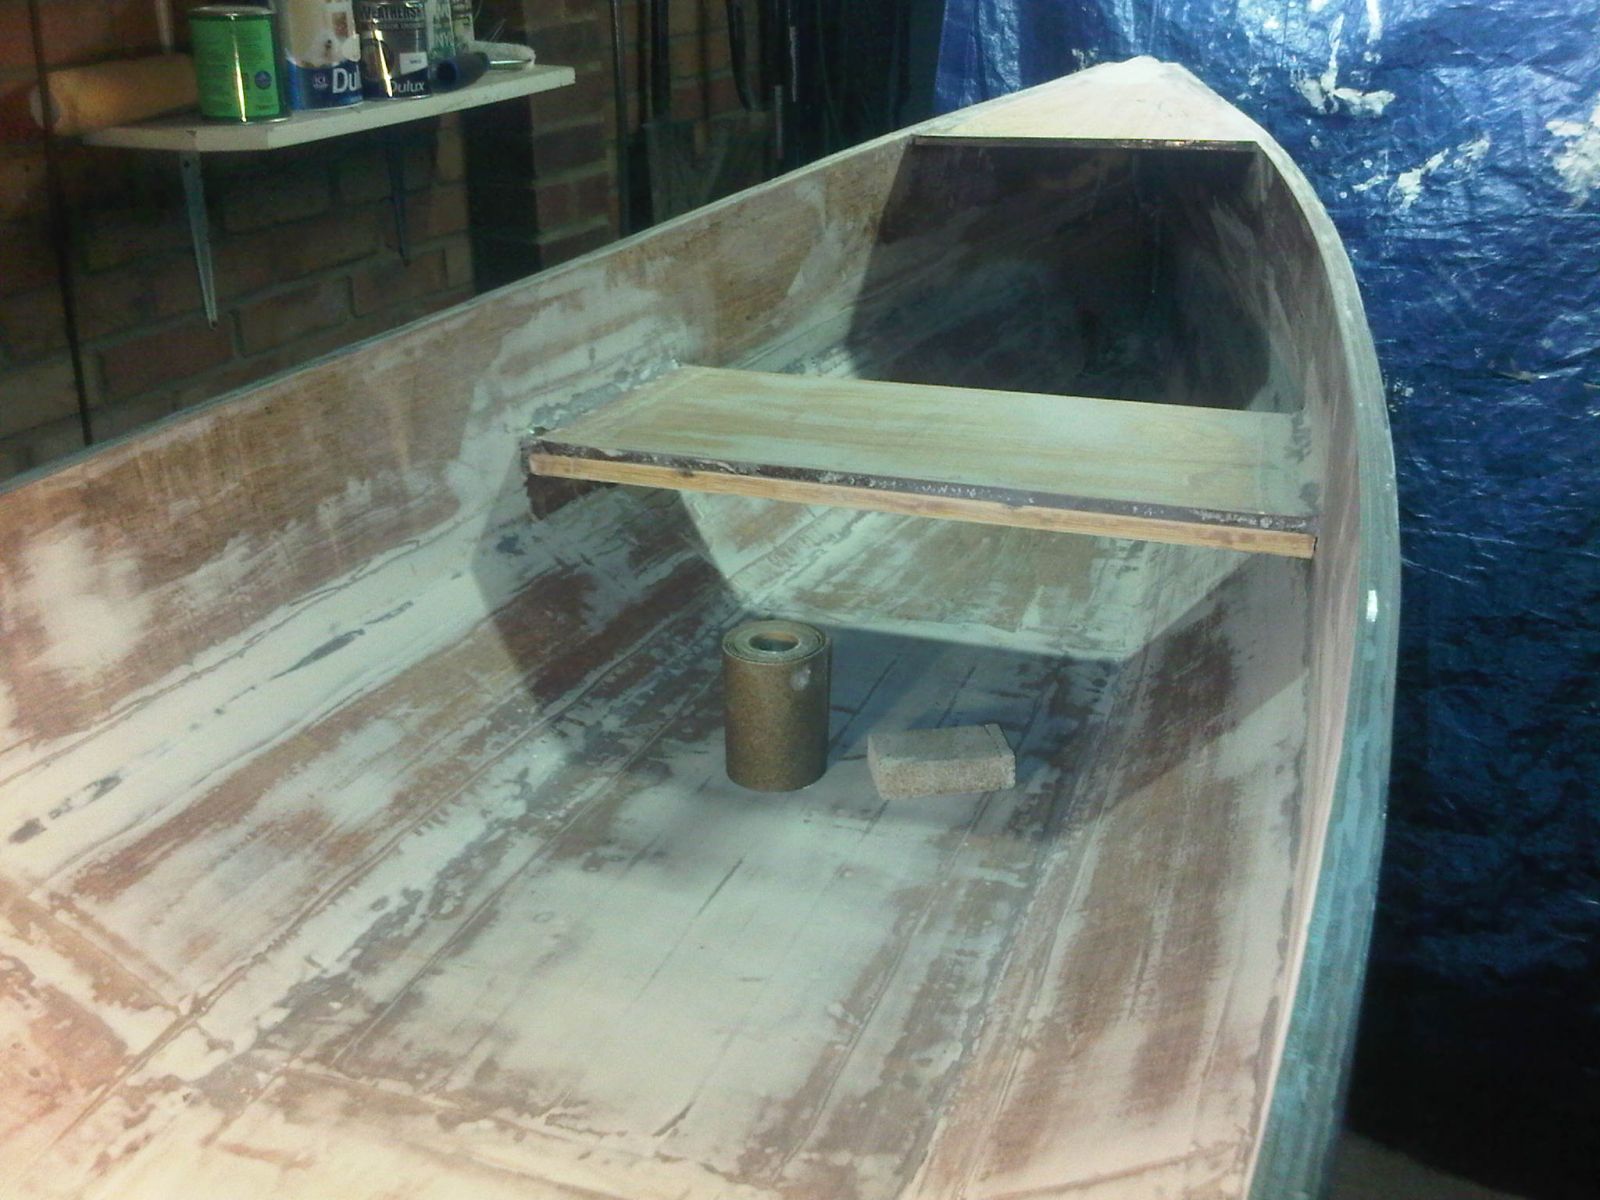
 P7160049
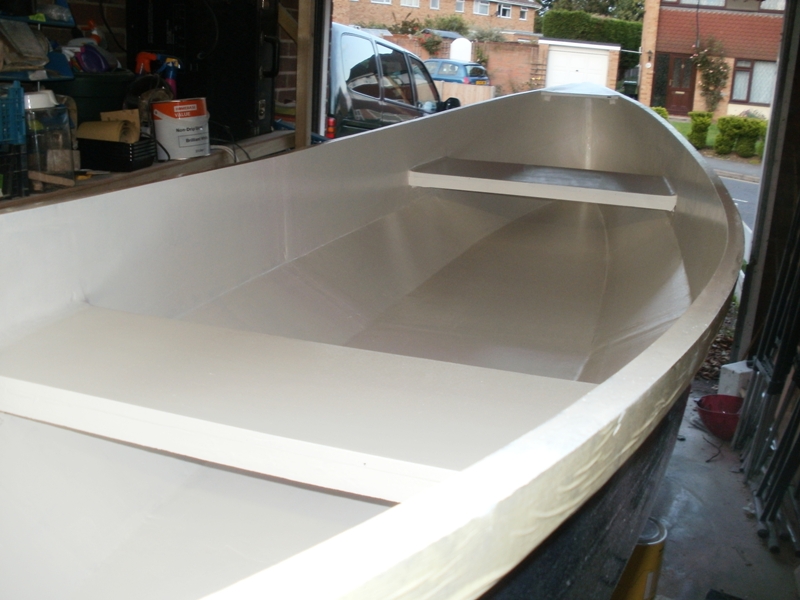
 P7160051
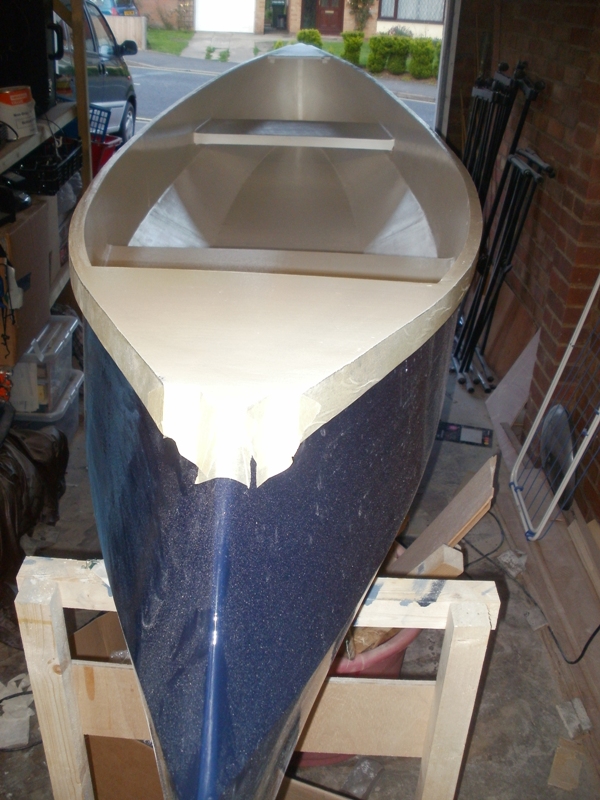