CS23 - Dad's dream

To help other builders, please list the boat you are building in the Thread Subject -- and to conserve space, please limit your posting to one thread per boat.

Please feel free to use the gallery to display multiple images of your progress.
TRC886
Very Active Poster
Very Active Poster
Posts: 1103
Joined: Sun Oct 03, 2010 11:18 am
Location: eastern NC

Re: CS23 - Dad's dream

Post by TRC886 »

antoniekruger wrote:Aaaahhhh....my jigsaw died tonight whilst cutting the hull bottoms :( . 7 Year service, not bad. Stopped work dead in its tracks. My orbital sander also gave up last week - I'll have to go shopping tomorrow. As much as I love new tools, I do not enjoy spending the money.
That's always frustrating :x It could be something as simple as a loose or broken wire or a bad switch, or it could be as major as a burnt out armature. What aggravates me even worse is a tool that only runs sometimes, which is always caused by a loose or broken wire.

You're coming along very nicely on your jig and set up 8)

Kevin.G
Frequent Poster
Frequent Poster
Posts: 19
Joined: Wed Oct 31, 2012 10:14 am
Location: South Africa

Re: CS23 - Dad's dream

Post by Kevin.G »

Hi Antonie

We met on JJs site. You are not far from me, I am in Primrose. With the house renovations and coaching High school rugby I haven't been able to start with my build. In fact the 9mm ply I ordered is waiting for me at the timber yard because I do not have space at the moment :cry: . Your build is looking good and if you need any power tools in a hurry just shout :help: and I may be able to help you out.
Kevin

User avatar
antoniekruger
Active Poster
Active Poster
Posts: 262
Joined: Fri Feb 01, 2013 7:13 am
Location: South Africa
Location: Johannesburg, South Africa

Re: CS23 - Dad's dream

Post by antoniekruger »

Hi Kevin,
Thanks for the offer, mate. The reason why a tool going down gets under my skin is because I believe in buying a proper tool that cost you a bit more, but gives better results and last. Buying the cheep crap will disappoint and at he time you need it the most. I went to Adendorfs n Boksburg and found a jigsaw with 5 year warrantee. Strange, they do not stock all the big brands, but the stuff they sell seem Ok.
The new jigsaw works like a dream and I have finished they bottom and top sides. :D I've started planking the hull. The chine seem to be a bit of a mission, but all fitted ok. I plan to start glassing by the weekend. I have a chap from AMT living close to me. He looks after the marine products so I would expect that he sees a few of these builds. I'll ask him to put an eye over the hull before I glass. 8) Rugby season is only starting-seems like a while before can start your build.
Is there life at Jj's?
Thanks Trc886.
Antonie
CC14 splashed
CS23 almost there

User avatar
antoniekruger
Active Poster
Active Poster
Posts: 262
Joined: Fri Feb 01, 2013 7:13 am
Location: South Africa
Location: Johannesburg, South Africa

Re: CS23 - Dad's dream

Post by antoniekruger »

A quick update :
I've placed the 2 bottom pieces on the frame and it seemed to fit. I added the chines and still all seemed OK. :D
Image

I started the long side panels (upper first 6mm). I extended my shop table to be able to hold around 3/4 of the complete length and screwed the pieces down for the join. I also used peel ply on the joins to have them clean and neat.
Image

I started hanging the upper side panels using the transom as a start point and not tying the stitches too tight. I reached the bow and saw that something was not right. I checked the long panel length first, then the strongback length. I was not a happy camper. I then checked mould 0(the flair mould) and saw that I screwed up the height of frame 0 :x . I used the sole height as frame height. I pulled it out and remedied the problem(luckily an easy fix), fitted the bow mould and mounted it back on the jig. All was good. :D
Frame 0 re-measured
Image

I used blocks with my stitches to help keep the panels aligned whilst spot welding. This worked for me. I love the shape of the hull.
Image

After the spot welds I pulled the stitches and started cleaning the welds to be as small as possible and still hold the hull together. I did some fairing with micro balloons around the flair and bow - some panels was a bit more stubborn than others.

Then I started the seem glassing on the chine :D . I'm used to working with 100g and less woven. This tape is heavy and takes ages to wet through. I use a brush to put on the epoxy, then a squeegee to distribute and then the little roller to get out the air and seat the glass properly. I then worked the area with the squeegee again to try and get off excess epoxy. These seems will have to be sanded and cleaned before I move on to the wide cloth.
Image
CC14 splashed
CS23 almost there

User avatar
antoniekruger
Active Poster
Active Poster
Posts: 262
Joined: Fri Feb 01, 2013 7:13 am
Location: South Africa
Location: Johannesburg, South Africa

Re: CS23 - Dad's dream

Post by antoniekruger »

A quick update:
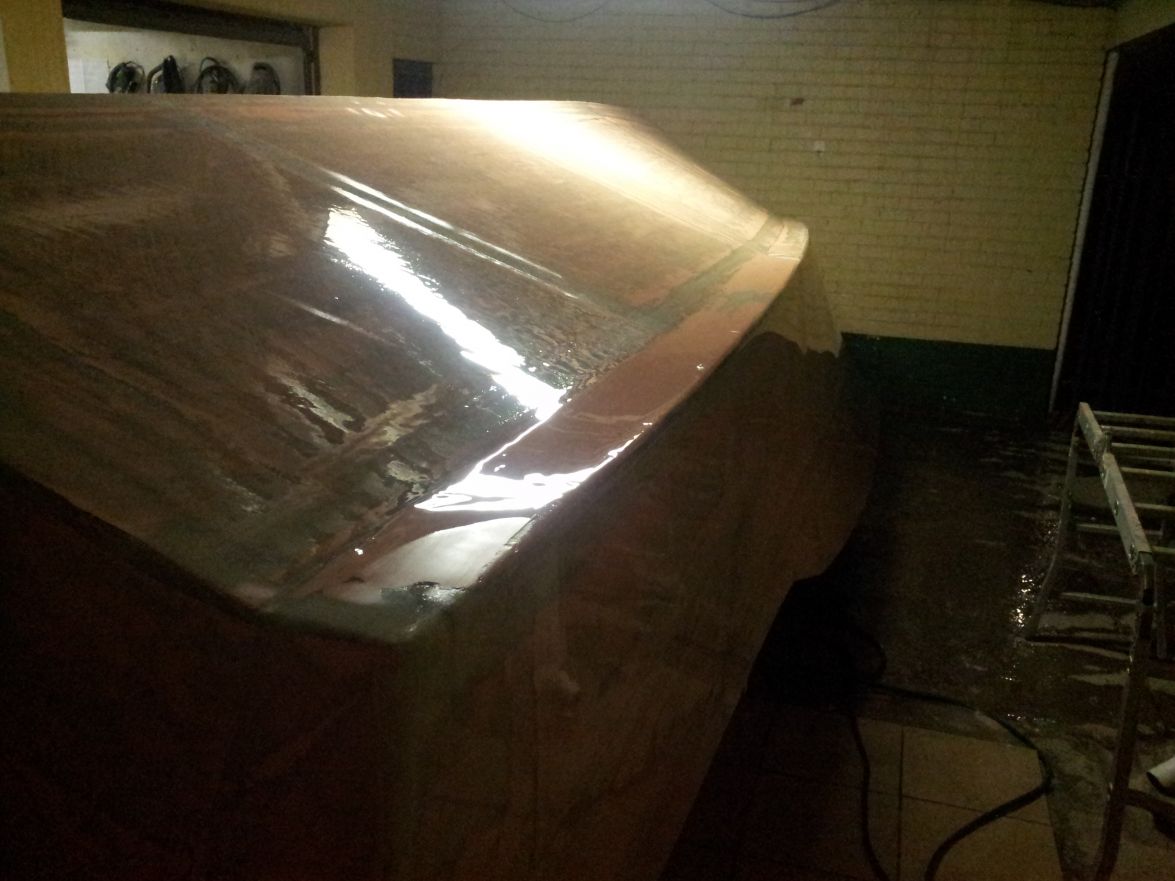
OK, so I've glassed the hull on the outside. I started around 10am in the morning and only finished around 8pm. My right arm went into cramps a few times(Squeegee) :x , but a Bells sorted that out after 8 :D 
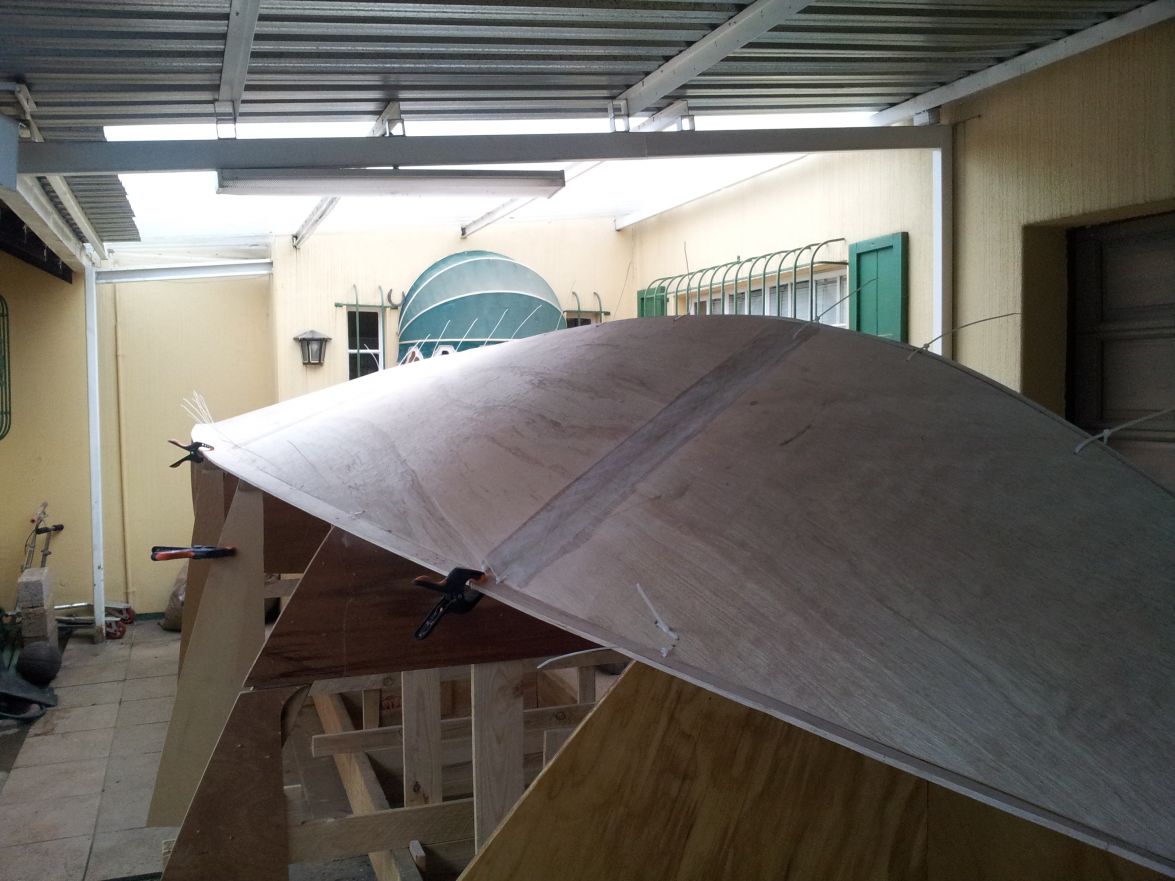
. She is huge to do on your own. This was the layup of the first layer.
Image
Image
Image
Image
Image

After my jigsaw deserted, I had 2 more desertions(old tools giving up. I'll have them repaired for little carpentry jobs.). I went out and bought 2 Bosch pro orbital sanders. The 150mm and 125mm for smaller spots. My shop vac arrived as well and it makes a huge difference having the vac on the sanders. My word, they work great. They 150 brute comes with a hard box. Very nice.

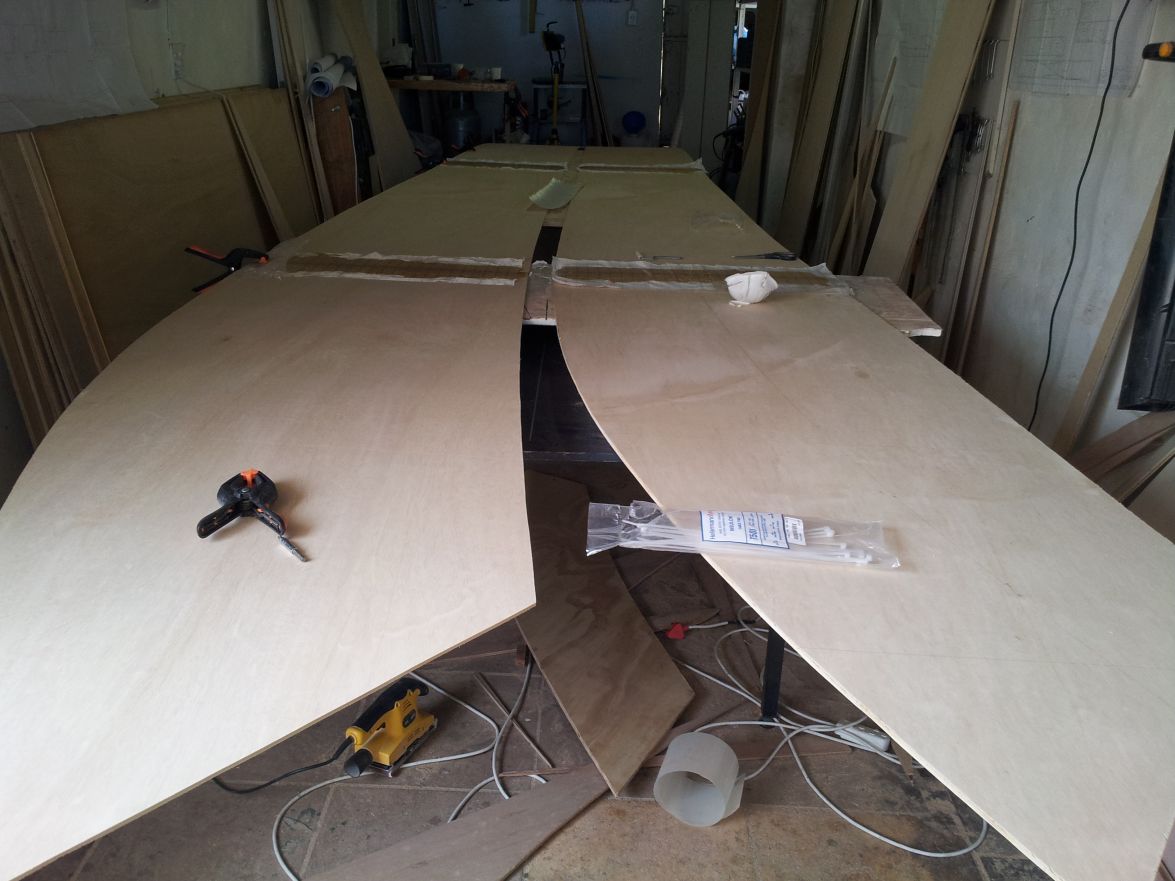
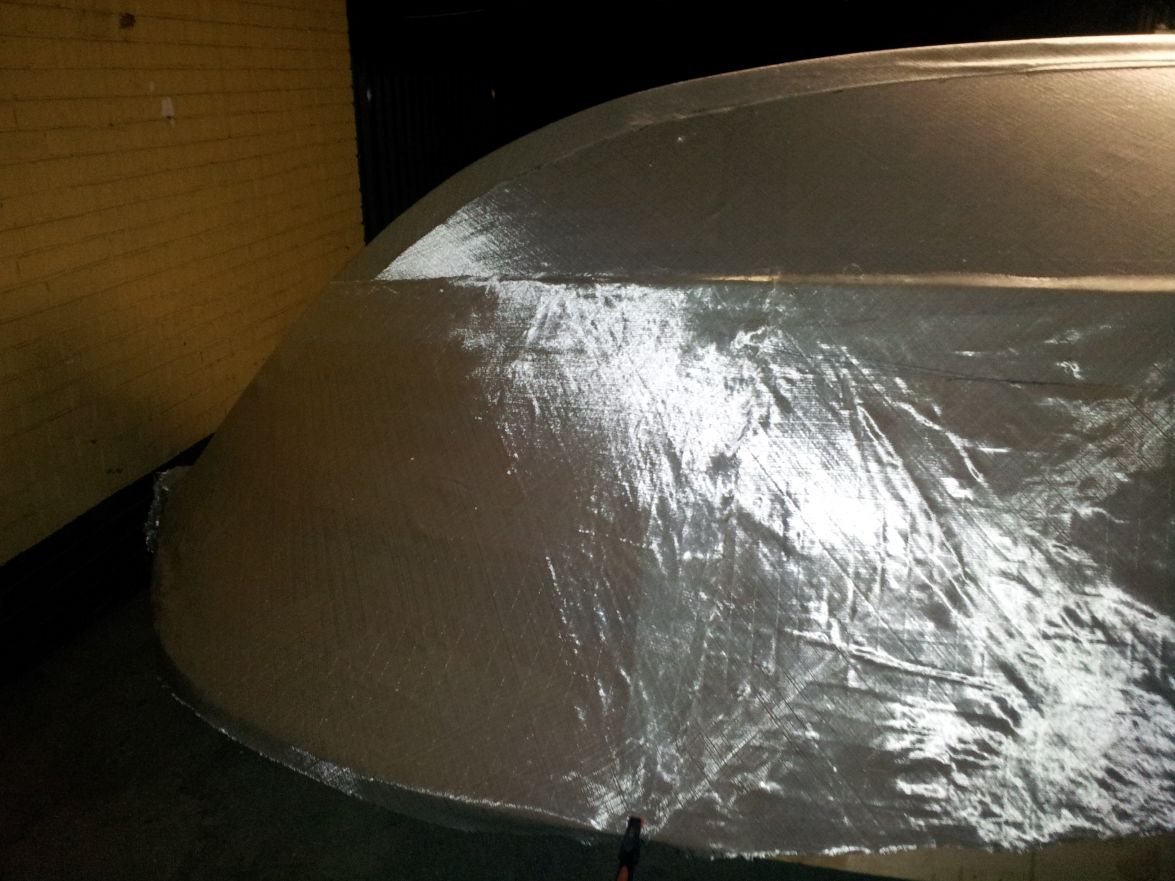
Anyway - I was very busy laminating that some areas were already gelling and hardening. By the time I reached them with the peelply, it was too late. :( . I managed to get some peel ply down on the layup. The rest I cleaned off with a quick sand for the second layer of biax. :)
Image

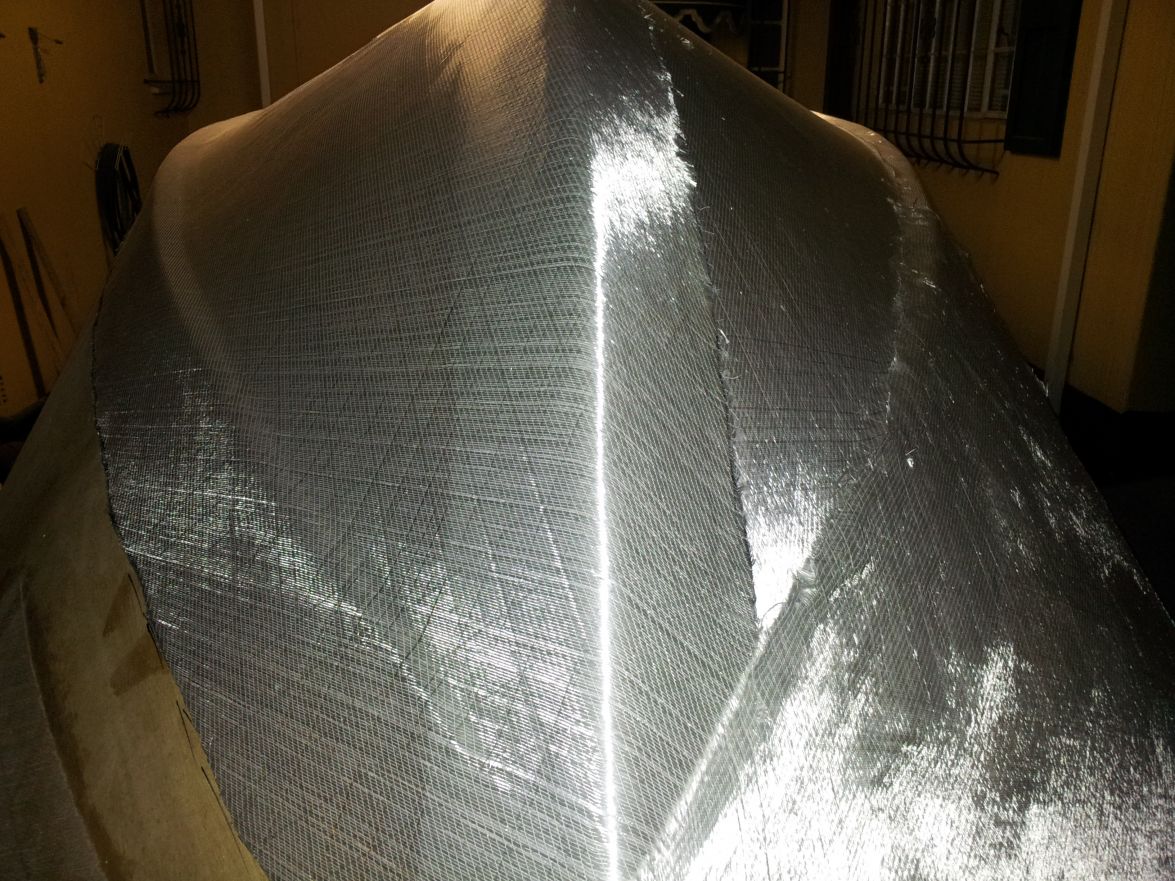
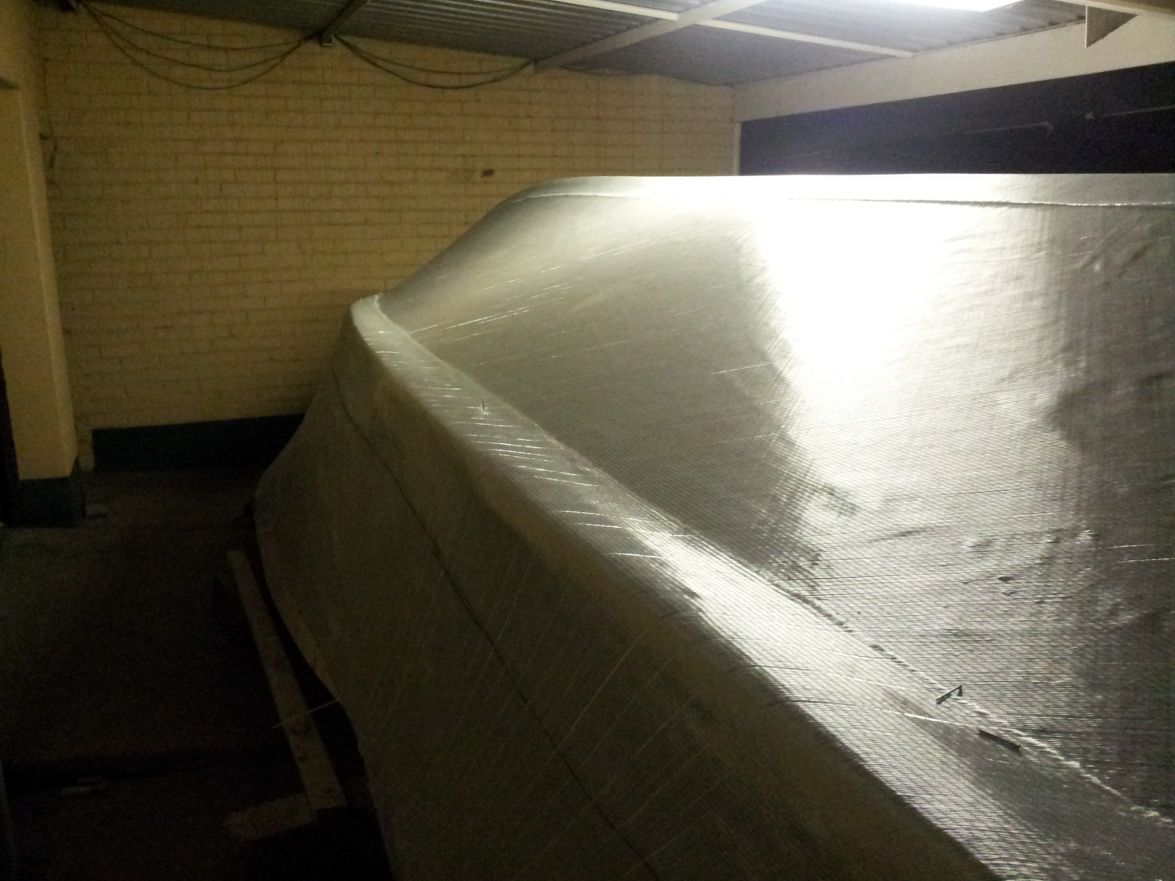
The second layer of biax cloth went on the bottom without event. Its easier to place since youre nor working on a vertical plane. I found that rolling on the resin and then using a squeegee to work it through gave me the best results.
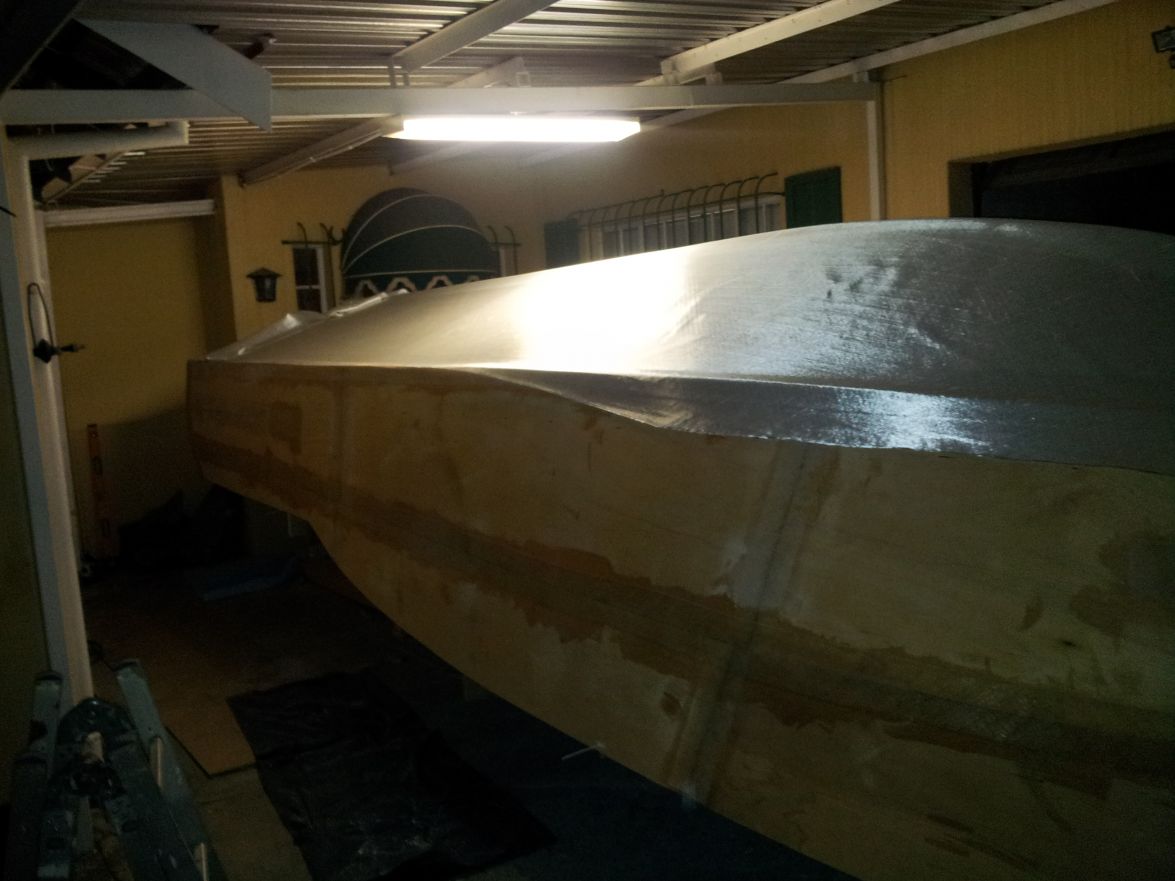
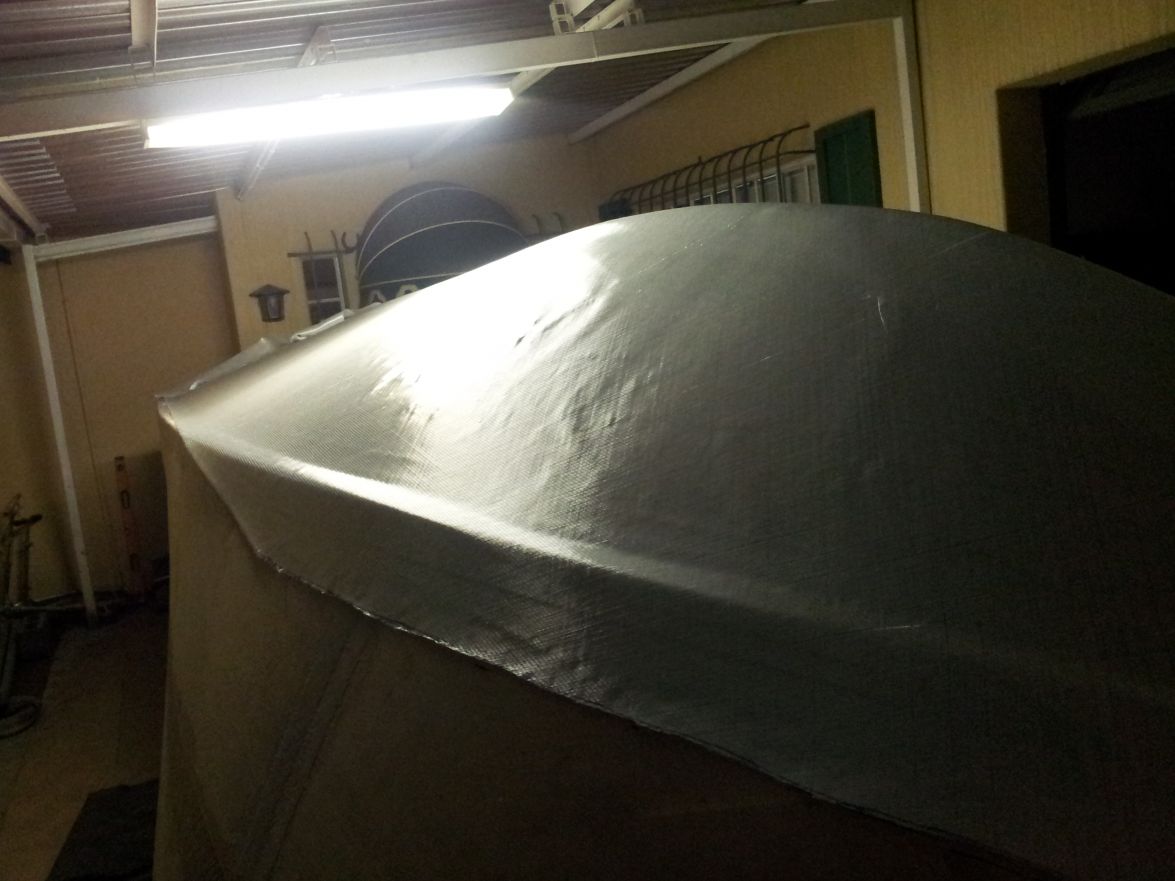
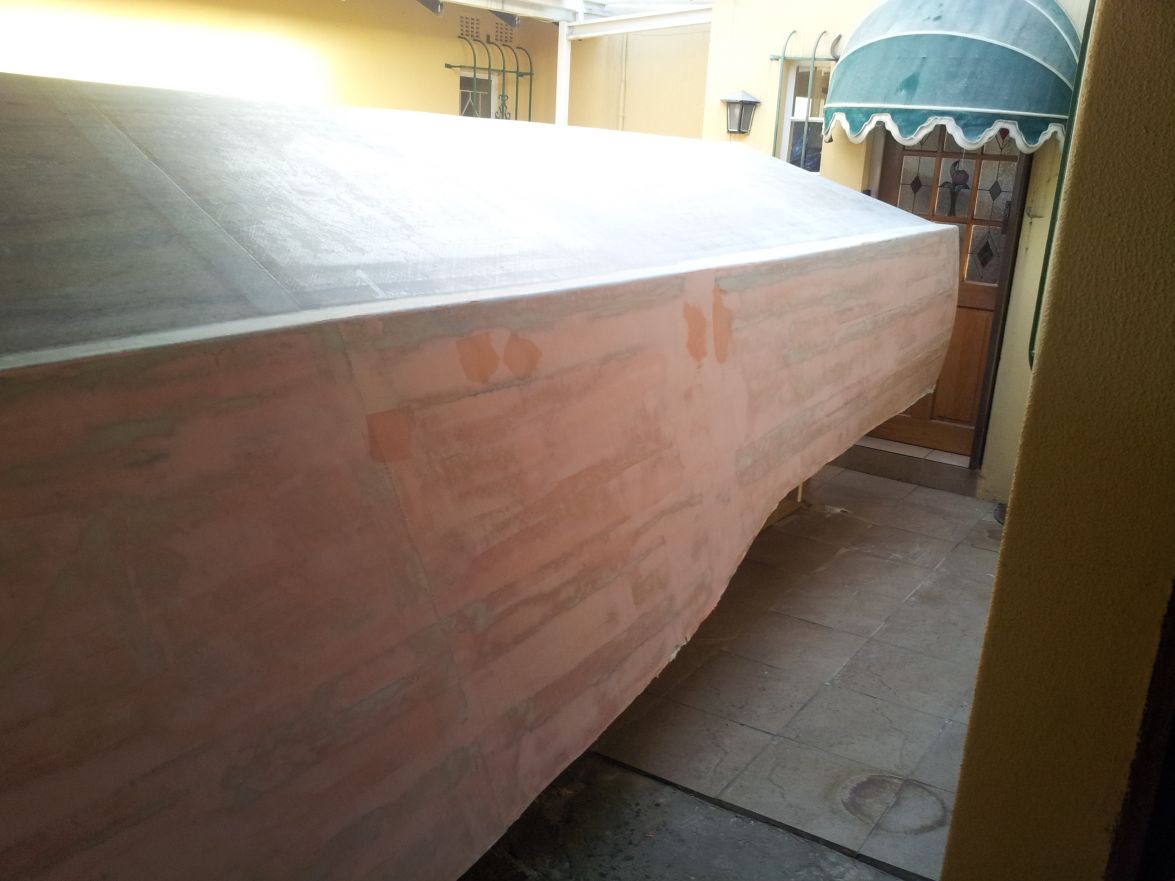
I had a discussion with my fibre supplier about using a 280g carbon fibre from the keel to the chine (whole bottom) as a final layer instead of fairing that part. Firstly, its expensive and then the strakes is an issue as well. What he did suggest is that I use a 300g woven as a final over the whole boat. It will add around 10 to 12 extra kilogram, but the benefits would be a better abrasion resistance in woven than biax. Apparently it is possible, when the outside layer is penetrated, that a single fibre in the biax can be lifted and cause a peel-off. Made sense. The second reason was that it provides a bit of sacrificial layer during the fairing process. If you sand into the glass, you should not get down to the biax. So, I layed another 300g over the whole boat...except the transom. I had enough time to peelply this layer and was happy with the results.
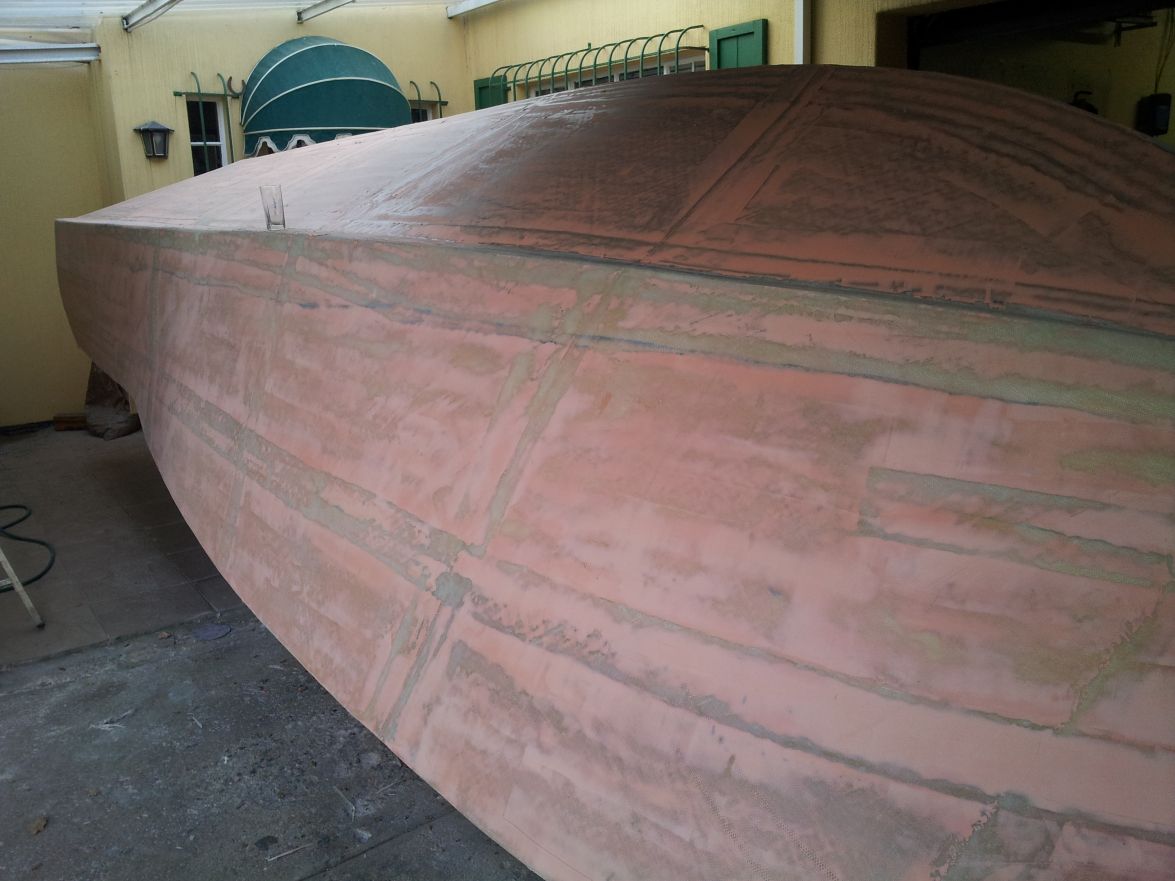
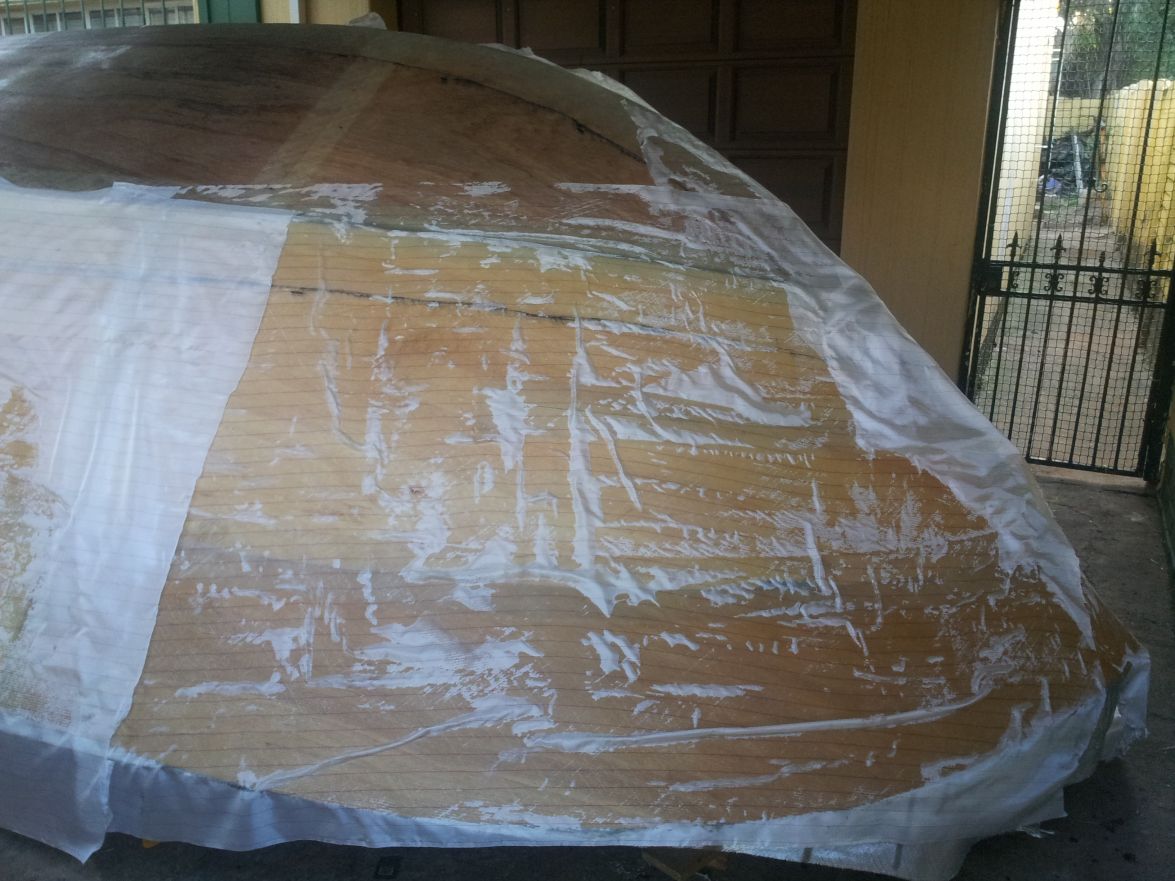
I did a bit of cleaning off before I started with the fairing: First the left hand side. This is taking quite some time, but the results are looking good.
Image
Image
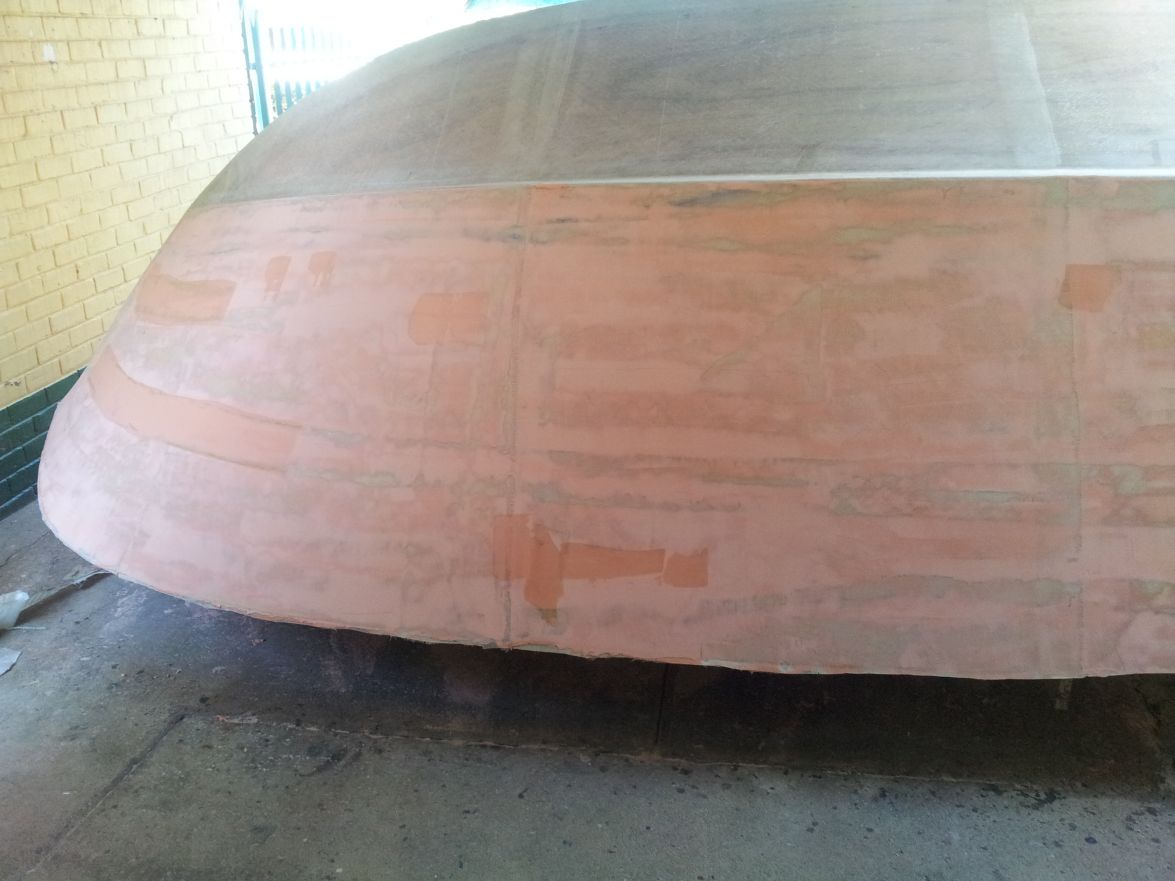
I started with run 1 on the right hand side:
Image

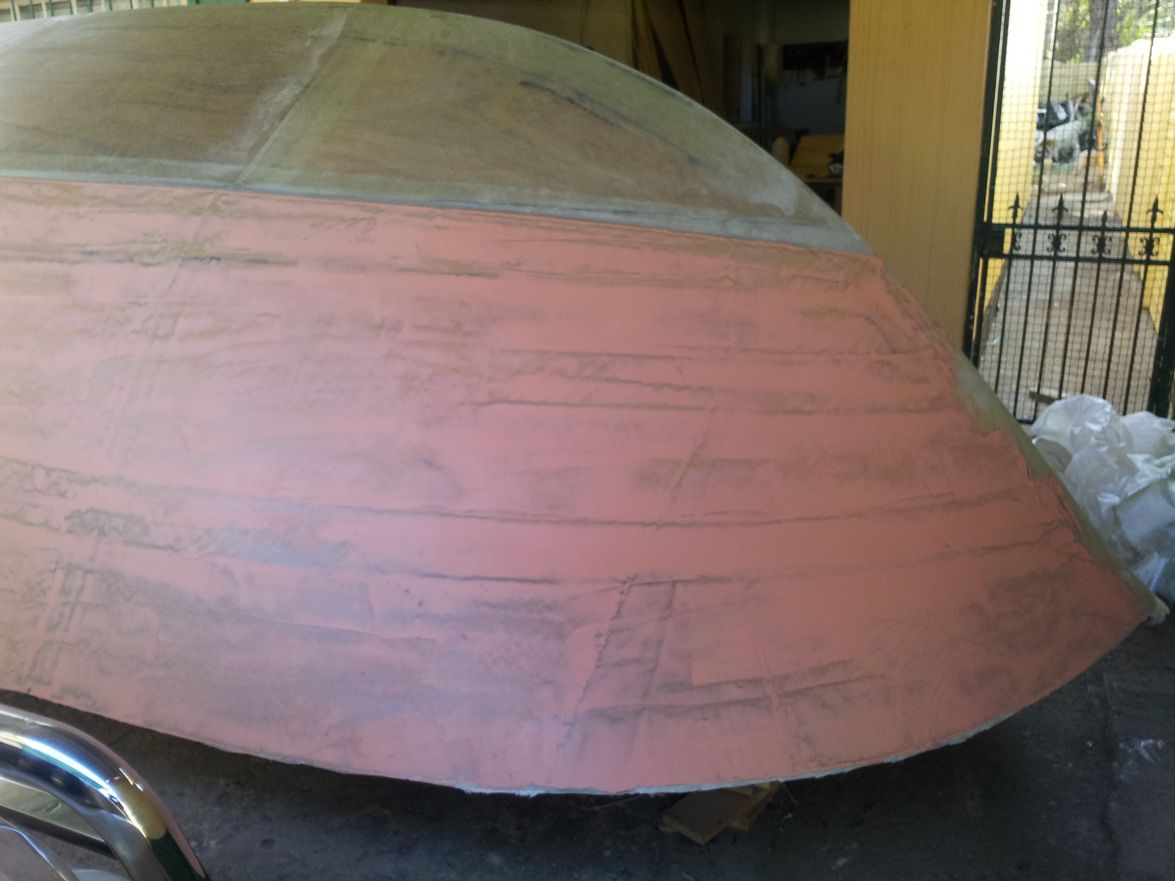
Ok, so it is still a lot of fairing to get the flair smooth and the rest to my liking. I have a small recess where I joined to long panels on the bend towards the bow. If I fill it with fairing compound the layer would be around 3 to 5mm thick. Is this acceptable?
BTW - The hardener of the fairing compound smells like someone peed in it. Is this right? :?: Ammonia, I suppose.

Cheers, Antonie
CC14 splashed
CS23 almost there

User avatar
topwater
* Bateau Builder - Expert *
Posts: 3131
Joined: Tue Oct 30, 2007 6:27 pm
Location: Port Charlotte
Location: Florida

Re: CS23 - Dad's dream

Post by topwater »

That's a whole lotta boat to do in one outing, great job 8) I also notice the ammonia smell when I open
the hardener for system 3 easy fillet, never had any problems.
Novi 23 finally launched !

User avatar
Cracker Larry
* Bateau Builder - Expert *
Posts: 22491
Joined: Fri Mar 11, 2005 3:39 pm
Location: Savannah, GA

Re: CS23 - Dad's dream

Post by Cracker Larry »

Wow, that's a lot of boat for one man :help: Nice work! You must be younger than me :D
Completed GF12 X 2, GF16, OD18, FS18, GF5, GF18, CL6
"Ships are the nearest things to dreams that hands have ever made." -Robert N. Rose

User avatar
antoniekruger
Active Poster
Active Poster
Posts: 262
Joined: Fri Feb 01, 2013 7:13 am
Location: South Africa
Location: Johannesburg, South Africa

Re: CS23 - Dad's dream

Post by antoniekruger »

Hi, I've been sanding and sanding and sanding, and still s(t)anding.
I've done 2 rounds on the sides of the hull. I think I'm close to where I can use a high build primer to finish off.

The bottom is another story. I started the first round of fairing compound on the bottom after knocking the tops of my woven top layer. It went on well - this is a huge area. The sides were OK, but I have to get onto the boat to work on the bottom - fell off twice already - don't tell anyone :?
I've decided to do the fairing before gluing on the strakes or skeg. I think fairing a larger area gives more continuity and better results. Once I have the position of the strakes, I'll sand a slot into the fair onto exposed glass. I've been at this now for 2 weeks and I think I'll be working on the bottom for another 2 weeks. She is big.....Cant wait to flip her over.

Some boat porn:
Side sanded - bottom puttied.
Image

My modified torture board - not sure it works better. The heavier sander side takes its toll.... :(
Image

Bottom sanded and washed
Image

I have a 2 to 3mm recess behind one of the joints on the bottom. Its about 200mm wide. Its bugging me and I want to fill it with fairing compound. Its about 200long by 400mm wide. Is this too a large area to fill with fairing compound. I think I should rather lay a block of biax cloth in the deepest part and tie in the edges with fairing compound.
Cheers,
Antonie
CC14 splashed
CS23 almost there

AtTheBrink
* Bateau Builder *
* Bateau Builder *
Posts: 1557
Joined: Mon Nov 07, 2011 8:51 am
Location: Ingleside, TX
Location: Texas Coastal Bend

Re: CS23 - Dad's dream

Post by AtTheBrink »

Can you translate those measurements into inches?
Mike

"Come, follow me and I will make you fishers of men."
Matthew 4:19

User avatar
Cracker Larry
* Bateau Builder - Expert *
Posts: 22491
Joined: Fri Mar 11, 2005 3:39 pm
Location: Savannah, GA

Re: CS23 - Dad's dream

Post by Cracker Larry »

Its about 200mm wide. Its bugging me and I want to fill it with fairing compound. Its about 200long by 400mm wide. Is this too a large area to fill with fairing compound.
Yes, that's too large a gap for fairing compound. Fill that with a piece of wood and glue, or a structural filler.
Completed GF12 X 2, GF16, OD18, FS18, GF5, GF18, CL6
"Ships are the nearest things to dreams that hands have ever made." -Robert N. Rose

Post Reply

Who is online

Users browsing this forum: Google [Bot], Yandex [Bot] and 4 guests