
Your boat looks great and you are making good progress, keep up the good work. I'm going to do some work on the boat this weekend. And it's tax season
CS23 - Dad's dream
-
JayJayMuller
- Frequent Poster

- Posts: 42
- Joined: Mon Dec 03, 2012 9:48 am
- Location: Cape Town
Re: CS23 - Dad's dream
Hi Antonie,
Your boat looks great and you are making good progress, keep up the good work. I'm going to do some work on the boat this weekend. And it's tax season
Your boat looks great and you are making good progress, keep up the good work. I'm going to do some work on the boat this weekend. And it's tax season
-
antoniekruger

- Active Poster

- Posts: 262
- Joined: Fri Feb 01, 2013 7:13 am
- Location: South Africa
- Location: Johannesburg, South Africa
Re: CS23 - Dad's dream
Hi,
Here's the extent of my the recess.
In section:
In plan:

OK, assuming that one layer of 450g biax is laid 1mm thick, I would build the recess up with 3 layers of biax, laying up a layer at a time and checking the extent of the next layer needed. Once done, I'll smooth out the area with fairing compound. I'll clean off the current fairing compound first. I might even go with only 2 layups and see if its not good enough. I need to figure out how this happened. A cause might be that there are 2 glass joints on top of each other(the joining tape of the long panels and the 300g final layer) next to the recess.
Larry, its not deep enough for wood insert, but the line of thought is in the same direction, thanks.
The rest is looking OK. The chines also need some attention and I need to finalise the sharpening of the edges of the last 2.5m of the hull. The mix I'm looking at for this is my resin thickened with cabocil(to make sure it does not run away) mixed with chopped(6mm) fibre. I found that when I mix the chopped fibre with the resin it breaks(separates) into much thinner filaments and becomes easy to work with.
Here's the extent of my the recess.
In section:
In plan:
OK, assuming that one layer of 450g biax is laid 1mm thick, I would build the recess up with 3 layers of biax, laying up a layer at a time and checking the extent of the next layer needed. Once done, I'll smooth out the area with fairing compound. I'll clean off the current fairing compound first. I might even go with only 2 layups and see if its not good enough. I need to figure out how this happened. A cause might be that there are 2 glass joints on top of each other(the joining tape of the long panels and the 300g final layer) next to the recess.
Larry, its not deep enough for wood insert, but the line of thought is in the same direction, thanks.
The rest is looking OK. The chines also need some attention and I need to finalise the sharpening of the edges of the last 2.5m of the hull. The mix I'm looking at for this is my resin thickened with cabocil(to make sure it does not run away) mixed with chopped(6mm) fibre. I found that when I mix the chopped fibre with the resin it breaks(separates) into much thinner filaments and becomes easy to work with.
CC14 splashed
CS23 almost there
CS23 almost there
-
Cracker Larry

- * Bateau Builder - Expert *

- Posts: 22491
- Joined: Fri Mar 11, 2005 3:39 pm
- Location: Savannah, GA
Re: CS23 - Dad's dream
Now I see what you've got. Yes, I'd lay a couple of layers of cloth in it, good plan.
Completed GF12 X 2, GF16, OD18, FS18, GF5, GF18, CL6
"Ships are the nearest things to dreams that hands have ever made." -Robert N. Rose
-
antoniekruger
- Active Poster
- Posts: 262
- Joined: Fri Feb 01, 2013 7:13 am
- Location: South Africa
- Location: Johannesburg, South Africa
Re: CS23 - Dad's dream
Mike, 3mm = 0.11811 inches.AtTheBrink wrote:Can you translate those measurements into inches?
Thanks, Larry.
CC14 splashed
CS23 almost there
CS23 almost there
-
antoniekruger
- Active Poster
- Posts: 262
- Joined: Fri Feb 01, 2013 7:13 am
- Location: South Africa
- Location: Johannesburg, South Africa
Re: CS23 - Dad's dream
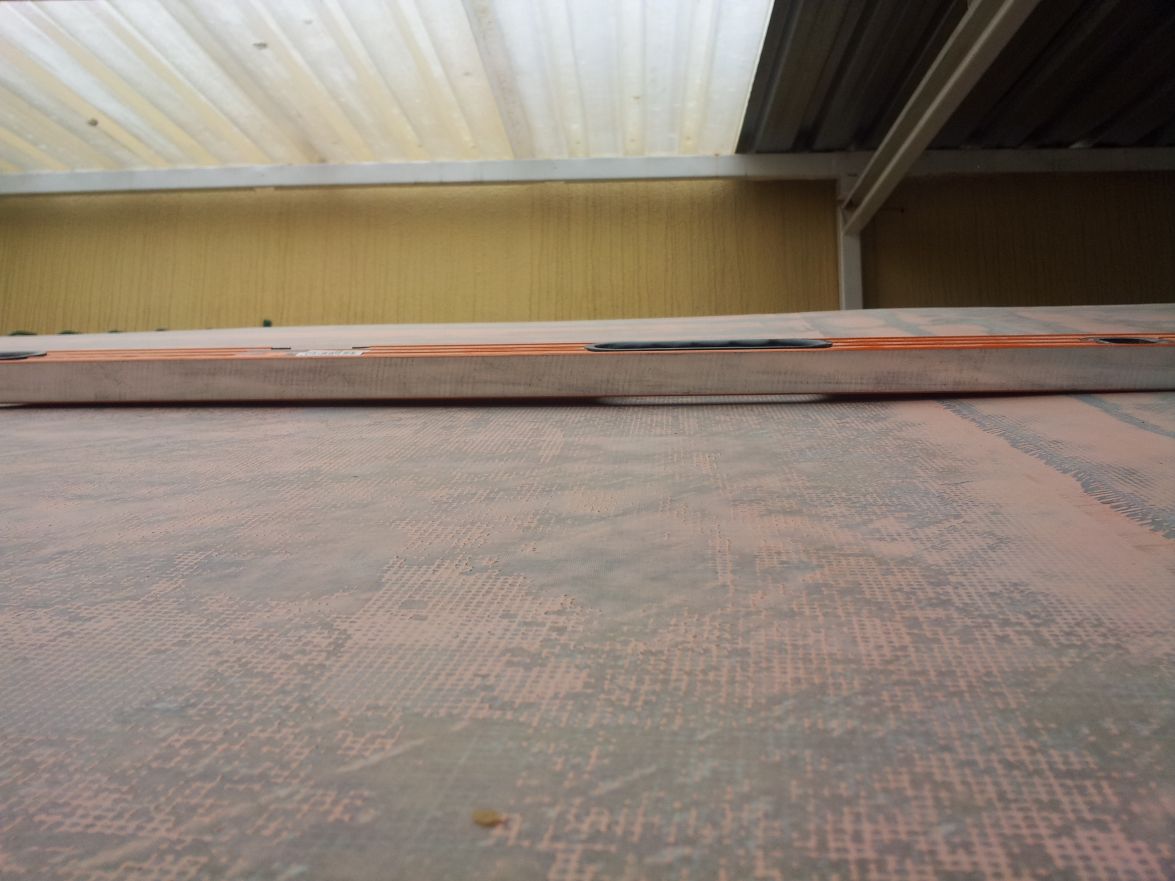
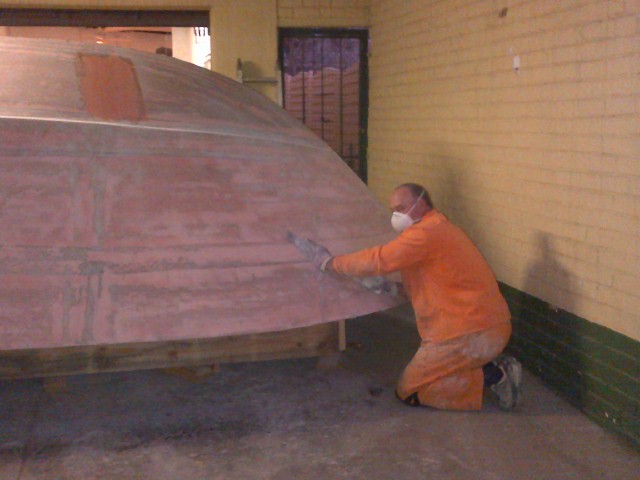
Still at it. This is the right side - round 2 in fairing. The shape of the flair is getting rounder and smoother.
I sharpened up the chine and transom edges. This gives a better idea where its still lumpy. Sorting those. Every round things get better, smoother and looks better to the eye. I only needed 3 fermented German beverages to relax my shoulders after the last round.
An idea of the scale of my boat - I'm 1.86m tall(as a reference)
CC14 splashed
CS23 almost there
CS23 almost there
-
Cracker Larry
- * Bateau Builder - Expert *
- Posts: 22491
- Joined: Fri Mar 11, 2005 3:39 pm
- Location: Savannah, GA
Re: CS23 - Dad's dream
Makes my back hurt just to look at it! Looks real good though 
Completed GF12 X 2, GF16, OD18, FS18, GF5, GF18, CL6
"Ships are the nearest things to dreams that hands have ever made." -Robert N. Rose
-
antoniekruger
- Active Poster
- Posts: 262
- Joined: Fri Feb 01, 2013 7:13 am
- Location: South Africa
- Location: Johannesburg, South Africa
Re: CS23 - Dad's dream
Yeah, its been a while, but here's some progress pics:
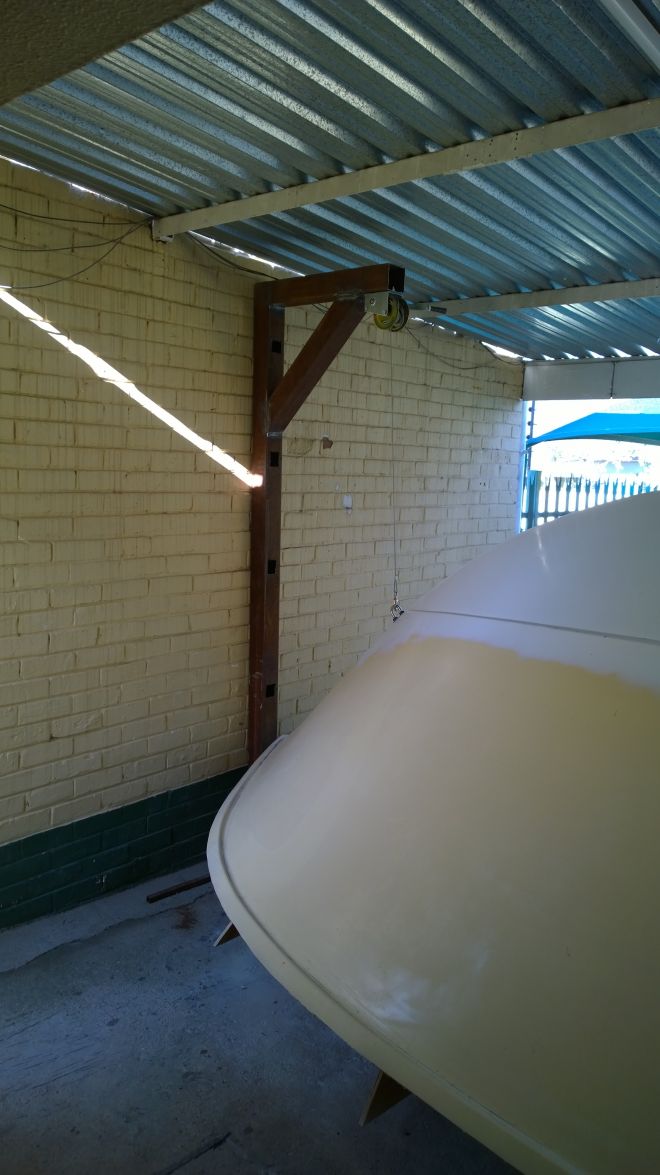
I've been finishing and priming for some time now and reached the point that I do not think that I can get it better, so, I gave the bottom the final 3 layers of paint and started planning the flip.
In true tradition, as many of you, I'm have difficulty in asking for help regarding my personal projects so I planned the flip to be a solo project...to loud and persistent protest.
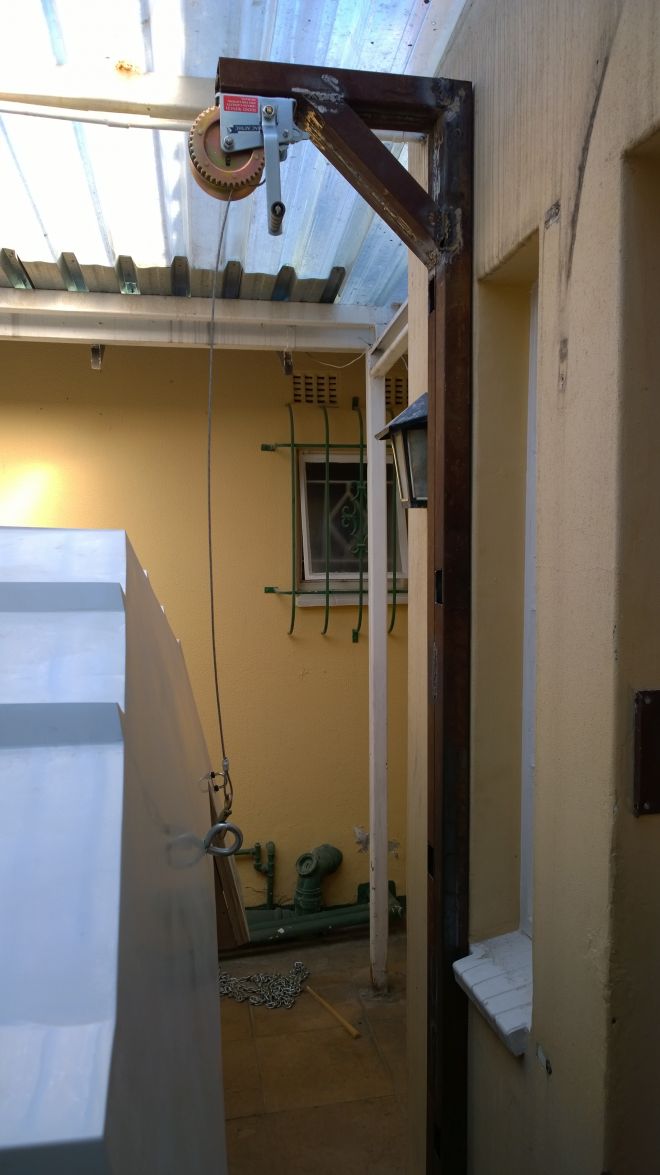
I had to decide whether to flip her where she was or drag to the lawn and roll her there. My initial planning was to flip her in-situ and the initial measurements showed that she would fit without the rub rail. I fitted the rub rail, so I had an extra 50mm or so to fit in the rotation. The hull is not rigid so I expected to be able to 'squeeze' the 50mm through. I built 2 steel arms(mini cranes) with hand winches to hold the hull at the right height and be able to adjust conveniently.
I fitted the new cradle whilst she was upside-down. I placed them in the same positions as the frames as not to have to modify the strongback:

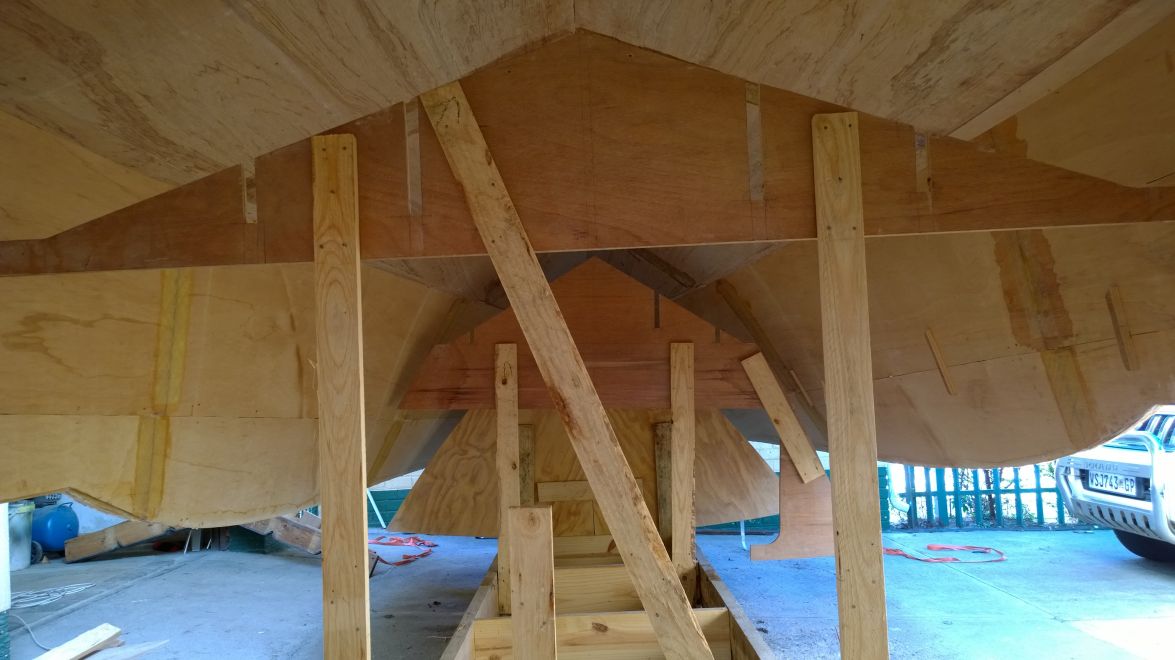
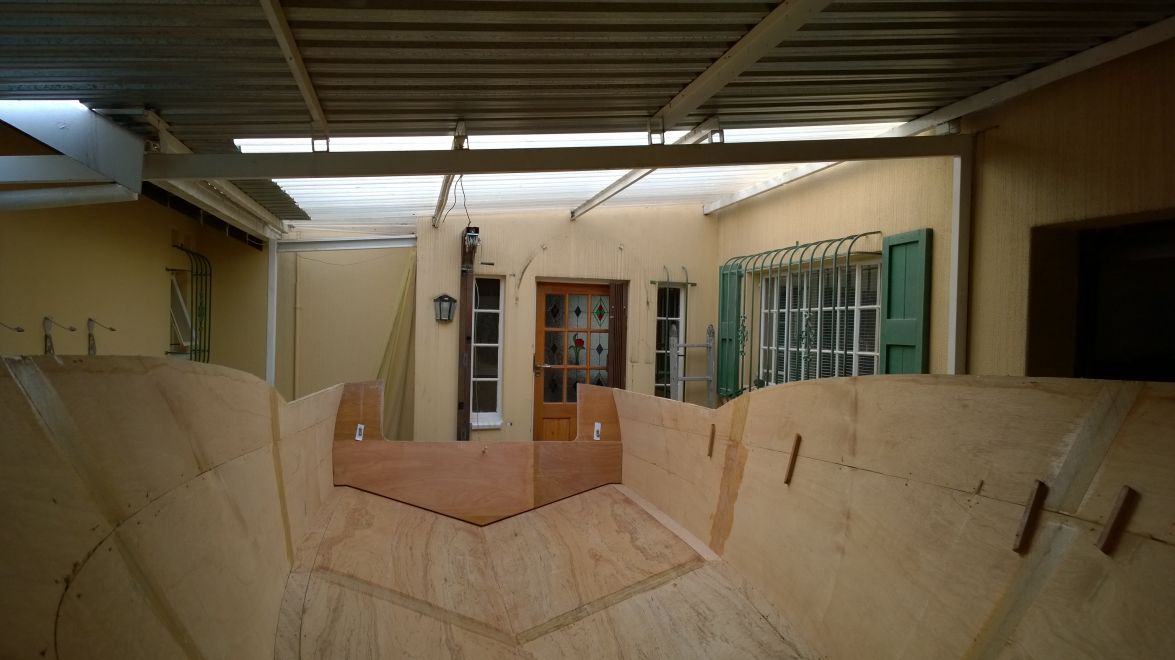
The hull came free from the moulds/frames without much ceremony. I lifted the hull and proceeded undoing the stringers and frames:
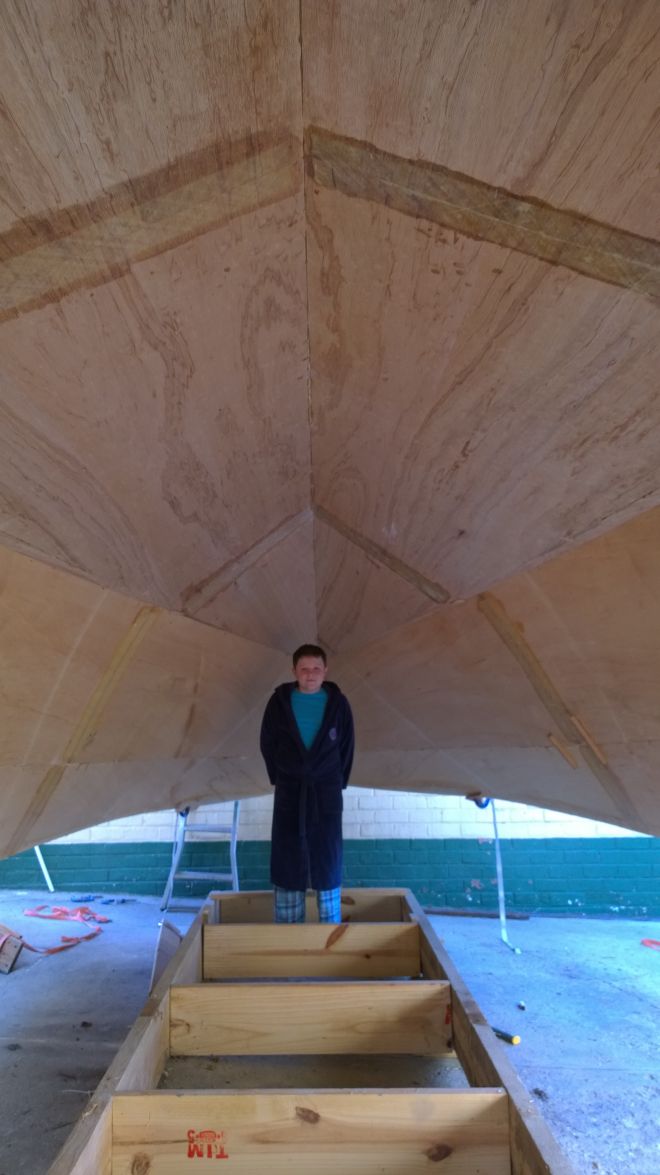
After all were out, I had an inspection from my son....yes, in his pj's(school break) - this brings home the scale.
I started turning the hull using cargo straps and ratchets and struck the light fitting halfway - this was very tight. I almost became nervous... almost.
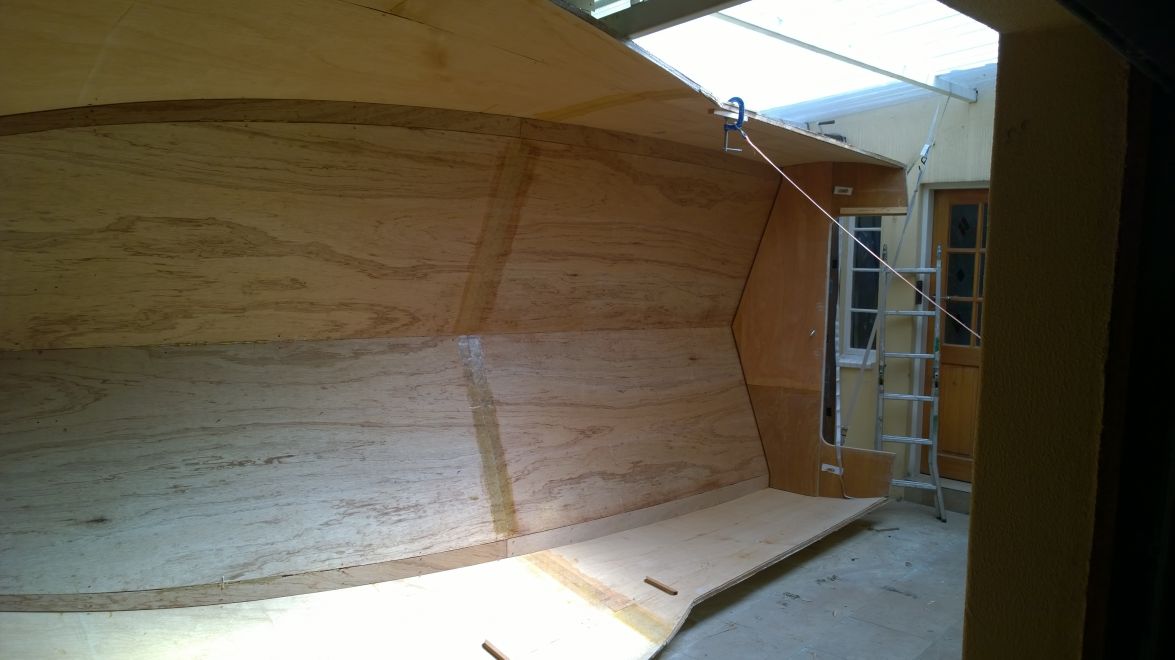
I tried to get by, by lifting the front a little and lowering the back a lot, but the light fitting was in the middle of the boat - the rotation point - duh, so I had to remove it and it went smooth from there - just seemed very tight and I had to adjust the height continuously to rotate without contact(much contact):
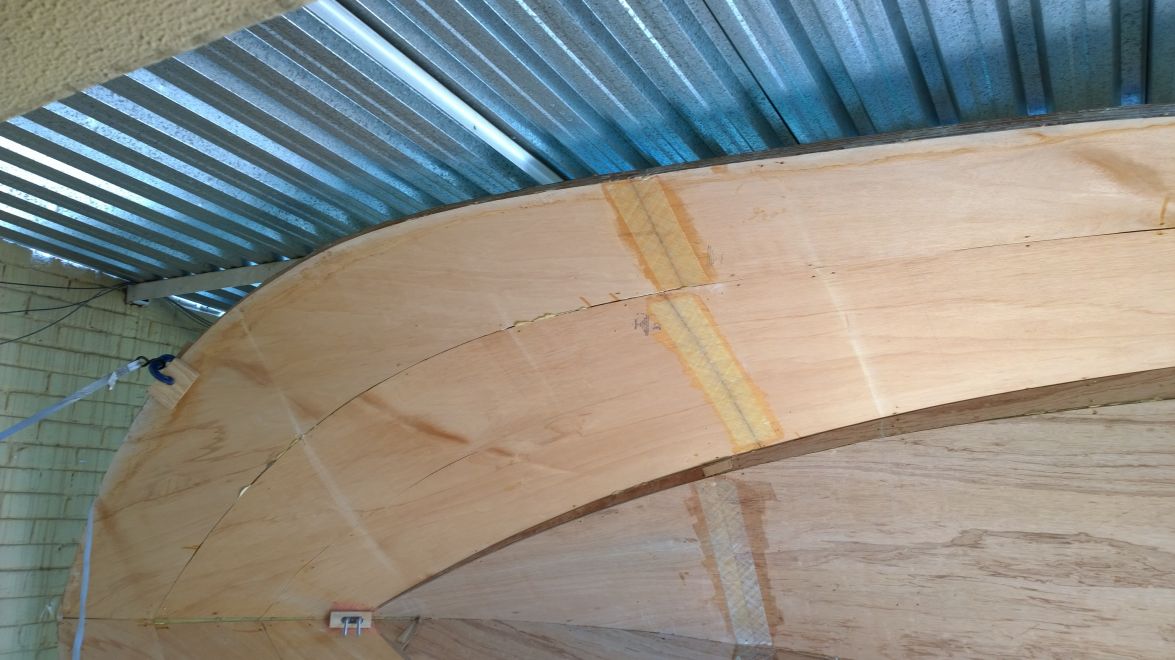
She went over - I had to lift her quite high to get the strongback back under and have enough space to get the cradle mounted back:
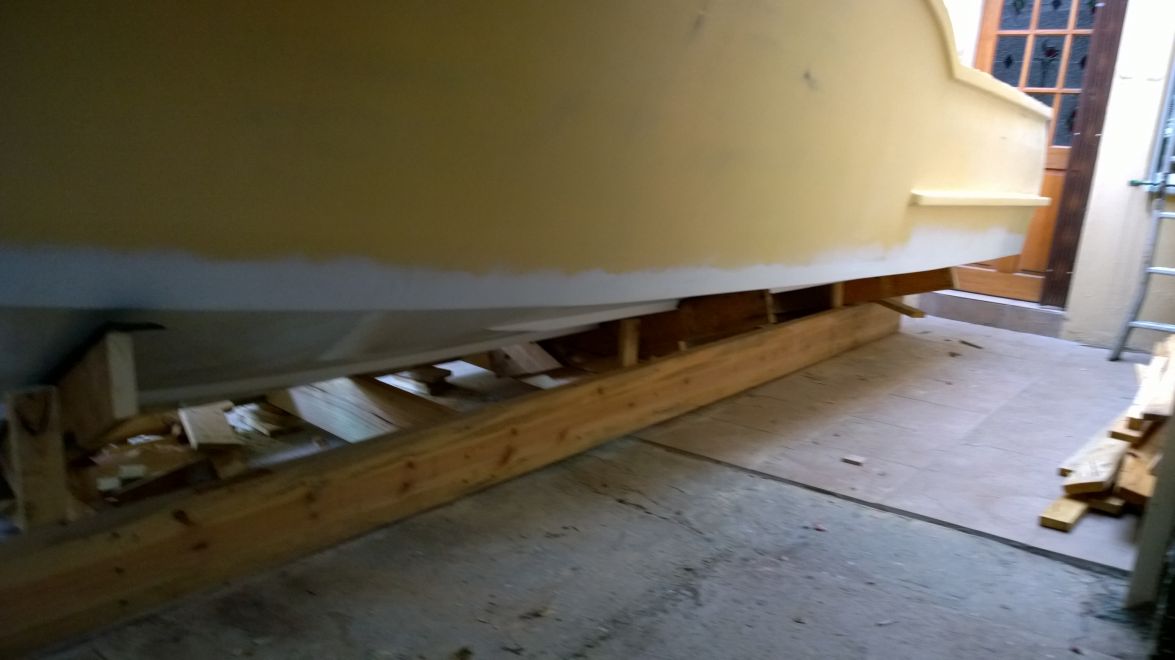
After lowering her onto the new cradle, I aligned and levelled her with the winches. All seem to be OK
A long day, but awesome. Cant wait for the next part.
Antonie
I've been finishing and priming for some time now and reached the point that I do not think that I can get it better, so, I gave the bottom the final 3 layers of paint and started planning the flip.
In true tradition, as many of you, I'm have difficulty in asking for help regarding my personal projects so I planned the flip to be a solo project...to loud and persistent protest.
I had to decide whether to flip her where she was or drag to the lawn and roll her there. My initial planning was to flip her in-situ and the initial measurements showed that she would fit without the rub rail. I fitted the rub rail, so I had an extra 50mm or so to fit in the rotation. The hull is not rigid so I expected to be able to 'squeeze' the 50mm through. I built 2 steel arms(mini cranes) with hand winches to hold the hull at the right height and be able to adjust conveniently.
I fitted the new cradle whilst she was upside-down. I placed them in the same positions as the frames as not to have to modify the strongback:
The hull came free from the moulds/frames without much ceremony. I lifted the hull and proceeded undoing the stringers and frames:
After all were out, I had an inspection from my son....yes, in his pj's(school break) - this brings home the scale.
I started turning the hull using cargo straps and ratchets and struck the light fitting halfway - this was very tight. I almost became nervous... almost.
I tried to get by, by lifting the front a little and lowering the back a lot, but the light fitting was in the middle of the boat - the rotation point - duh, so I had to remove it and it went smooth from there - just seemed very tight and I had to adjust the height continuously to rotate without contact(much contact):
She went over - I had to lift her quite high to get the strongback back under and have enough space to get the cradle mounted back:
After lowering her onto the new cradle, I aligned and levelled her with the winches. All seem to be OK
A long day, but awesome. Cant wait for the next part.
Antonie
CC14 splashed
CS23 almost there
CS23 almost there

Re: CS23 - Dad's dream
. . . and perseverance pays off once again! Congratulations on the flip, looking good.
Hank
-
peter-curacao

- * Bateau Builder - Expert *
- Posts: 7607
- Joined: Mon Mar 24, 2008 1:29 pm
- Location: Curaçao Dutch Caribbean
Re: CS23 - Dad's dream
Congratulations on the flip, she looks very nice!
-
Cracker Larry
- * Bateau Builder - Expert *
- Posts: 22491
- Joined: Fri Mar 11, 2005 3:39 pm
- Location: Savannah, GA
Re: CS23 - Dad's dream
Tight flip  Good work
Completed GF12 X 2, GF16, OD18, FS18, GF5, GF18, CL6
"Ships are the nearest things to dreams that hands have ever made." -Robert N. Rose
Who is online
Users browsing this forum: Amazon [Bot] and 6 guests