Biscuit's Panga 22 build

To help other builders, please list the boat you are building in the Thread Subject -- and to conserve space, please limit your posting to one thread per boat.

Please feel free to use the gallery to display multiple images of your progress.
Biscuit
Frequent Poster
Frequent Poster
Posts: 87
Joined: Tue Feb 11, 2014 7:47 pm
Location: Mobile, Alabama

Re: Biscuit's Panga 22 build

Post by Biscuit »

antoniekruger wrote:Hi Biscuit - that's looking good. Good momentum. :D
And its good to see you have hand planes. They do come in handy. 8)
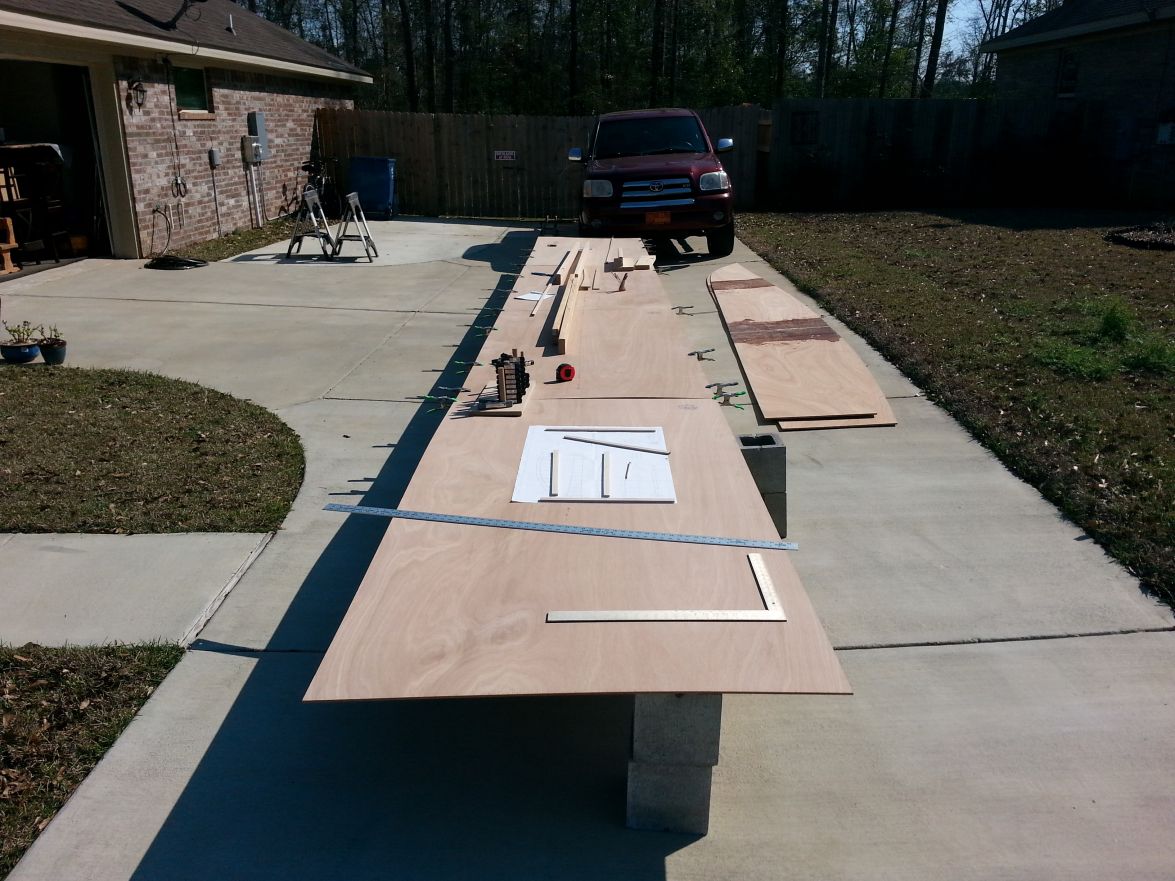
She's a big boat - according to Larry, sanding is therapeutic.....not so sure about that. Are you intending to use quickfair?
Just one note - if you do replace a tool(power or not) replace it with the best you can afford.
Are you using Acetone to clean your brushes? My composite supplier sold me a water soluble brush cleaner. Very cool stuff. I'll post a pic of the container. I was even able to revive those brushes that has gone a bit hard at the top....
Cheers,
Antonie
Thanks Antonie,
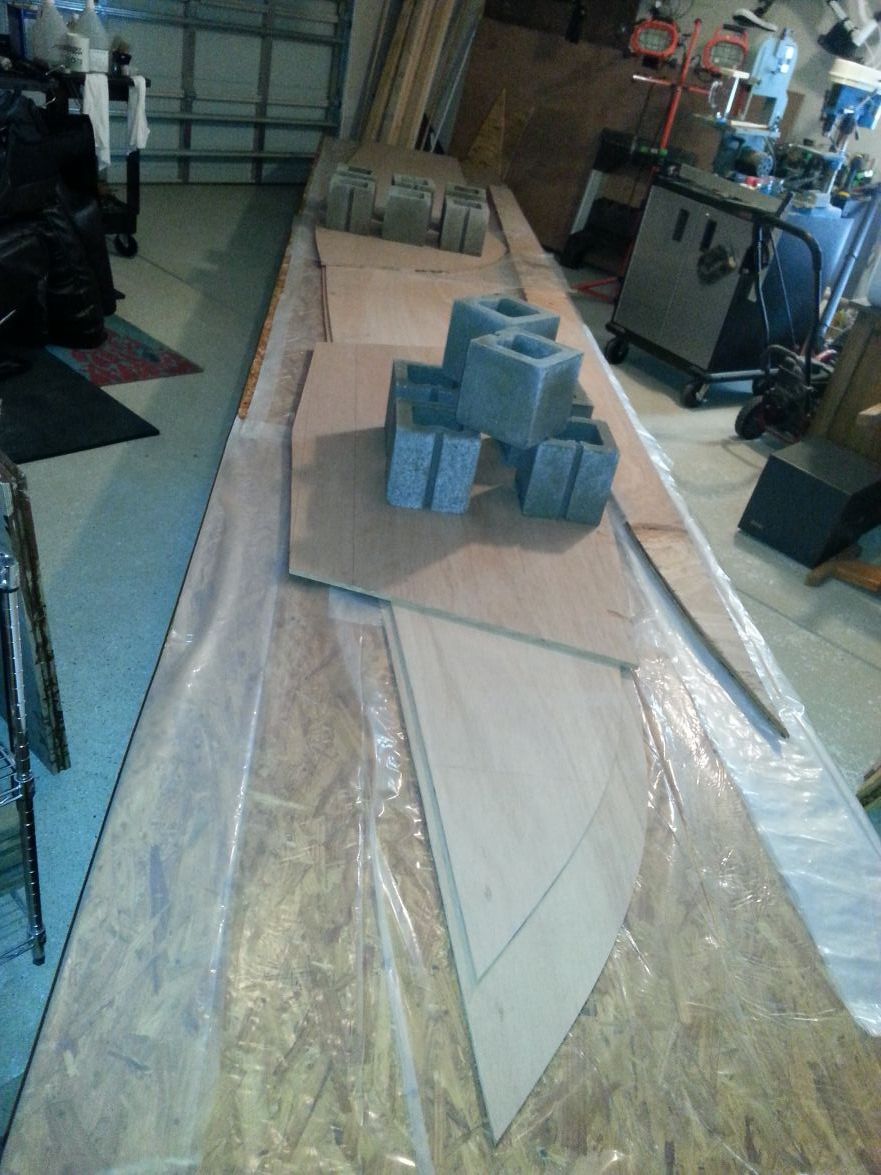
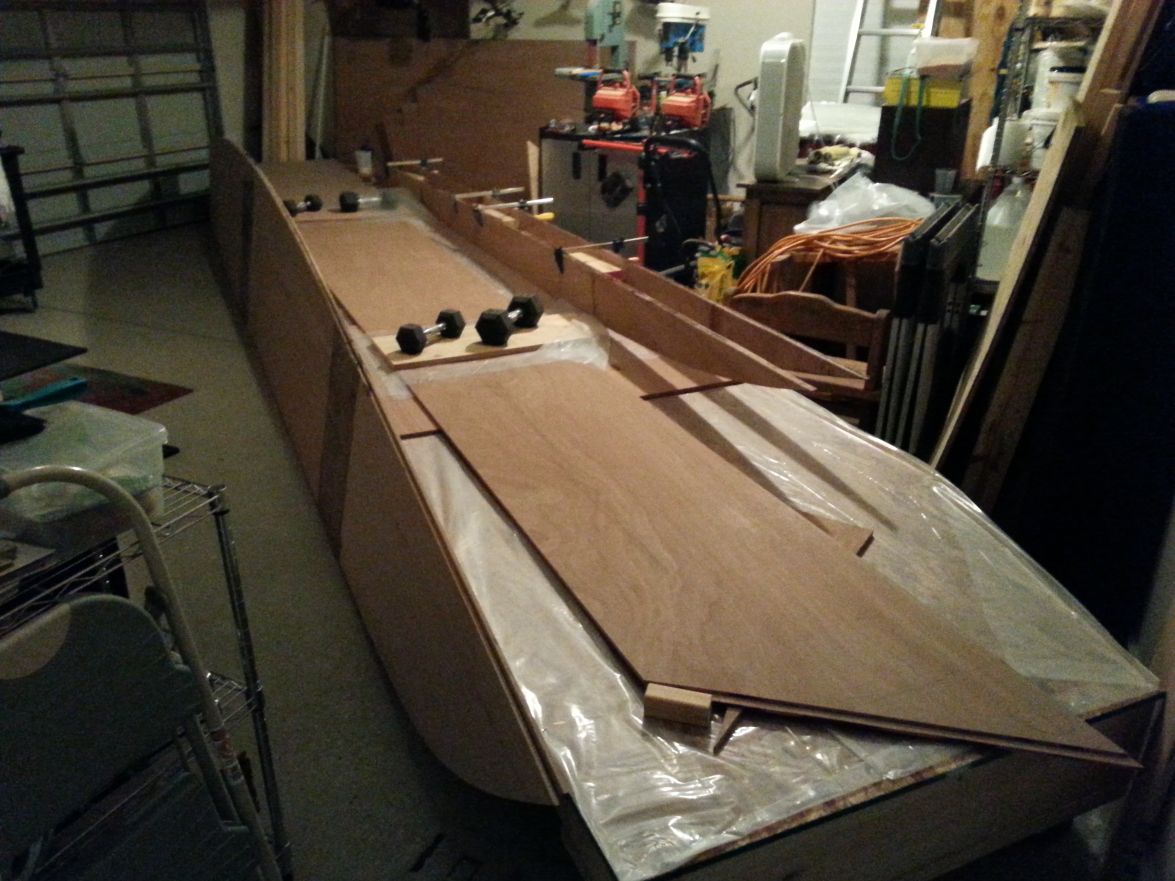
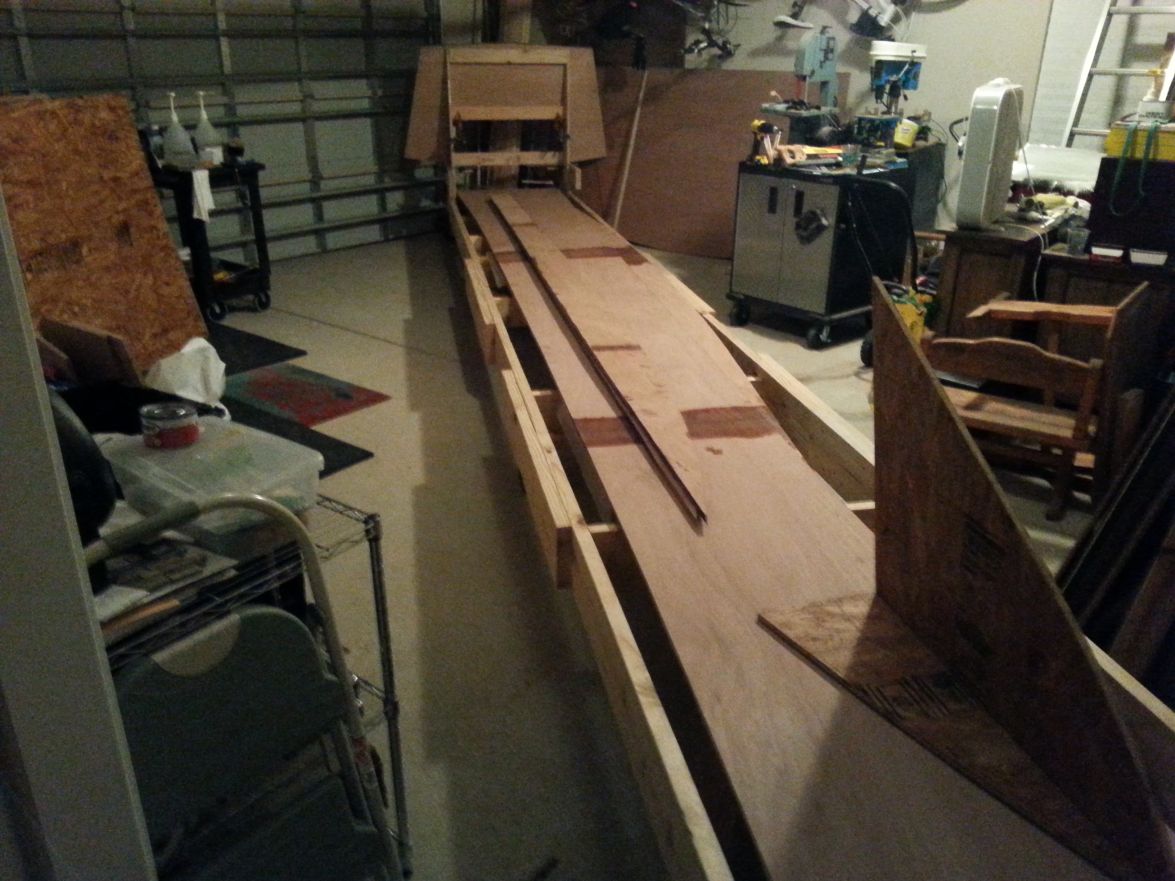
I'm in a bit of a hurry to get the hull on the forms and spot welded together. I have a really crazy work schedule and once I go back the momentum will definitely drop off some. Mostly though the excitement is keeping me going.
I think Cracker Larry is most knowledgeable about building these boats but I don't know how therapeutic sanding this monster will be. There's always the possibility that the Biscuit and the Cracker have two different understandings of the word therapeutic. :lol:
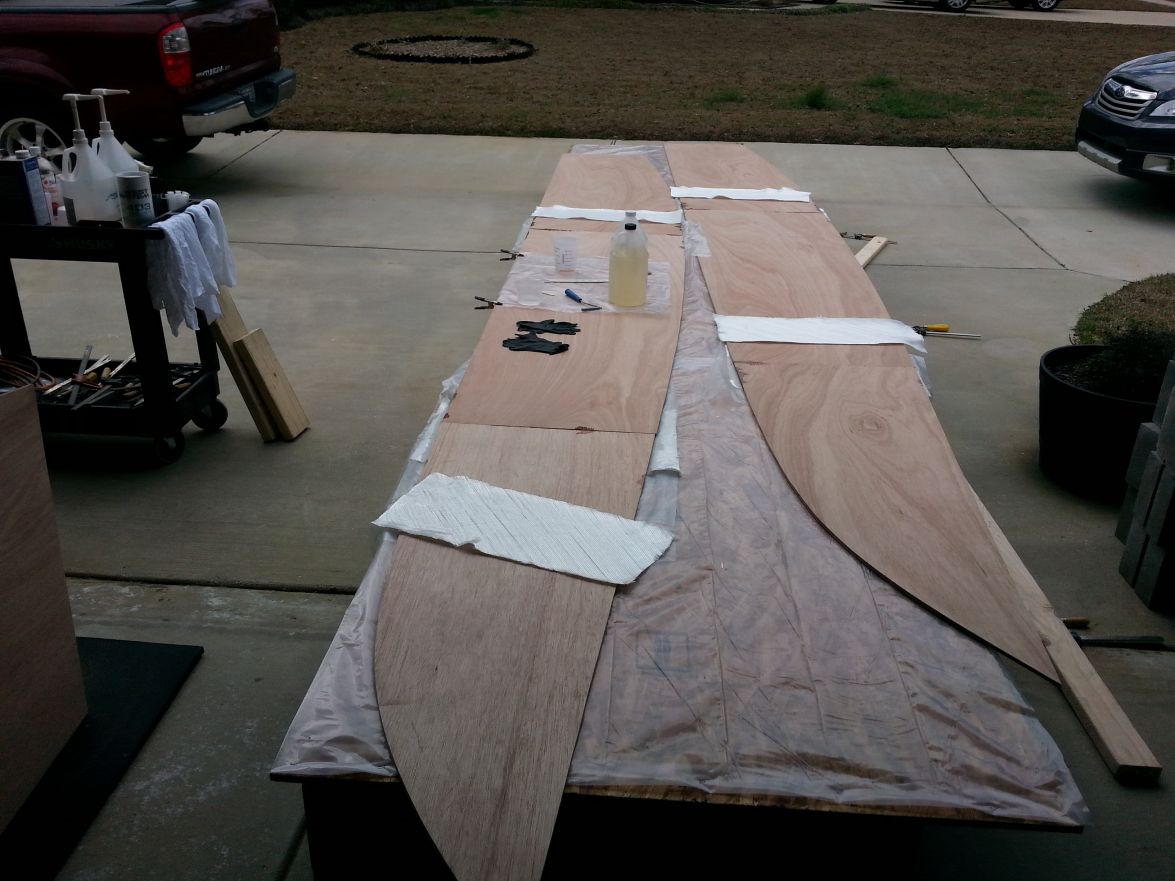
I'll probably use the micro-balloon/ glass mixture provided with my epoxy kit first. Then move to the quickfair. Honestly though the micro-balloons in epoxy do a great job by theirself so I'll keep you updated on that.
I've been using vinegar and sometimes acetone. I've never tried anything else. The acetone works best if you have something that's started to harden over but if you're cleaning up epoxy that's not kicked yet, then vinegar is the best value, does an amazing job and well, here we can pick up a gallon at almost any grocery for next to nothing. The vinegar is essential to remove any epoxy mixed or in parts that may contact your skin. The vinegar doesn't absorb into your skin the way acetone does, thus the harmful epoxy chemistry stays out of you.
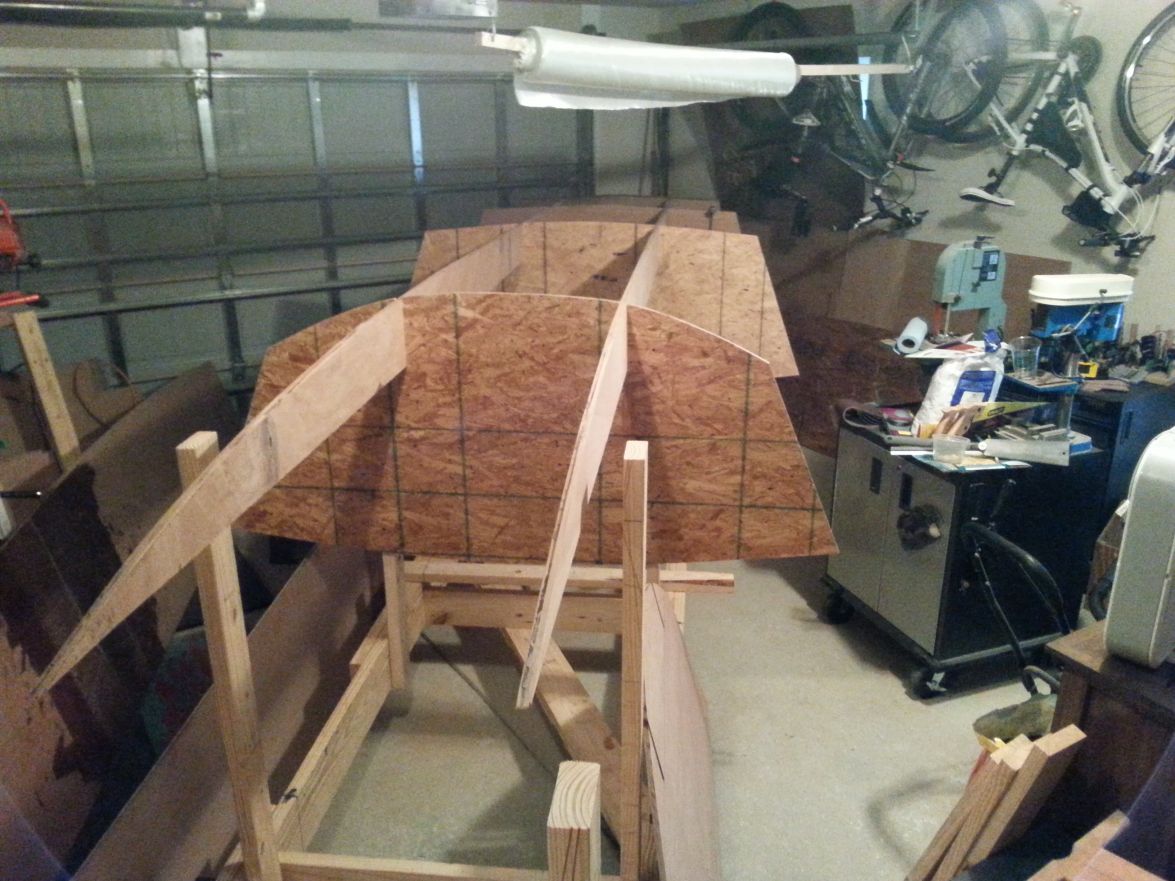
Bottoms not ready to be rolled over yet. :(
Jeff
Image

jorgepease
Very Active Poster
Very Active Poster
Posts: 657
Joined: Wed Feb 08, 2012 8:10 am
Location: Florida

Re: Biscuit's Panga 22 build

Post by jorgepease »

for what it's worth on the fairing … I used micro balloons with cabosil and two different techniques to get to the point where I am now which is just about done and this is what I learned.

1) Micro balloons with cabosil and using mechanicle mixing with a paddle to get you a nice light weight and non-slumping mix works great, it's much cheaper than the ready made stuff and it's strong.

2) Using a V notched trowel 3/16 (like what you would use to lay down thin set) for your first coat makes it tremendously easy to sand the ridges down to a perfectly flat plane. The second coat fills in any low spots. I expect I sanded my /16 high notches down to a 1/16 height in most areas. Filling in is a breeze.

3) Because I have that big flat bottom, I used a floor (12 x 18 rectangular orbital sander) to get a super flat and smooth surface. On the first pass I epoxied one side of the red mat which attaches to the sanders teeth to a 12 x18 piece of plywood and then stuck the sand paper to the other side of the plywood. That turns the sander into a big long board. On the second pass you can just use the mat and 220 paper to get a perfect ready for primer plane.

Good luck with your build, the Panga is one of my favorite boats, I may be building one someday!! )

User avatar
Cracker Larry
* Bateau Builder - Expert *
Posts: 22491
Joined: Fri Mar 11, 2005 3:39 pm
Location: Savannah, GA

Re: Biscuit's Panga 22 build

Post by Cracker Larry »

according to Larry, sanding is therapeutic.....not so sure about that.
In small doses :lol: By the time you finish sanding that big girl you will probably need therapy yourself :help:

My best advice is to work clean, work wet on wet whenever possible and wipe off all runs and drips while they are still wet. Much easier to brush or roll it all smooth than to sand it smooth later.
Completed GF12 X 2, GF16, OD18, FS18, GF5, GF18, CL6
"Ships are the nearest things to dreams that hands have ever made." -Robert N. Rose

User avatar
antoniekruger
Active Poster
Active Poster
Posts: 262
Joined: Fri Feb 01, 2013 7:13 am
Location: South Africa
Location: Johannesburg, South Africa

Re: Biscuit's Panga 22 build

Post by antoniekruger »

Hey Larry, agreed - it's best not to have clean up.
Biscuit, those long panels, are you putting biax on both sides of the join? I suppose your drawings and notes would tell you the same as mine - biax both sides of the long panels joints. I had an issue with uniform bent towards the bow - tight bend right on the join. This also created some issues during fairing. My 'quickfair' went on almost 2mm on the join since it did not bend as the rest of the panel. I saw a similar build of a chap in Aus....Tim and Jess(if memory serves). I noticed on his pics that he only joined the one side of the long panels and it was the inside. The risk is in handling the panel - it could crack if you do not have a helping hand to lift and place it.
CC14 splashed
CS23 almost there

Biscuit
Frequent Poster
Frequent Poster
Posts: 87
Joined: Tue Feb 11, 2014 7:47 pm
Location: Mobile, Alabama

Re: Biscuit's Panga 22 build

Post by Biscuit »

jorgepease wrote:for what it's worth on the fairing … I used micro balloons with cabosil and two different techniques to get to the point where I am now which is just about done and this is what I learned.

1) Micro balloons with cabosil and using mechanicle mixing with a paddle to get you a nice light weight and non-slumping mix works great, it's much cheaper than the ready made stuff and it's strong.

2) Using a V notched trowel 3/16 (like what you would use to lay down thin set) for your first coat makes it tremendously easy to sand the ridges down to a perfectly flat plane. The second coat fills in any low spots. I expect I sanded my /16 high notches down to a 1/16 height in most areas. Filling in is a breeze.

3) Because I have that big flat bottom, I used a floor (12 x 18 rectangular orbital sander) to get a super flat and smooth surface. On the first pass I epoxied one side of the red mat which attaches to the sanders teeth to a 12 x18 piece of plywood and then stuck the sand paper to the other side of the plywood. That turns the sander into a big long board. On the second pass you can just use the mat and 220 paper to get a perfect ready for primer plane.

Good luck with your build, the Panga is one of my favorite boats, I may be building one someday!! )
Thanks for the tips. I like the idea of using the notched trowel. Sounds like it'll do the trick on mine.

Biscuit
Frequent Poster
Frequent Poster
Posts: 87
Joined: Tue Feb 11, 2014 7:47 pm
Location: Mobile, Alabama

Re: Biscuit's Panga 22 build

Post by Biscuit »

bottom panels second side
Image

Biscuit
Frequent Poster
Frequent Poster
Posts: 87
Joined: Tue Feb 11, 2014 7:47 pm
Location: Mobile, Alabama

Re: Biscuit's Panga 22 build

Post by Biscuit »

Worked on the Panga for about six hours today and made some headway. I drew the side panels, cut them out, and glass taped both sides. Tomorrow I'll be pulling the flight deck off the carrier to turn it back into a strongback. Maybe the rain will hold off until later in the day so I can roll everything outside and enjoy the sun.
The forms leaning in the corner and the stringers are itching to get mounted tomorrow as well. If that happens we might get to see the bottom and sides loosely mounted too. Maybe that's a bit too ambitious but we'll see.
Here's the sides being drawn.
Image

Side panels glass taped on both sides and bottom panels ready to be mounted.
Image

Biscuit
Frequent Poster
Frequent Poster
Posts: 87
Joined: Tue Feb 11, 2014 7:47 pm
Location: Mobile, Alabama

Re: Biscuit's Panga 22 build

Post by Biscuit »

Well back to work tomorrow after several weeks off and this is how the Panga will be waiting for me this weekend. Not as much finished as I'd hoped but it's definitely closer to the water than two weeks ago.
The sides, bottoms, transom, stringers, stations and bow form are complete.

Next is mount everything, align it and get busy sanding.
Image

Biscuit
Frequent Poster
Frequent Poster
Posts: 87
Joined: Tue Feb 11, 2014 7:47 pm
Location: Mobile, Alabama

Re: Biscuit's Panga 22 build

Post by Biscuit »

This weekend was plenty busy but only Sunday afternoon was devoted to the Panga.
I mounted station D first then the transom. After those two were perfectly aligned I started mounting some of the others. They're all temporarily mounted because the stringers are in need of a little shimming and station F will have to be raised a touch.
Image
You can see two things from this picture.
1- The Panga 22 is starting to look like a boat and
2- I need more space in the garage.
Image
Starting to look like my art project. 8)
Image
Last edited by Biscuit on Tue Mar 18, 2014 11:57 pm, edited 1 time in total.

Biscuit
Frequent Poster
Frequent Poster
Posts: 87
Joined: Tue Feb 11, 2014 7:47 pm
Location: Mobile, Alabama

Re: Biscuit's Panga 22 build

Post by Biscuit »

Just in case I'm asked in the future, I've been keeping track of hours worked as well as dollars spent.

As of 3/16/14

45 hours worked

$4,397.52


I'll post the EXCEL spread sheet later on in the build for anyone contemplating the Panga 22.
Last edited by Biscuit on Wed Mar 19, 2014 12:52 pm, edited 1 time in total.

Post Reply

Who is online

Users browsing this forum: No registered users and 5 guests