Page 1 of 1
P19 build in Alberta
Posted: Sun Apr 10, 2016 3:18 pm
by grundasaurus
Re: P19 build in Alberta
Posted: Sun Apr 10, 2016 3:18 pm
by grundasaurus
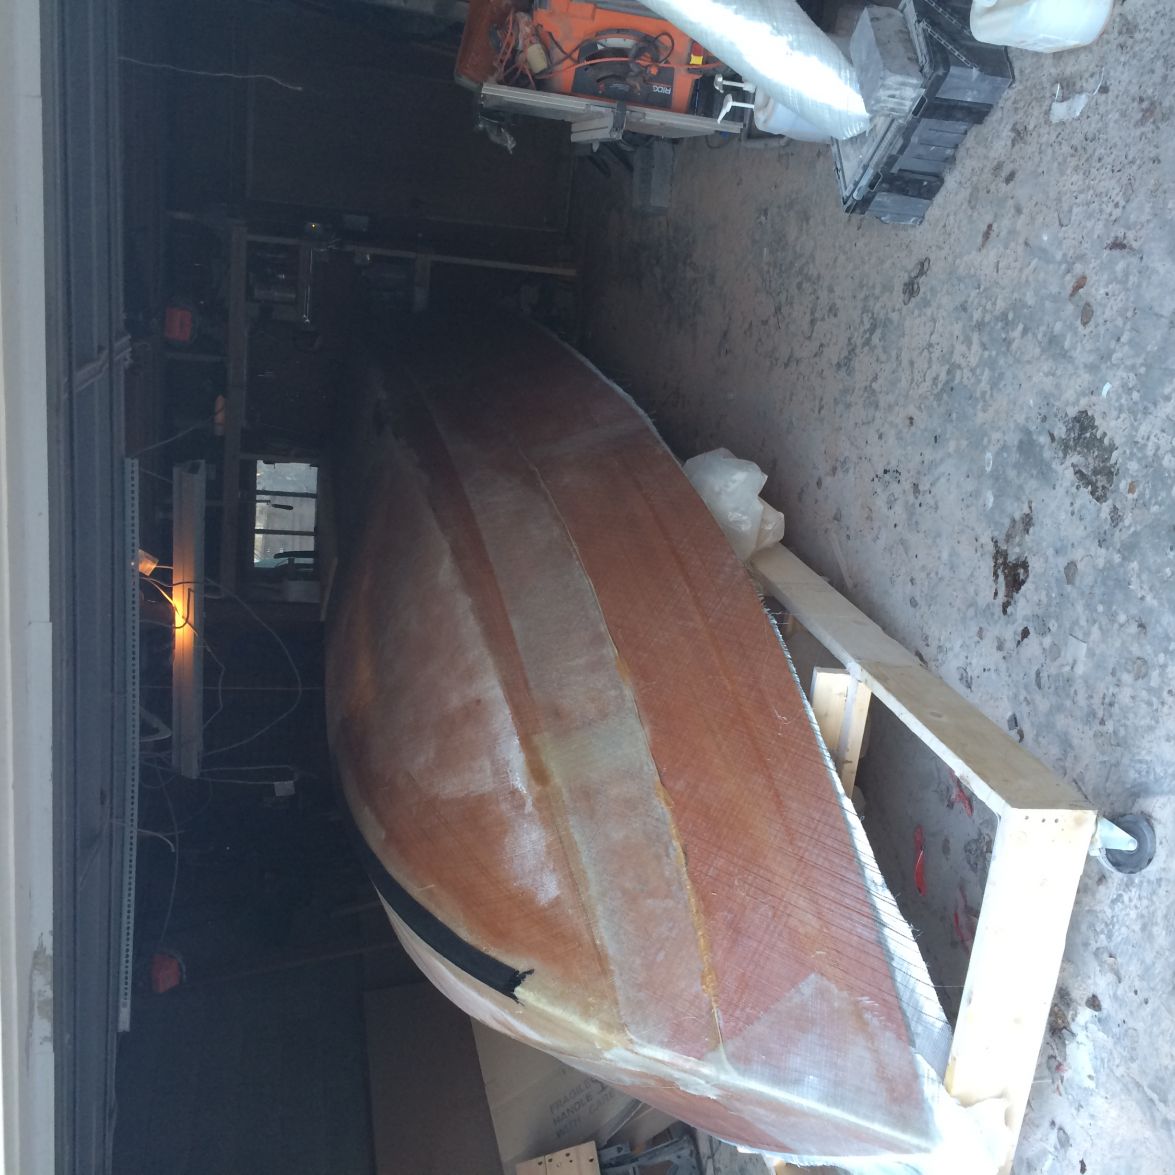
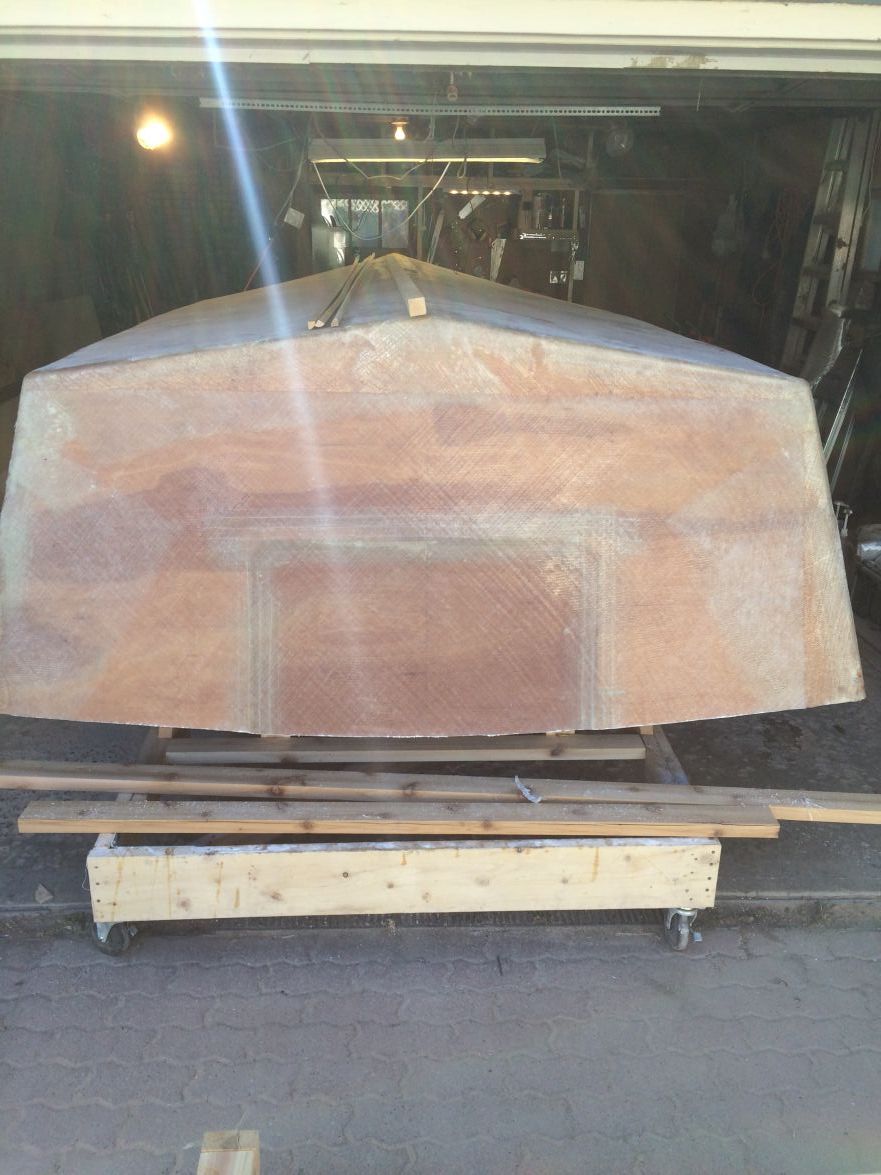
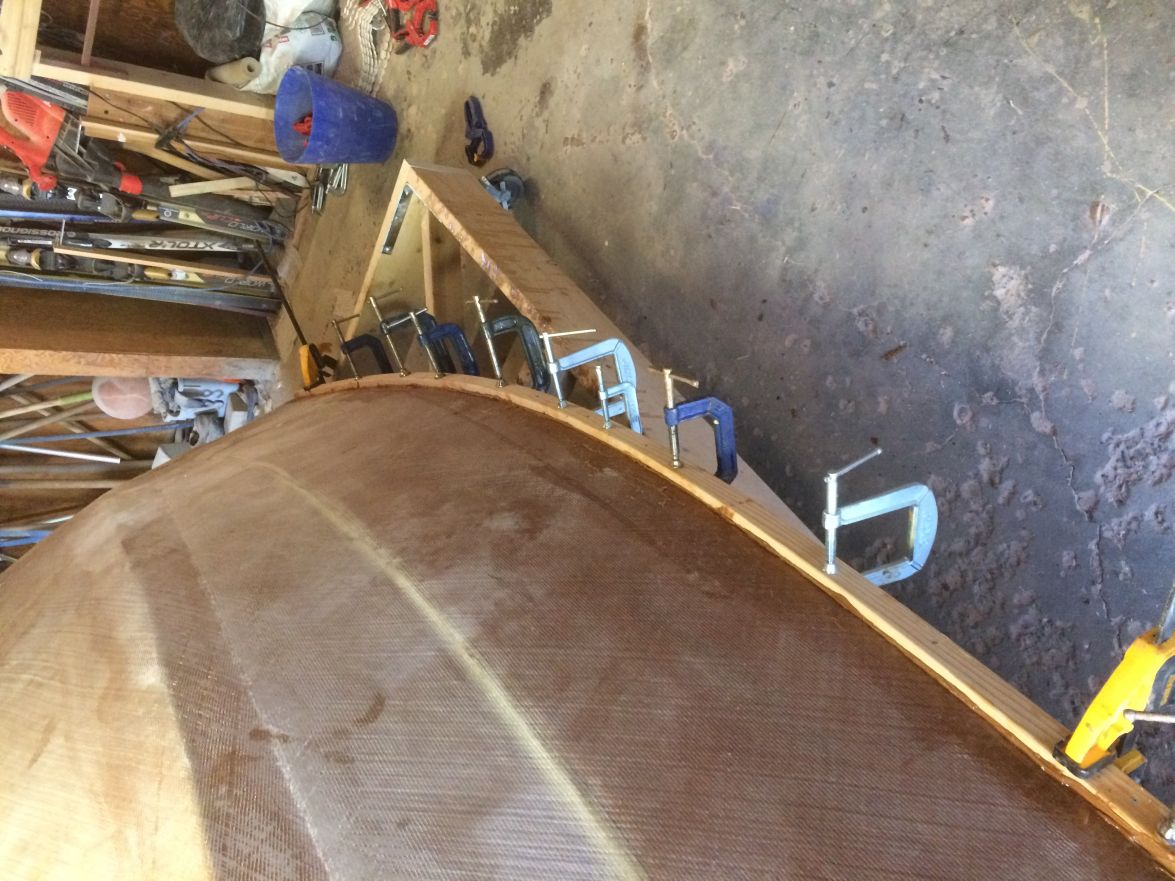
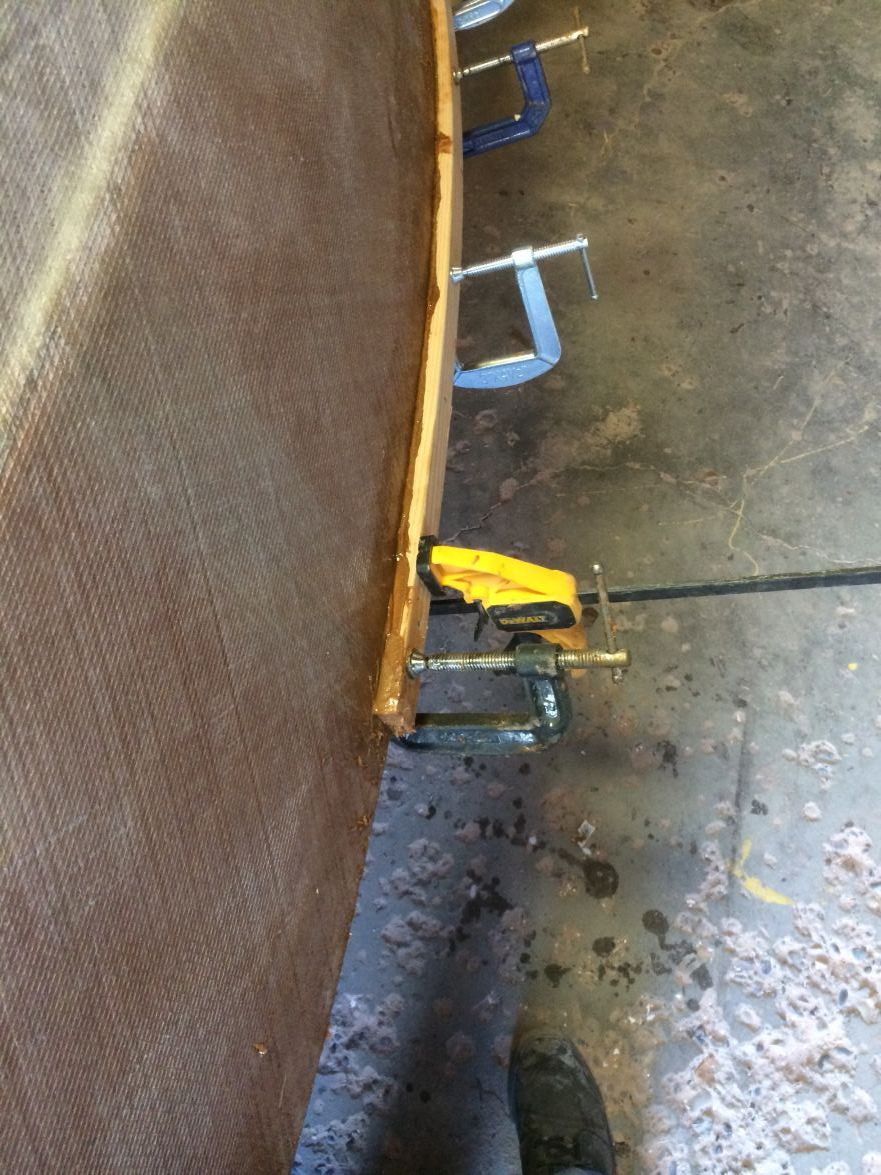
Also the next step for us is rubrails, spray rails, and the keg, so if anyone has some suggestions/ tips for length, thickness etc they would be greatly appreciated.
Re: P19 build in Alberta
Posted: Wed Apr 13, 2016 7:56 pm
by grundasaurus
Re: P19 build in Alberta
Posted: Fri Apr 15, 2016 12:36 am
by Joe H
grundasaurus,
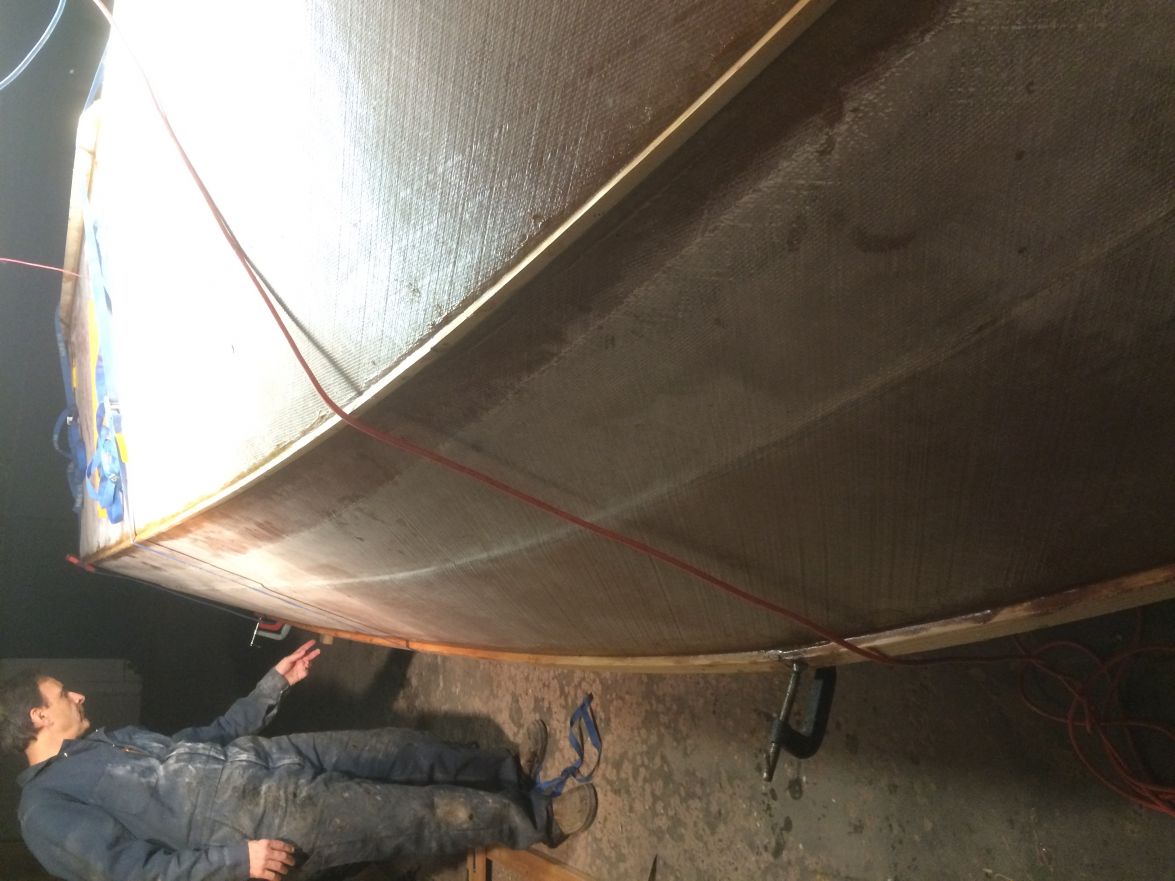
You're making some good progress, I wanted a little lift in the back end of my P19 so I excluded the skeg and went for strakes instead, I think it helped, hard to say, she tracks great! Plus I didn't want a 3" skeg added on to the bottom of the boat.
I also did the 1/4 ply for the rub rails then added a rubber taco rub rail with a stainless steal insert, looks good and takes a beating!
I'd would show you some pictures but I can't post since adding windows 10 on my computer, see my gallery.
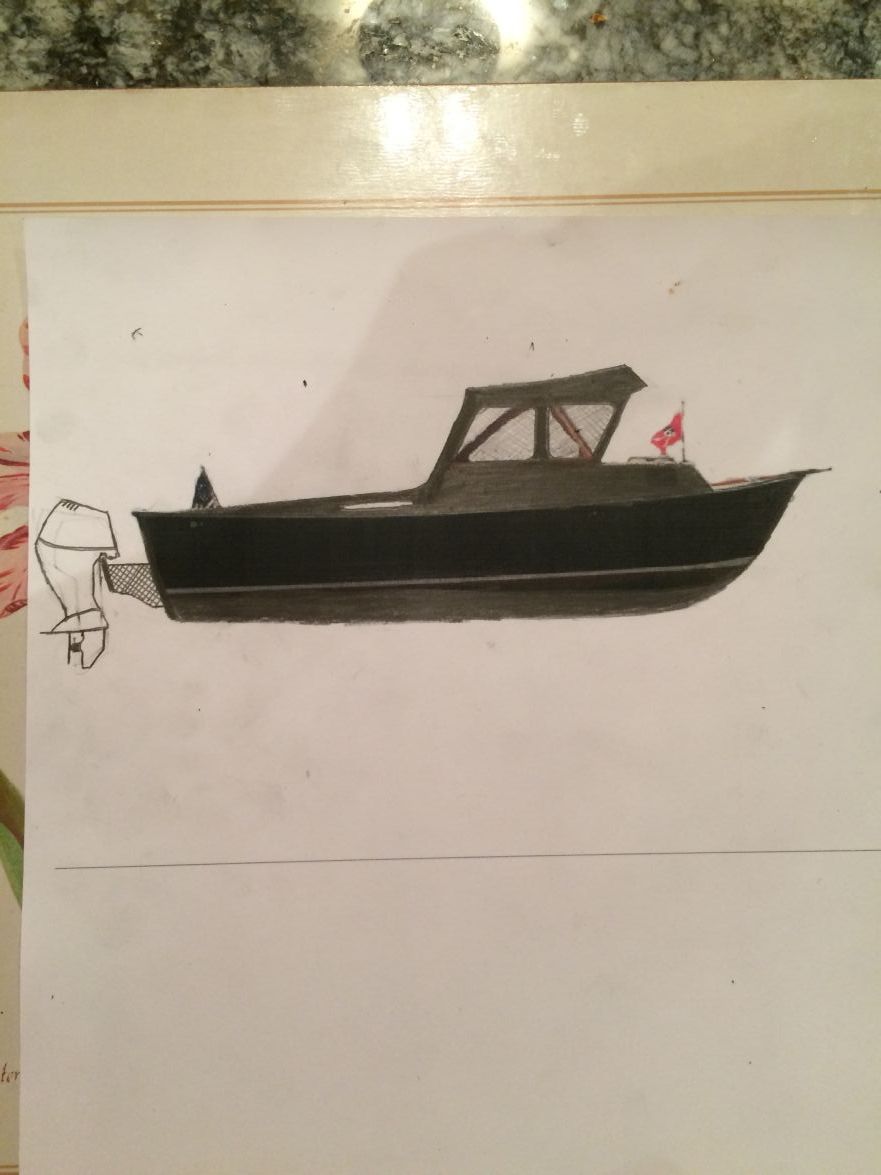
I like the idea of the engine bracket, should give you a little more room, you may have to add some weight in the front to balance her out.
Keep on posting.
Joe H
Re: P19 build in Alberta
Posted: Fri Apr 15, 2016 2:06 am
by grundasaurus
The Strakes sound interesting... How much lift do they add? We're planning on installing some trim tabs to help with trim amid ever varying loads of people and fuel, for the rub rails, did you laminate them together before you glasses them to the hull, or did you butt joint then laminate them together as they went on the hull? The boat will be used on the west coast which can get pretty windy, so I like the idea of the lateral resistance of the skeg in the harbour ( our other boat, a Grady freedom 205 has nothing like that and goes straight sideways in a light breeze at slow speeds). As for balance, I'm planning on adding a small potable water tank in the berth, which should help with the overall balance, one of these days I'll make a spreadsheet to keep track of the cg.
Re: P19 build in Alberta
Posted: Fri Apr 15, 2016 8:58 am
by Noles309
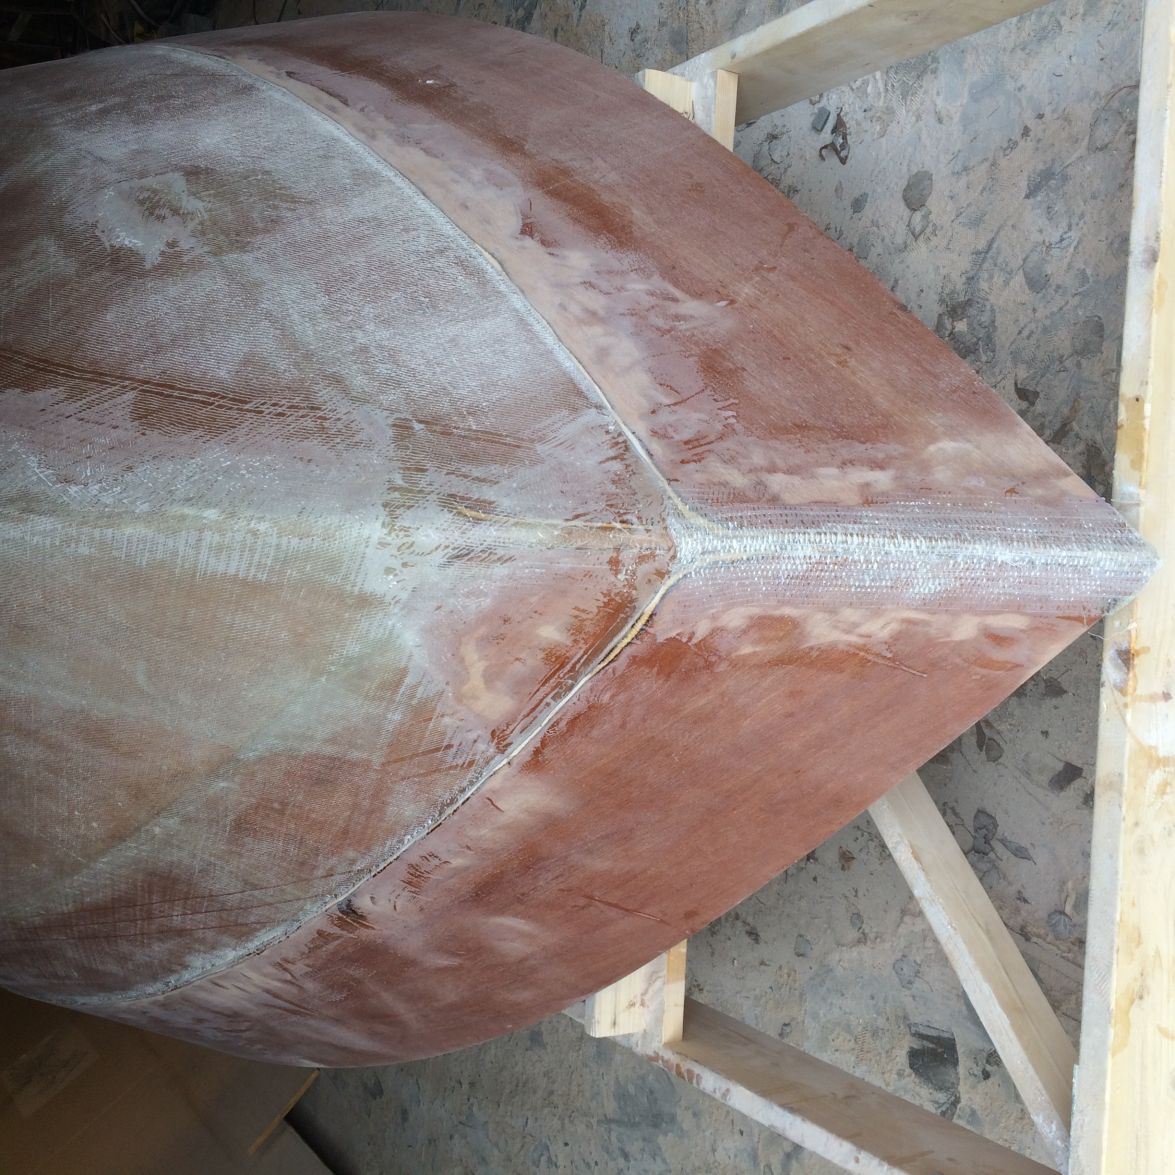
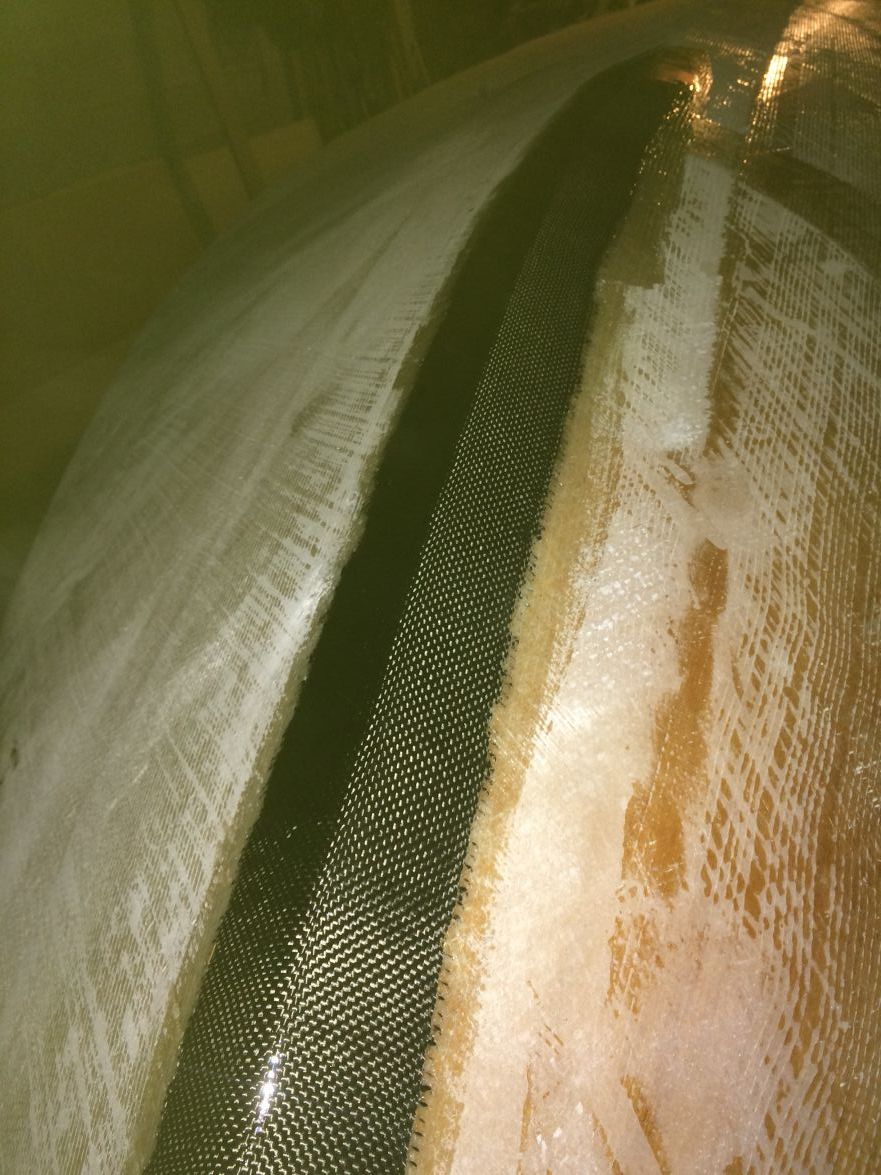
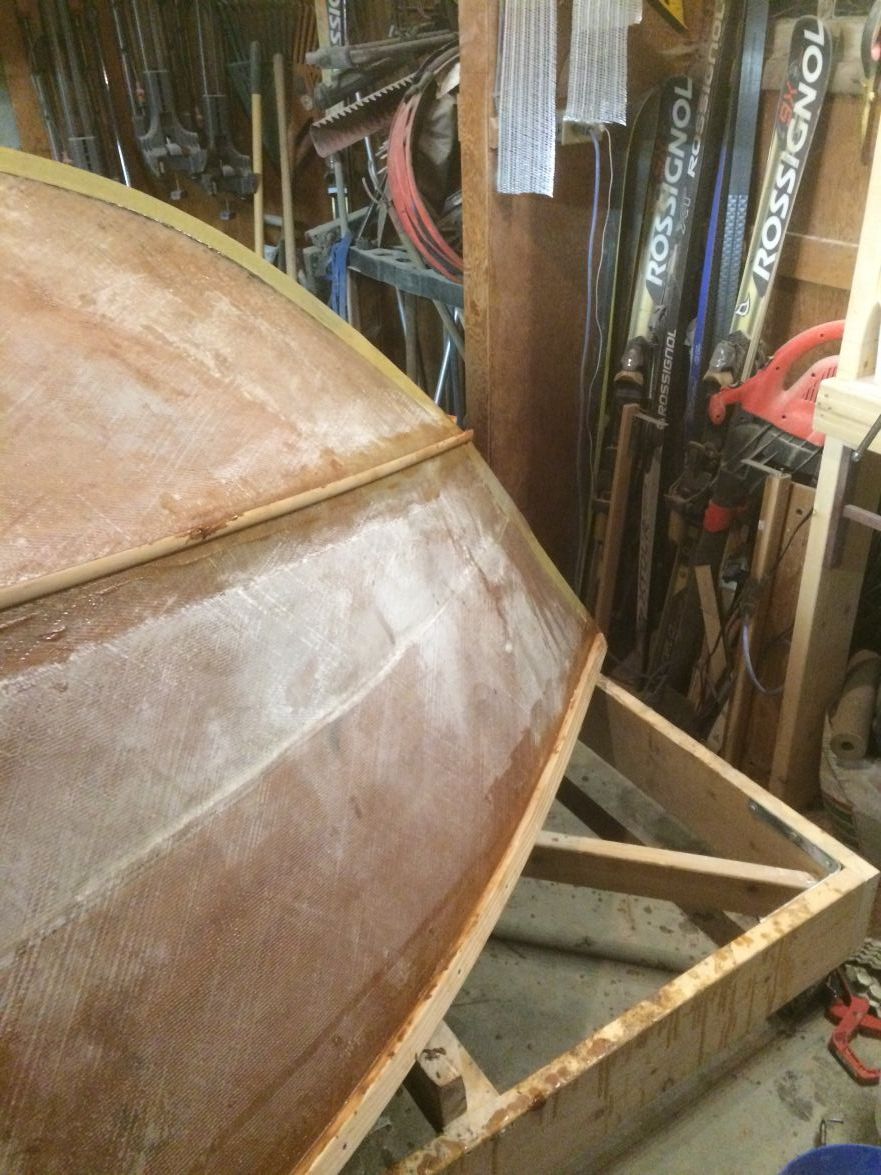
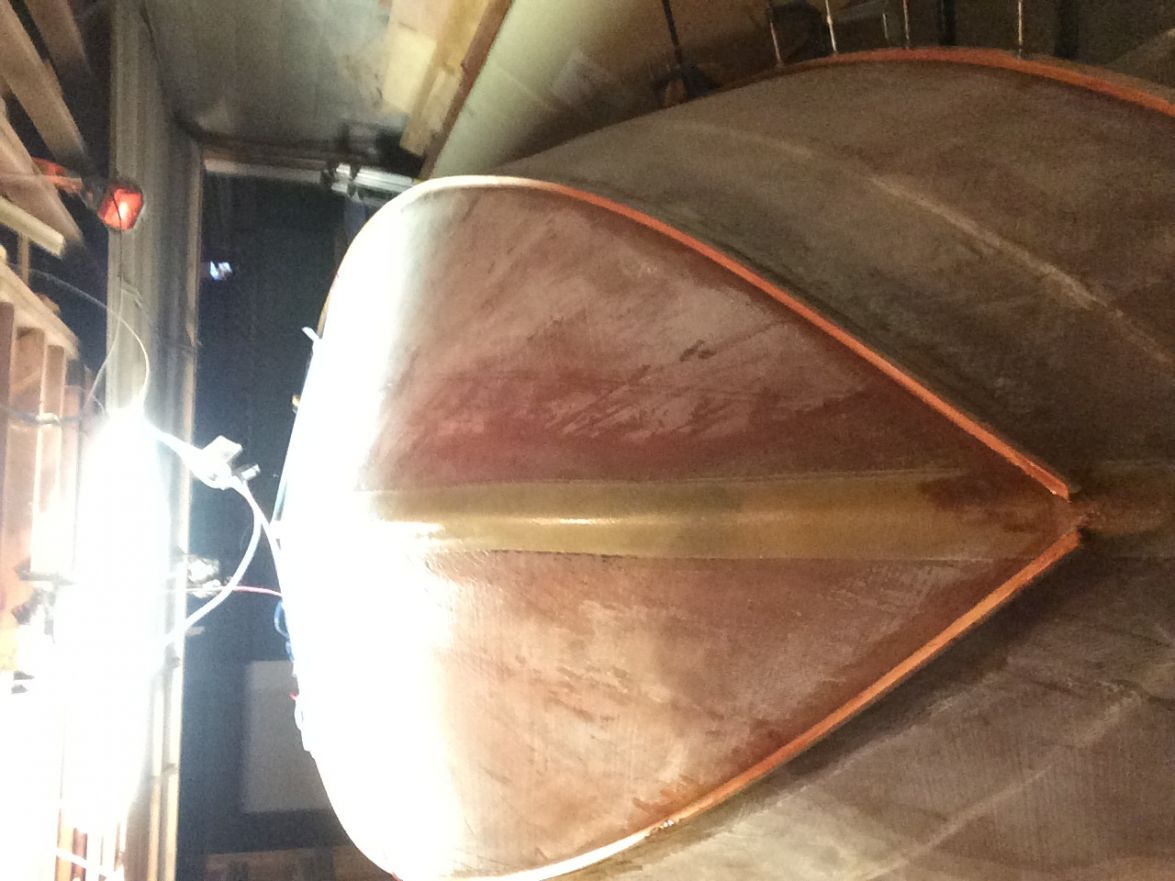
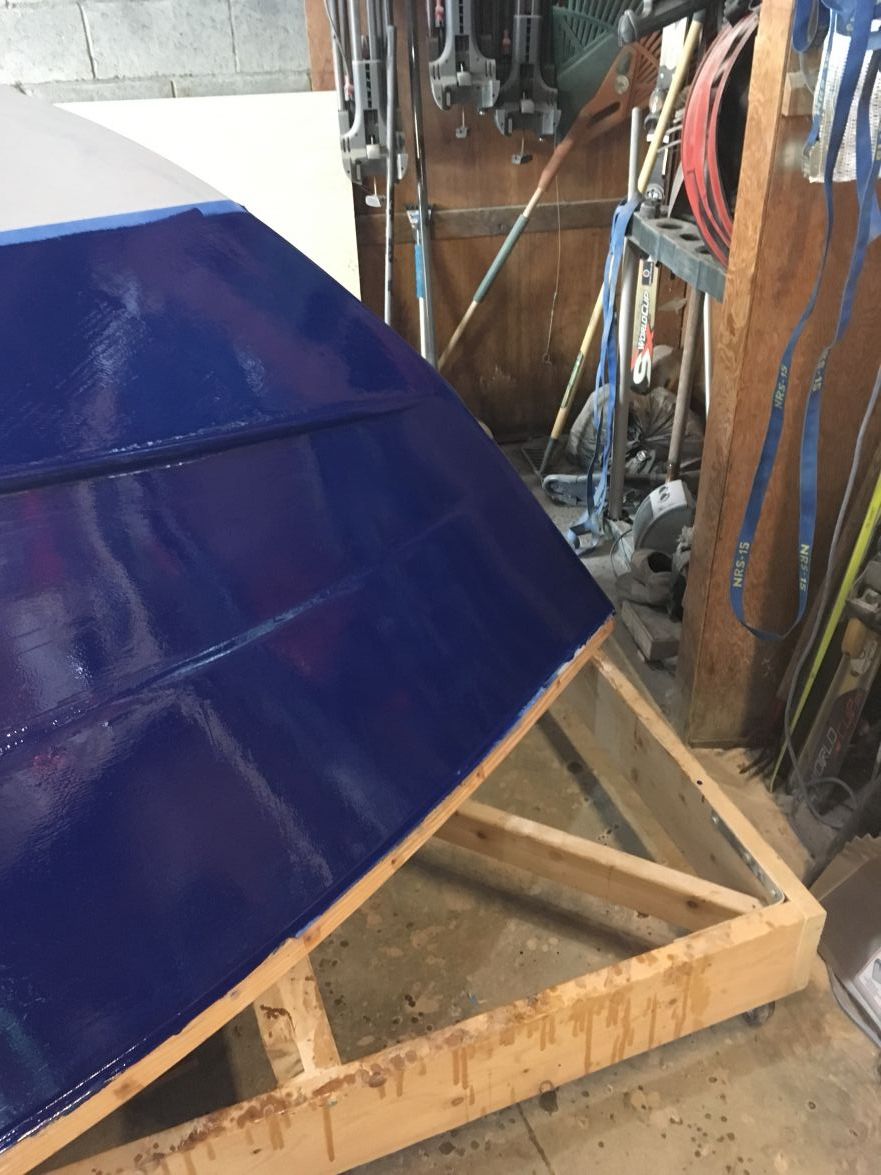
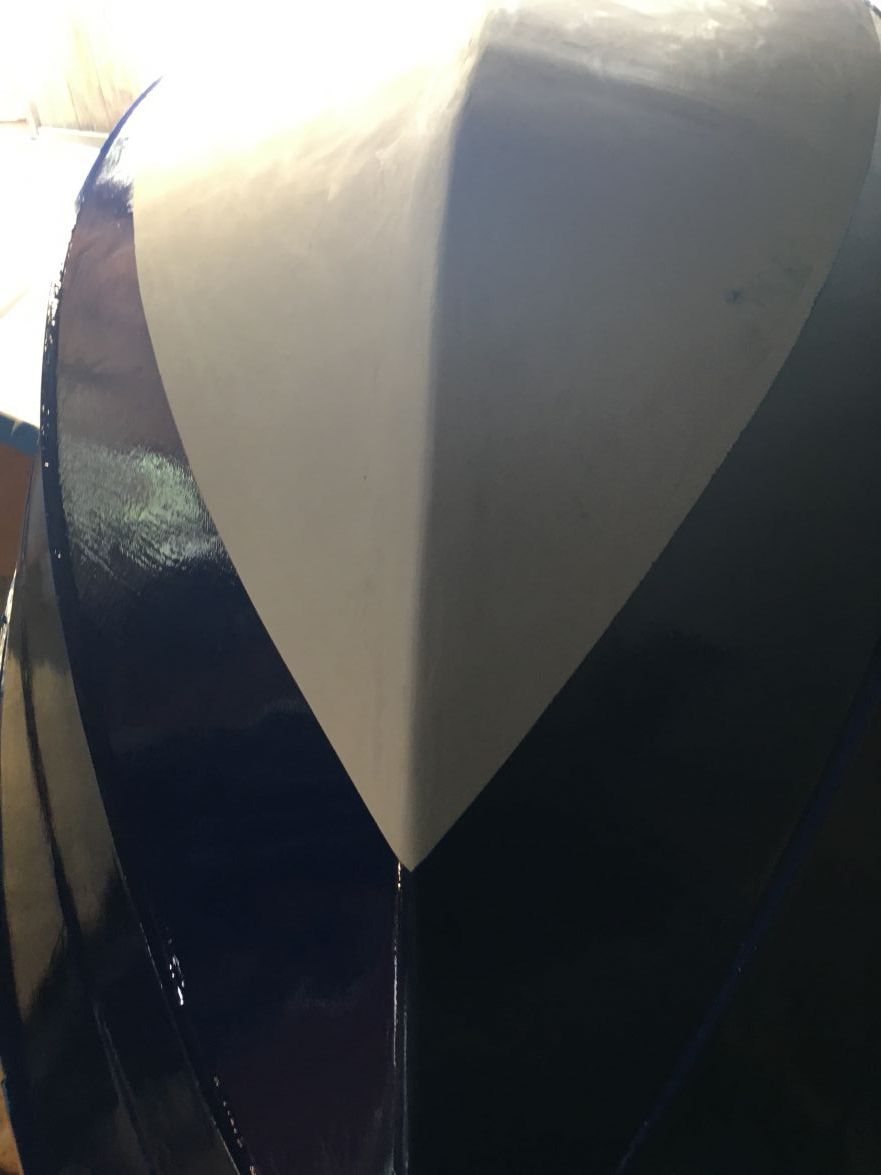
Is that carbon/kevlar? Kevlar alone is usually a yellow color.
Re: P19 build in Alberta
Posted: Fri Apr 15, 2016 10:00 am
by grundasaurus
The boat has a layer of straight carbon fibre first, then another layer of pure Kevlar on top, no carbon Kevlar weave at all
Re: P19 build in Alberta
Posted: Sat Apr 16, 2016 5:58 pm
by grundasaurus
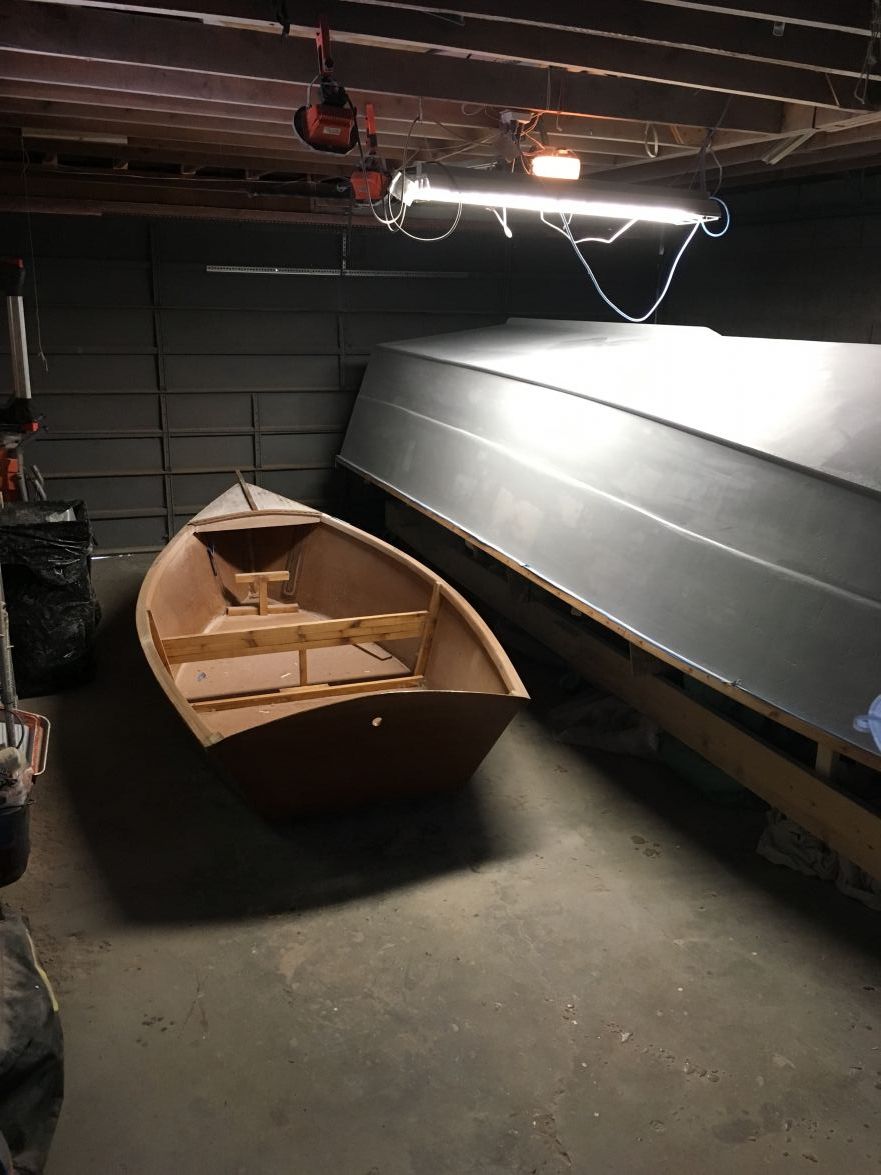
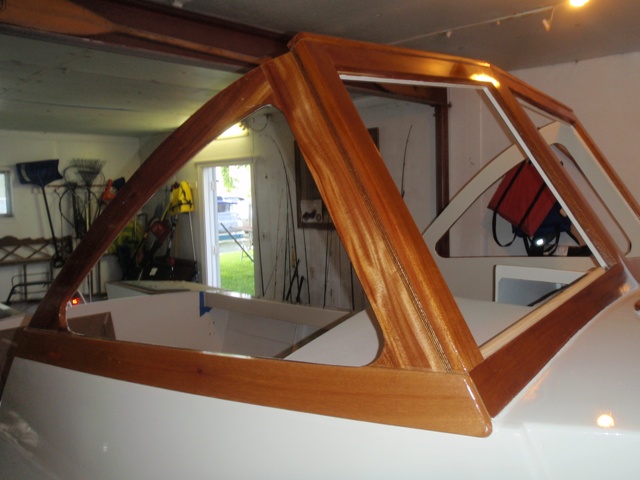
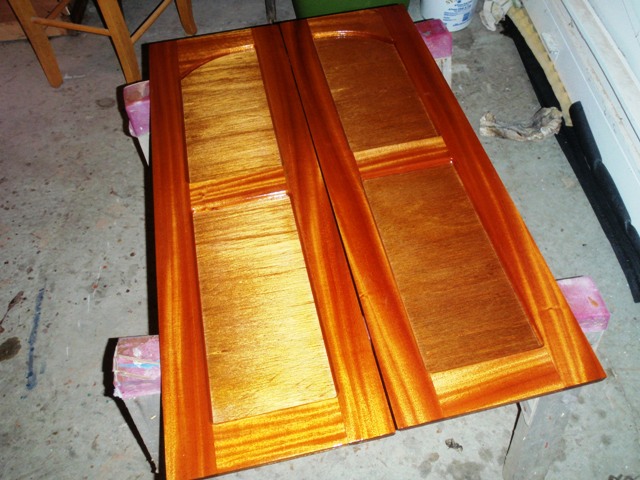
Does anyone else who's built a P19 know what the finished weight range is with engine? is it under 3000lbs? also what kind of speed does the boat get with a 90HP engine. More building photos/progress to come today. Also, I built a small rowboat in my basement over the winter, we decided to keep the inside natural wood, not painted, so any suggestions for a top coat over the epoxy, to protect it from UV? I've heard polyurethane words well.
Re: P19 build in Alberta
Posted: Sat Apr 16, 2016 6:05 pm
by Fonda@kauai
They sell an epoxy with UV inhibitors in the store under the "epoxy" section. You can also use a spar varnish with UV inhibitors, but it will be softer.
Re: P19 build in Alberta
Posted: Sat Apr 16, 2016 6:54 pm
by grundasaurus
Can the varnish adhere to a side that is fully saturated with epoxy?
Re: P19 build in Alberta
Posted: Sat Apr 16, 2016 9:58 pm
by Fonda@kauai
With either product you'll have to sand the existing epoxy first. Something in the 220 range I would guess.
Re: P19 build in Alberta
Posted: Sat Apr 16, 2016 10:13 pm
by Cracker Larry
Can the varnish adhere to a side that is fully saturated with epoxy?
A good clear coat such as EMC will be much better than varnish and take less coats, and less sanding between coats.
With either product you'll have to sand the existing epoxy first. Something in the 220 range I would guess.
Yes, you always have to sand

Re: P19 build in Alberta
Posted: Sat Apr 16, 2016 10:42 pm
by Fonda@kauai
Yes, you always have to sand
Tell me about it

I've sanded enough for two lifetimes

Re: P19 build in Alberta
Posted: Tue Apr 19, 2016 6:42 pm
by grundasaurus
Re: P19 build in Alberta
Posted: Mon Apr 25, 2016 1:02 pm
by Joe H
Does anyone else who's built a P19 know what the finished weight range is with engine? is it under 3000lbs? also what kind of speed does the boat get with a 90HP engine.
I have a Yamaha 2 stroke 90hp on my P19 and the estimated weight is 2400 lbs, 34 mph.
A good clear coat such as EMC will be much better than varnish and take less coats, and less sanding between coats.
I know nothing about EMC but I know Larry’s right about coats, 5 or 6 coats of a UV inhibitor Varnish, I do love my varnish!
Keep the pictures coming!
Joe H
Re: P19 build in Alberta
Posted: Tue Apr 26, 2016 2:14 pm
by ericsil
With regard to the weight: I did not finish mine as completely as Joe H, but I did have a complete pilot house. I came in just under 2400 lbs with a 368 lb motor on the back and every thing dry. I measured 2950 on the scales when sitting on my aluminum trailer. Top speed the same. Staying under 3000lbs should be no problem, even with a bracket.
Re: P19 build in Alberta
Posted: Tue Apr 26, 2016 2:57 pm
by TomW1
Yes, sand it to with 180 paper. Then coat it with EMC Clear coat. You can buy ii buy it by the quart. The EMC will last a lot longer than a spar varnish. The EMC will last 3 times longer than the best spar varnish at only double the cost. Good luck.
Tom
Re: P19 build in Alberta
Posted: Tue Jun 21, 2016 2:26 pm
by grundasaurus
Re: P19 build in Alberta
Posted: Sat Jun 25, 2016 5:24 pm
by ericsil
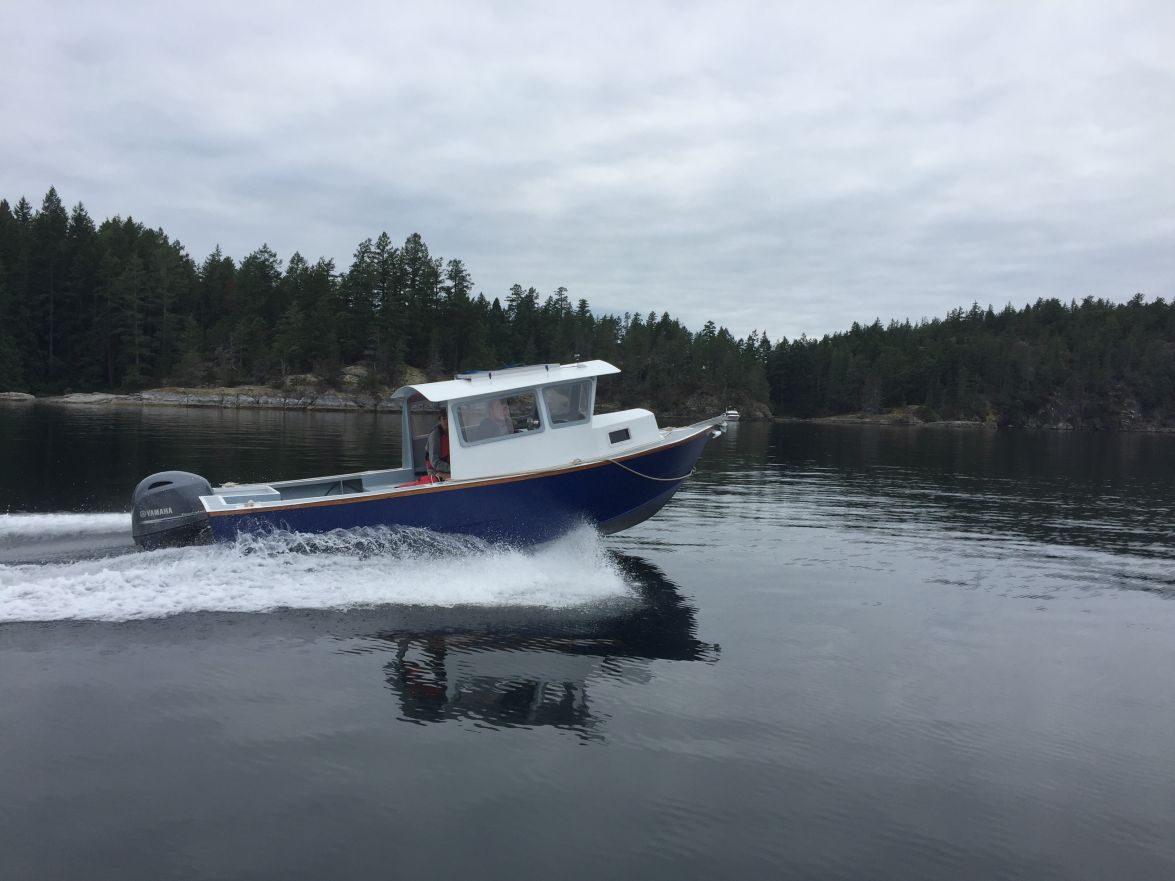
Nice to see another P19 coming together. I have not been keeping up the the forum lately so I had a lot of posts to catch up on. One I thing that should warn you about is the tendency of the P19 to weather-vane in any wind. All of the windage is at the front of the boat and the motor puts the equivalent of a dagger board into the water in the rear. Joe H reduced the problem by eliminating the pilot house almost entirely. You may get some help from a bit longer skeg than I used; but the motor is even further back. There are times when I am forced to let the cabin drift down-wind and back into a slip. For awhile I considered adding to the length of the skeg, but decided it would not make enough difference to warrant taking a grinder to my hull.
That said, this is the 8th summer we have used the P19 on the island in Maine and am glad we have it. The boat has opened up many enjoyable days visiting the other islands and touring friends and relatives about. Best luck finishing the effort and for many happy days driving it.
Re: P19 build in Alberta
Posted: Wed Nov 06, 2019 5:11 pm
by grundasaurus
Re: P19 build in Alberta
Posted: Wed Nov 06, 2019 6:43 pm
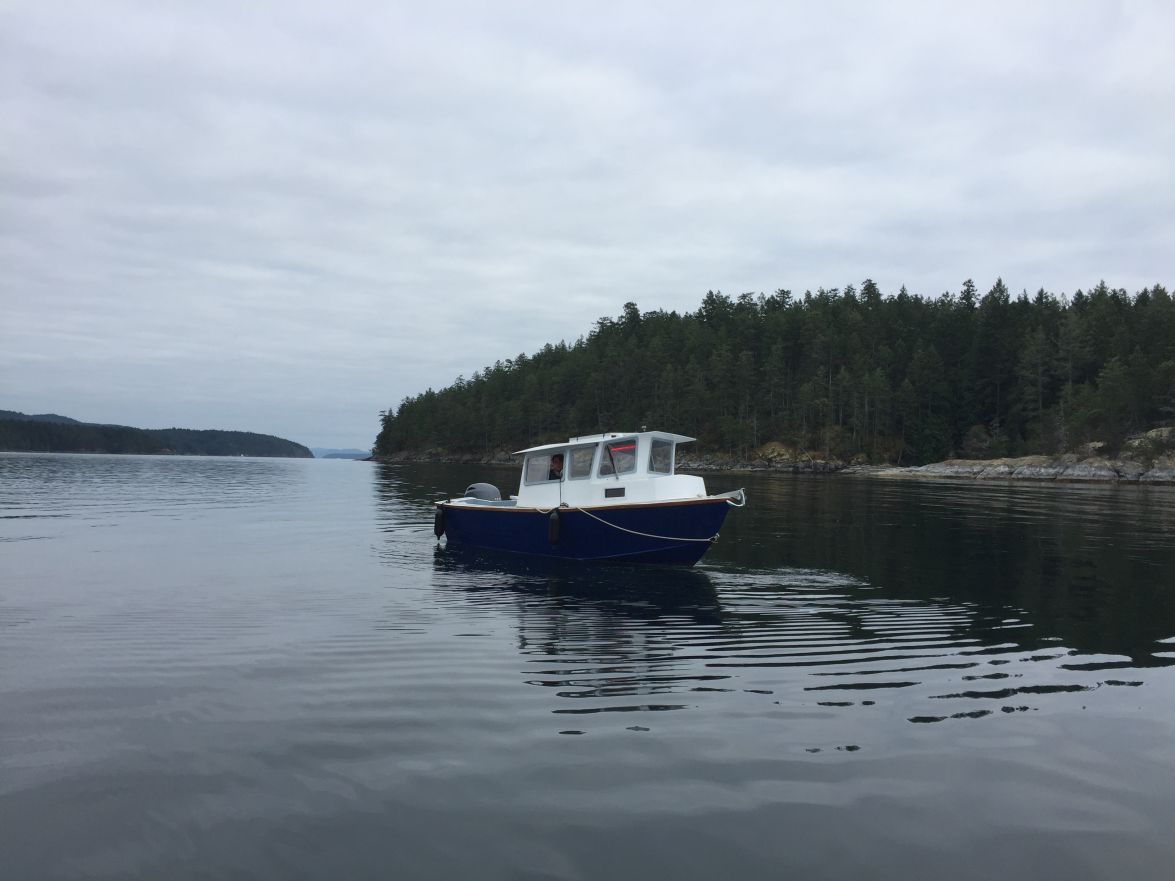
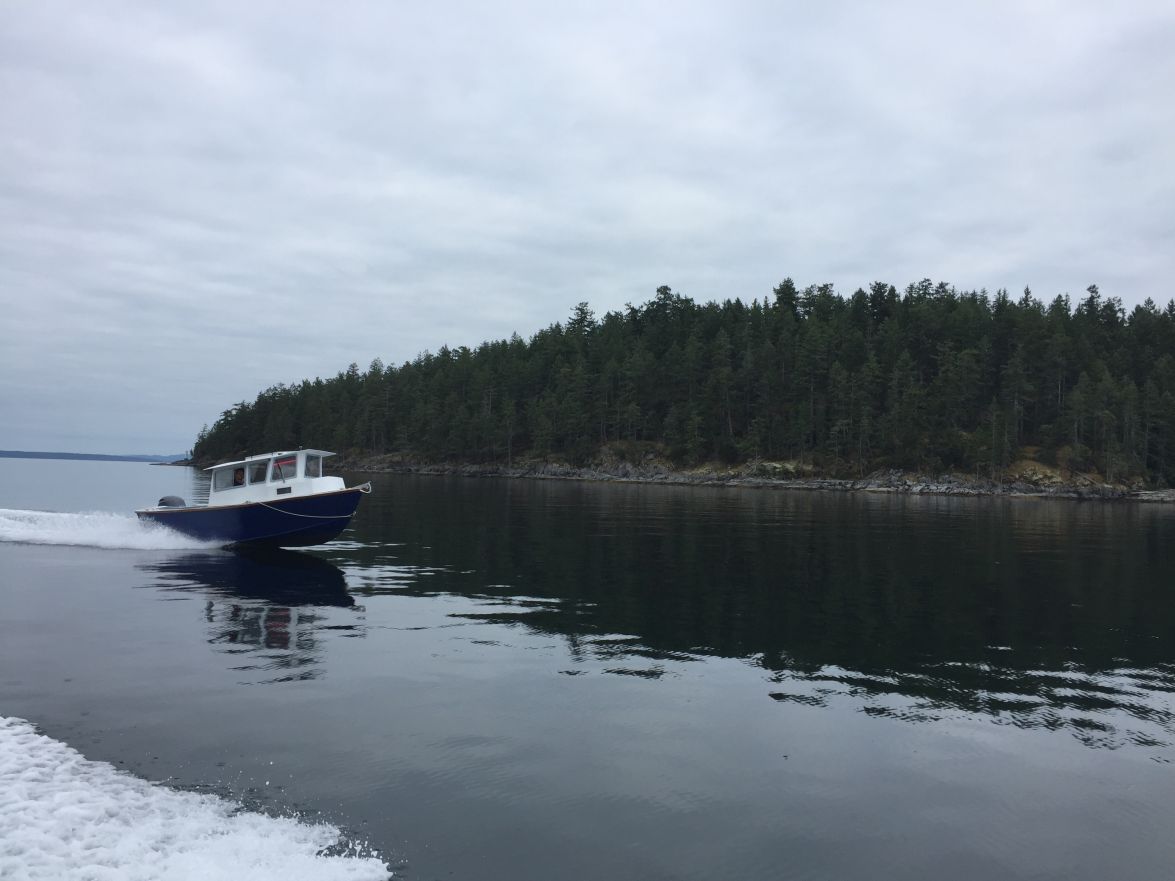
by Browndog
Congratulations! Looks really good and sounds like it performs well too.
But no pictures for a few years and then a hey look at this beautiful finished boat is seriously a depriving the forum of some info on how you got from point C - point R. Some of us thrive on the progress reports of the builders while we are between projects ourselves. You’re going to have to add some more photos to fill the gap.
Just kidding of course.
Well done!
Re: P19 build in Alberta
Posted: Wed Nov 06, 2019 7:58 pm
by cracked_ribs
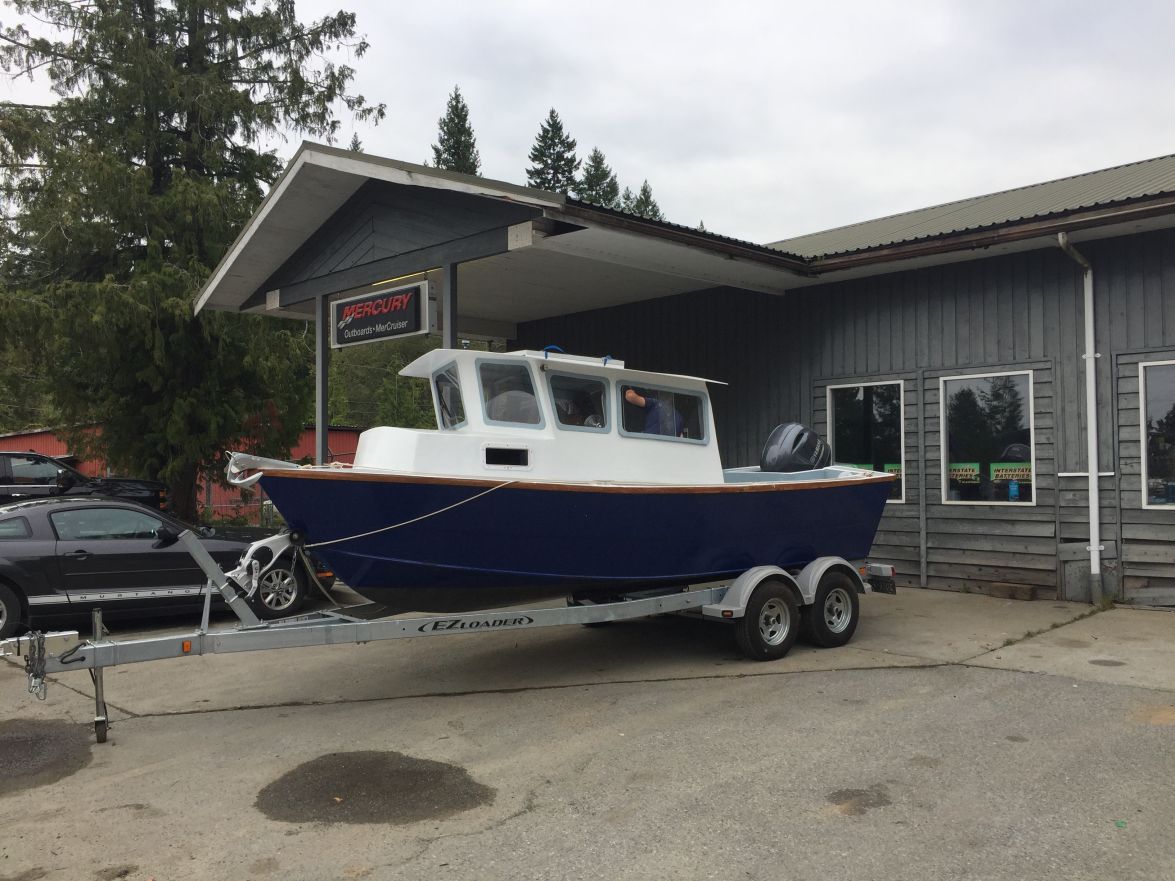
I recall that at one time you had thought about going with a bracket but it appears you ultimately ended up with a standard notched transom.
Did you ever pursue the bracket, or did you go straight to the standard transom?
The boat looks good, congratulations on the launch.
Re: P19 build in Alberta
Posted: Wed Nov 06, 2019 8:30 pm
by grundasaurus
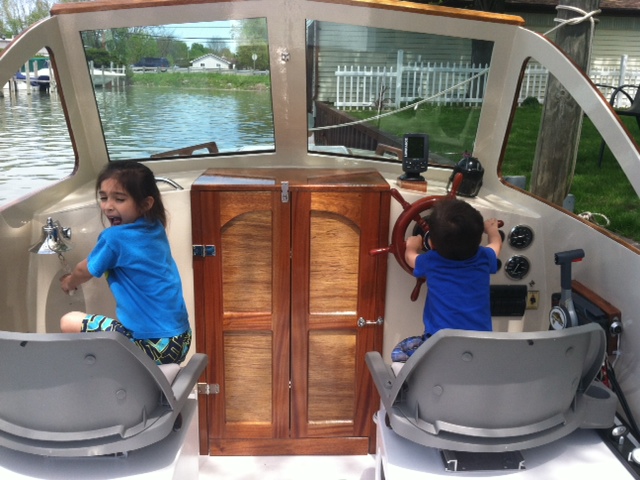
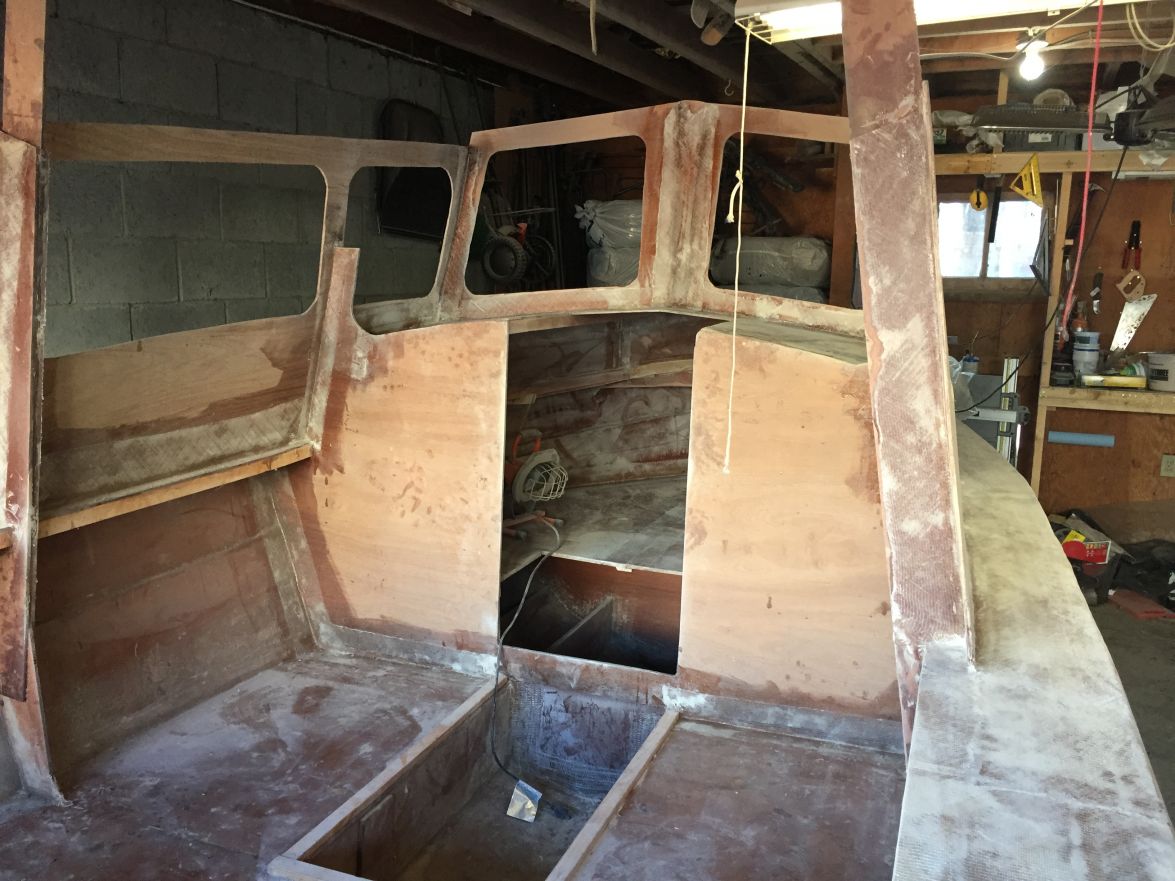
Hey all, I have tons of photos from the build that I'll post in due course. Life has been pretty busy these last couple years and the forum updates slipped through the cracks. We were looking at going with a bracket, but decided that since the boat is relatively short that it might throw off the balance significantly. The cost of a bracket was also a big factor, hard to justify dropping a grand or two for 9 inches of more cockpit space. What we did instead was create two rear seats like Grady Whites have. The batteries are under the seats, I would say they make the boat feel quite a bit bigger, and also much easier to get back in from a swim platform. we also added in a footwell between the stringers, having headroom in the pilothouse is really nice, and it's a modification I'd suggest to anyone building this sort of boat.
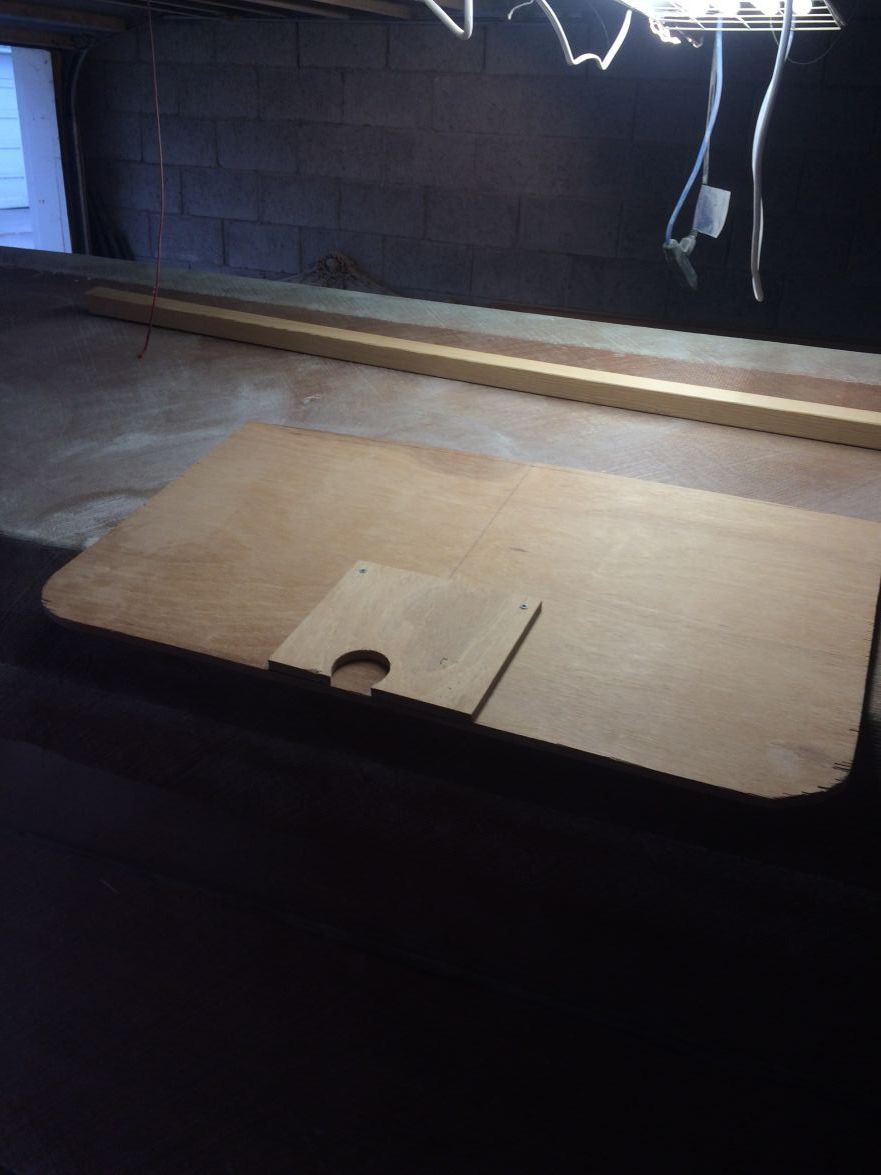
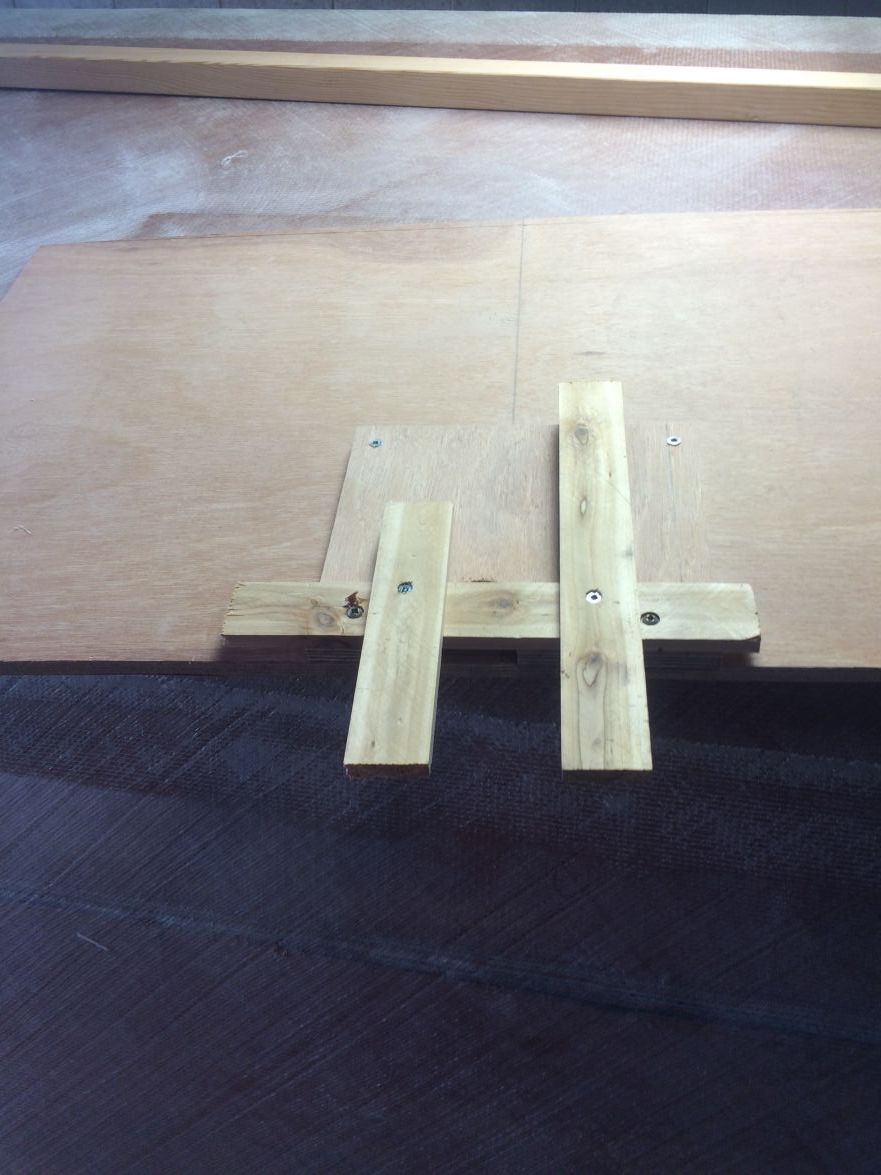
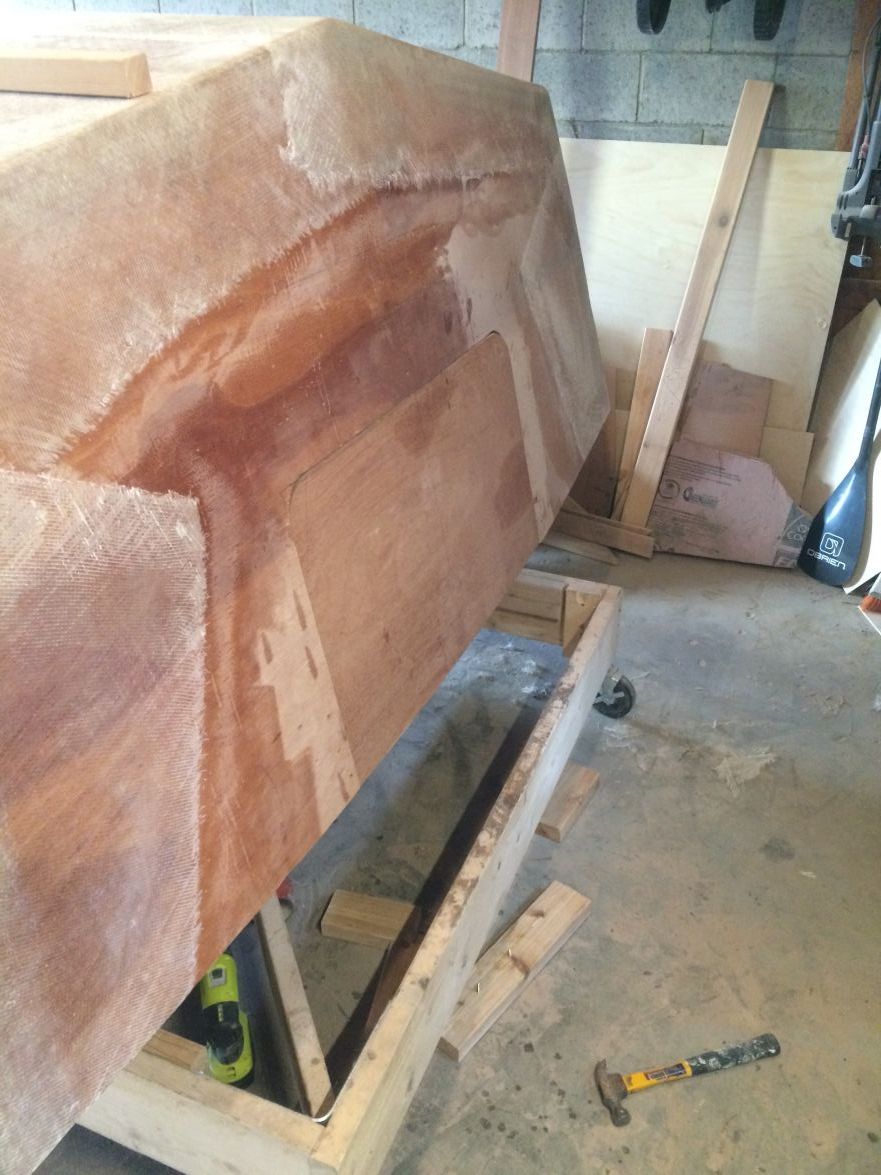
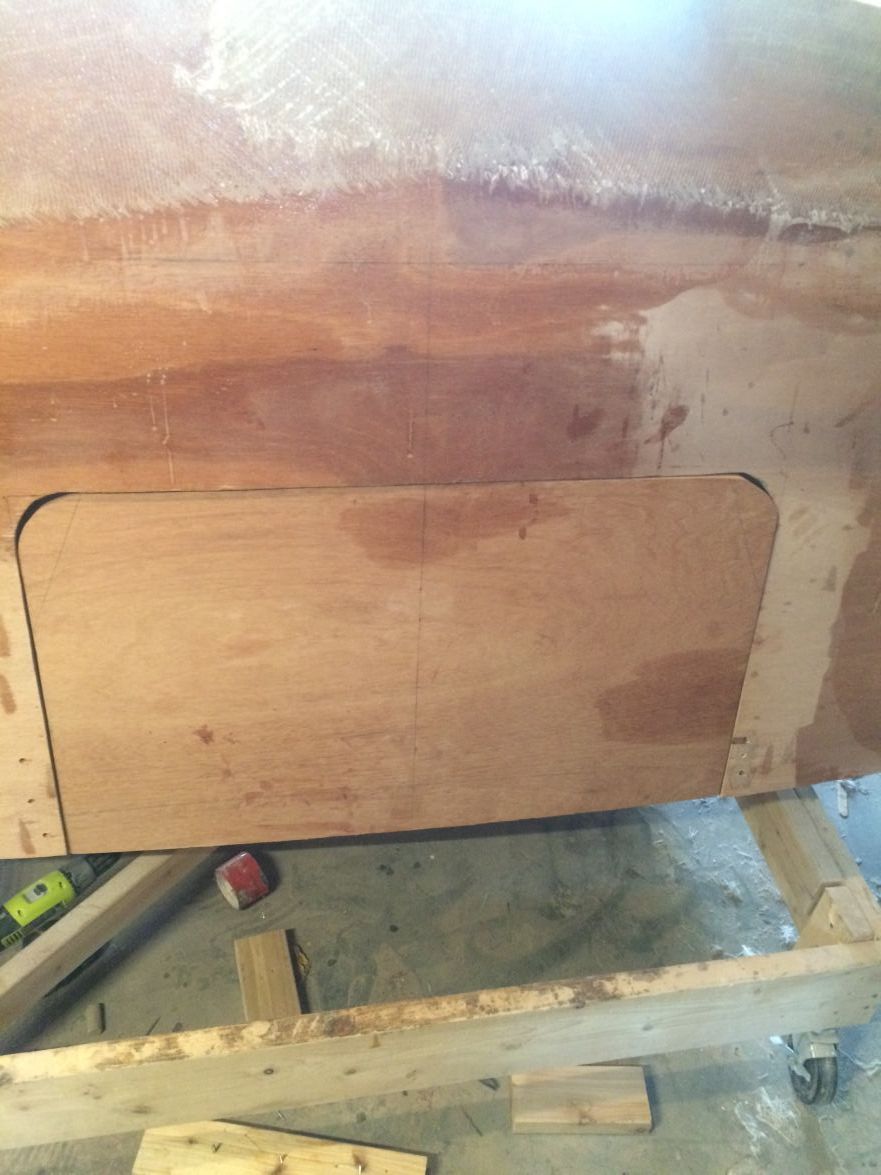
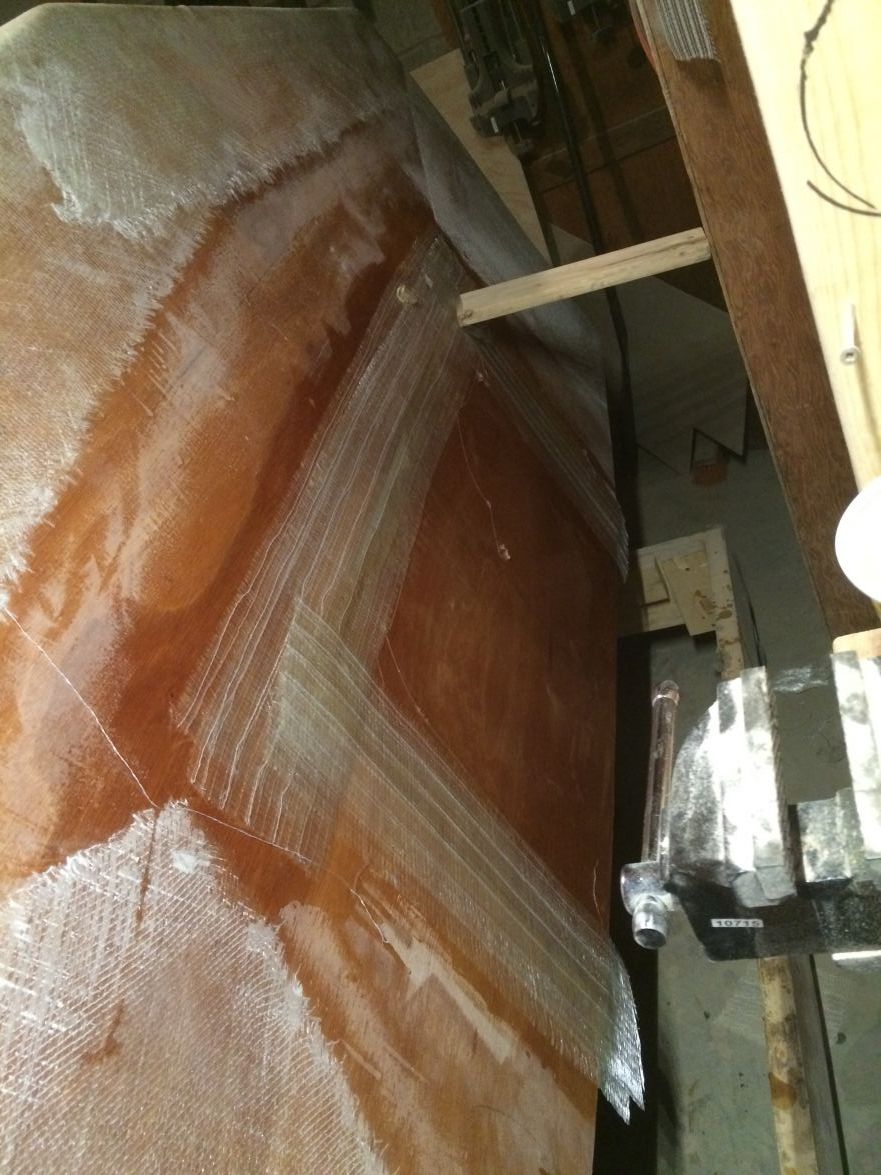
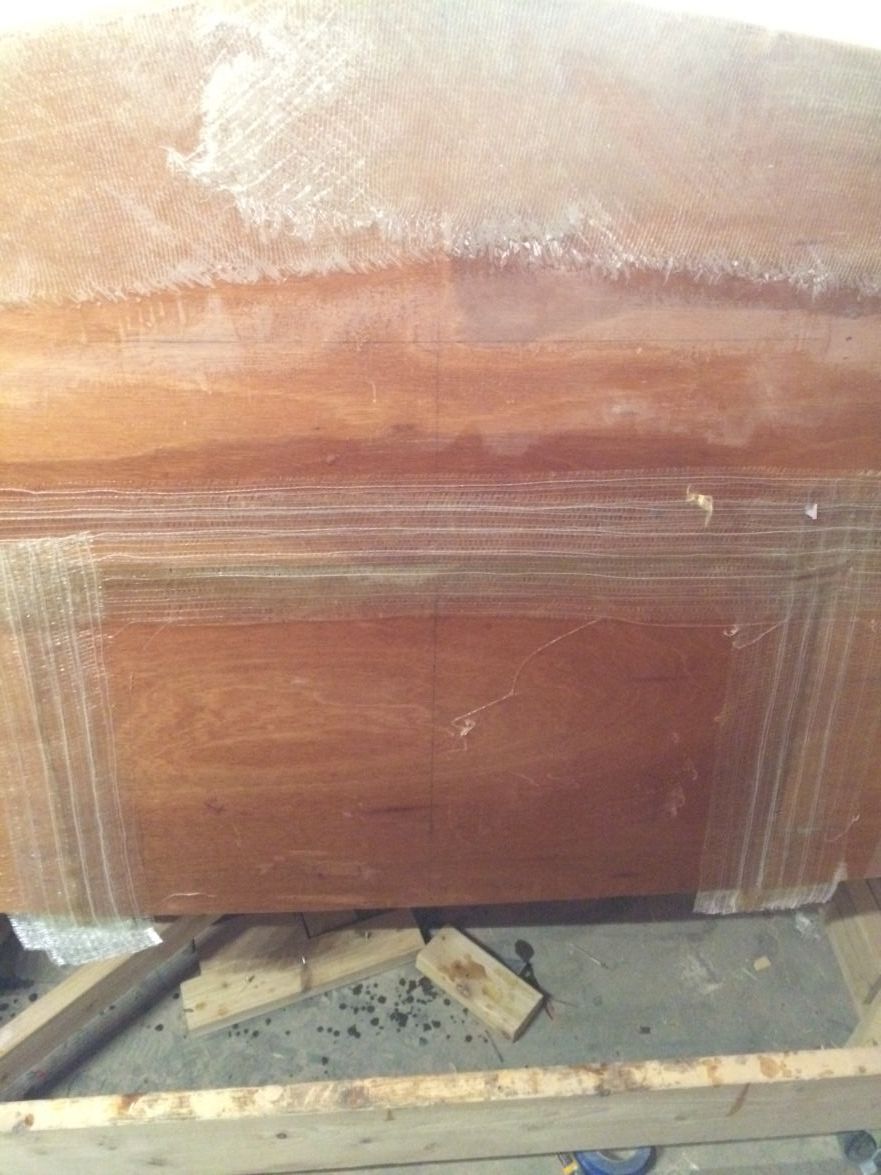
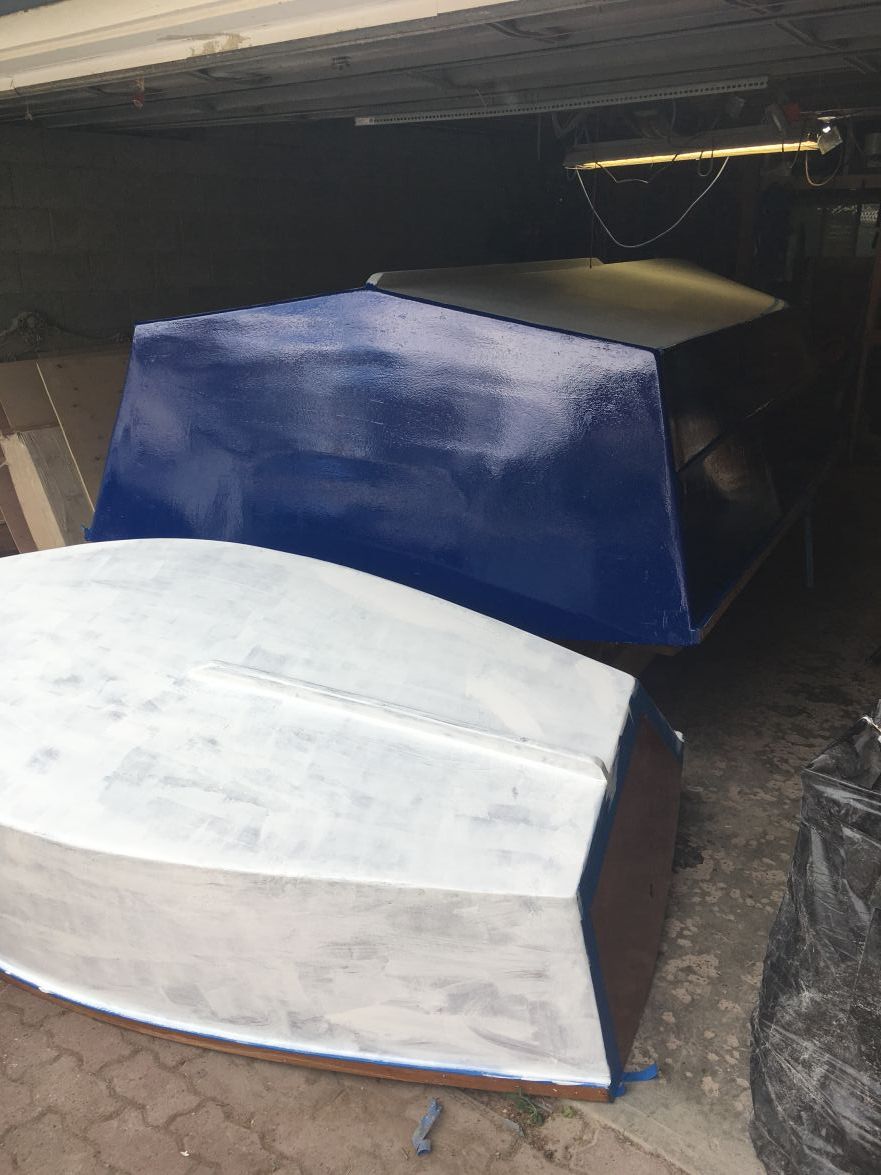
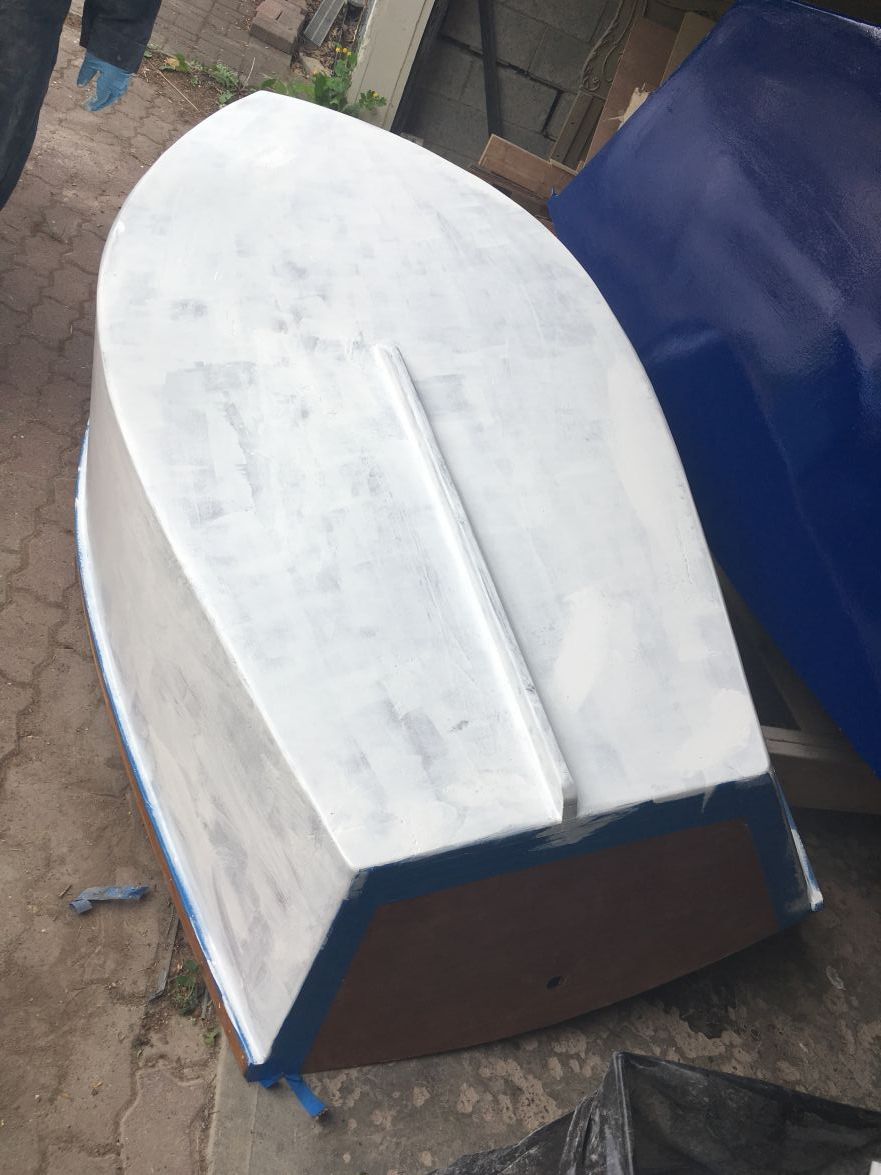
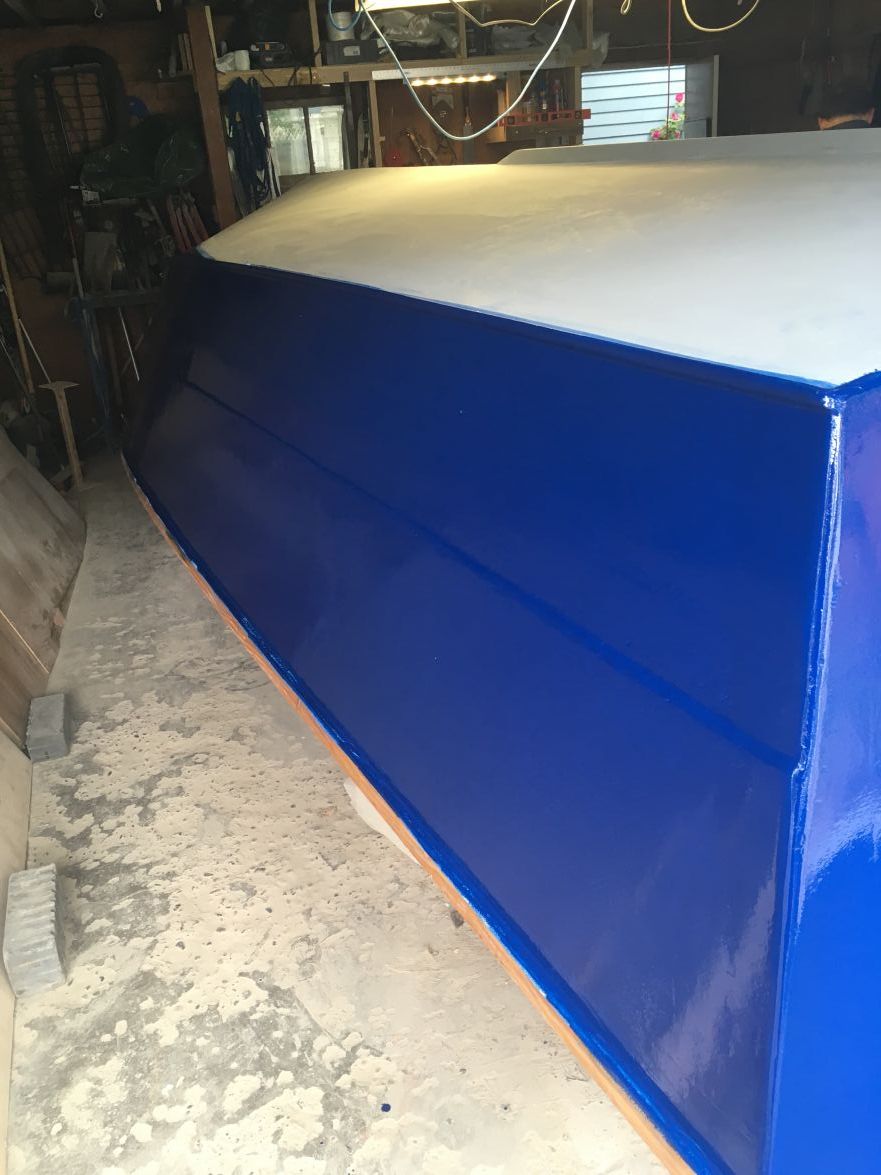
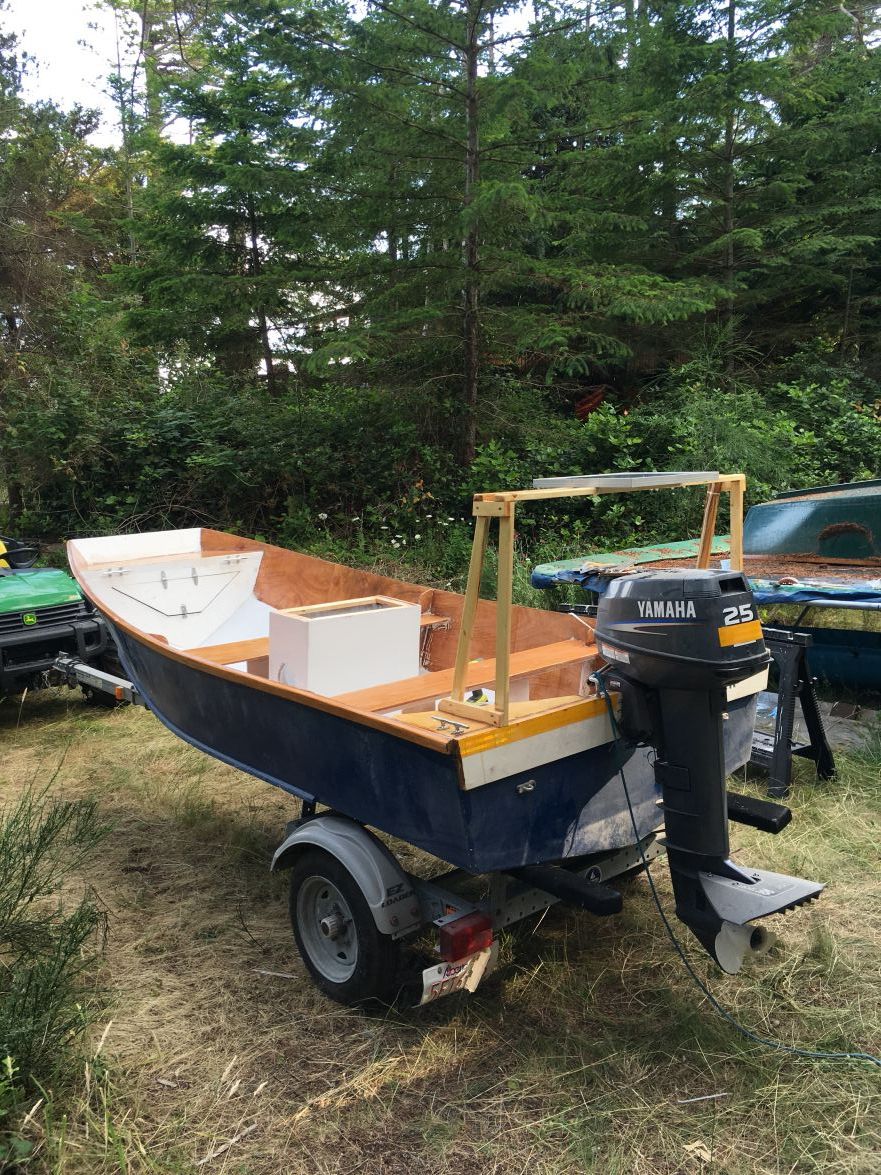
here are some other photos, also an update on our GV11, the Seascooter is still performing well. it had been at a shop over the winter waiting on a yamaha part, and they'd neglected to tarp or cover it in any way, and so some water found it's way in through a small screw hole, which resulted in a large part of the bottom being soft and damp to the touch (it sat FULL of water for 8 months essentially). I had to essentially remove all of the wood down to the fiberglass on the outside, and expanded the area until I was back to dry wood, I then laminated a ton of overlapping strips of tape running parallel and perpendicular to create a strong patch over the repair area. As a precaution I took off most of the interior paint to see if I could find any other trouble spots, and decided to leave the sides bare to give it a classic whaler sort of look. The console had also rotted out from the sitting water, so I rebuilt a new base which is in the photo.

Re: P19 build in Alberta
Posted: Thu Nov 07, 2019 6:26 am
by Eric1
Very nice repairs!

Re: P19 build in Alberta
Posted: Fri Nov 08, 2019 6:52 pm
by fallguy1000
Great looking rig!