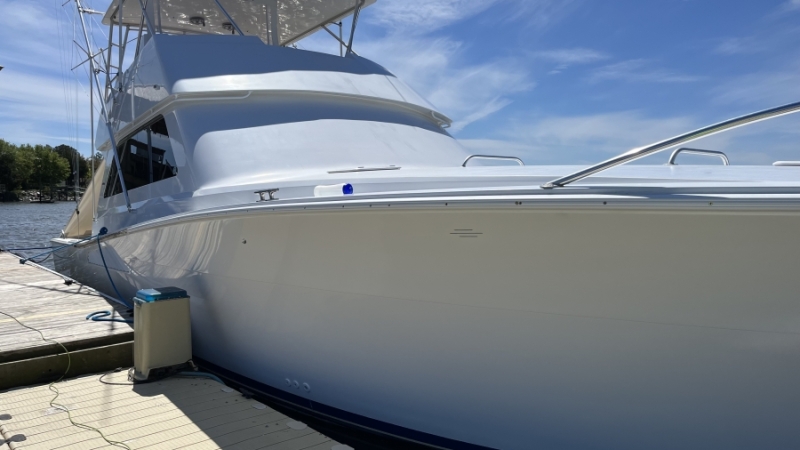
I got into this one via crew from the Full Hookups boat. I did some work for one of them (reel repair) and that guy was on the boat when the "event" occurred. Mike called me as soon as they were in town. He had seen my gel work on Full Hookups and was all "this guy can get it done and is pretty straightforward about what he won't do" with the owner. Apparently, I'm now the owner's "guy" and I have to keep telling him I don't have a full boatyard with haulout crane. So here I am, working on another $500k boat wondering what the heck I've gotten myself into...
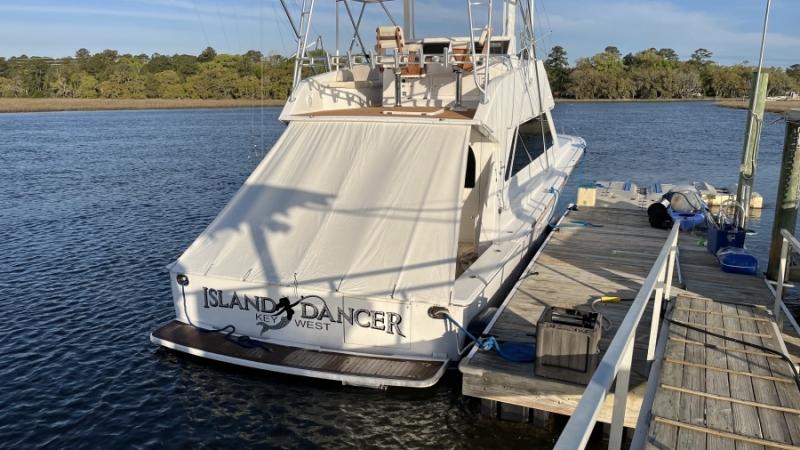
If you all want to look her up, the boat is Island Dancer. Most recently out of Key west. She's easy to locate via google.
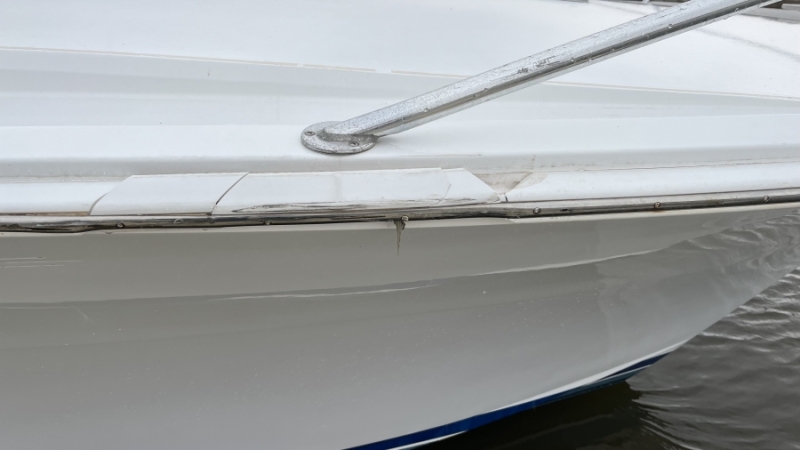
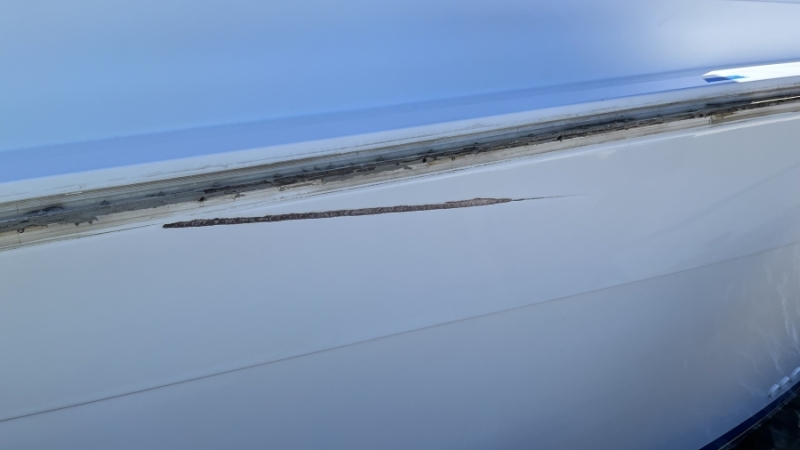
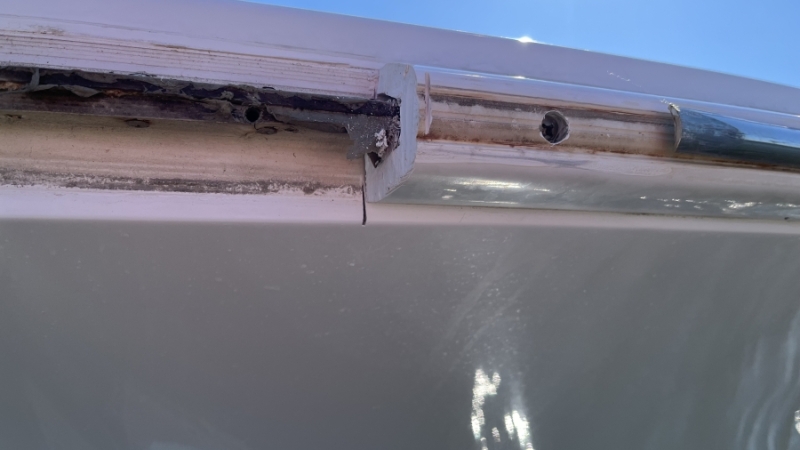
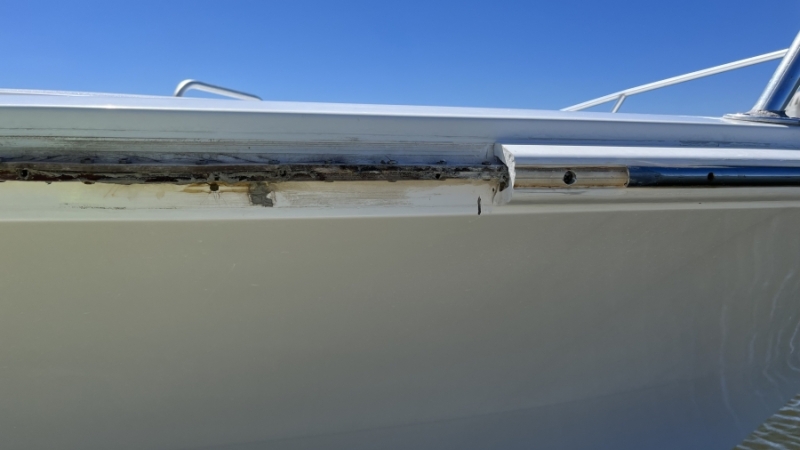
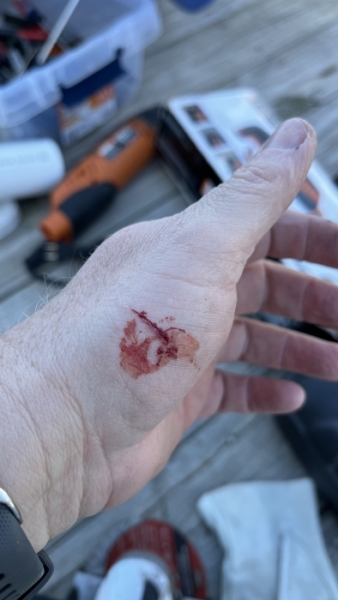
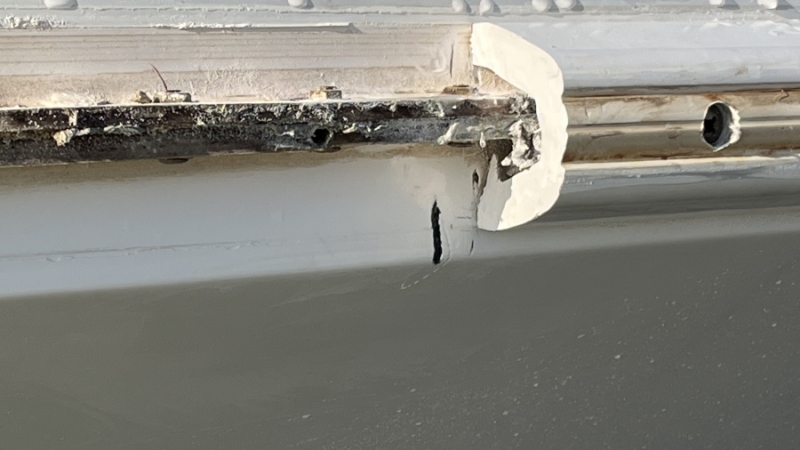
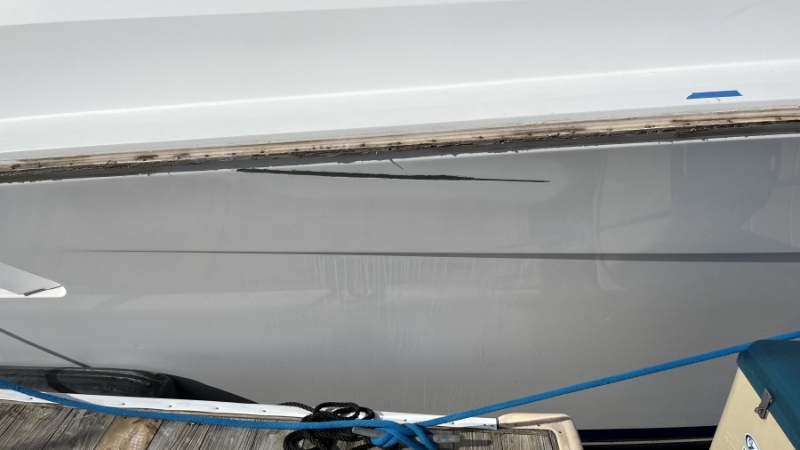
After a day off due to "too cold to work" (under 60), we had a nice day that started at 62 and was supposed to be 74 at 1p. The goal was to get the gouges filled and enough paint on to enable a fishing run next week. Because this is a 2" hull and that gouge was only 1/16" the norm is glass-impregnated Bondo. That's the green putty. Got that in then did a number of layers of prescribed Bondo for fairing. All hand sanded to reduce rework and excess paint fubar-age. Note to other bad shoulder/heart attack folks... hand sanding is good replacement for PT. just remember the pain killers.
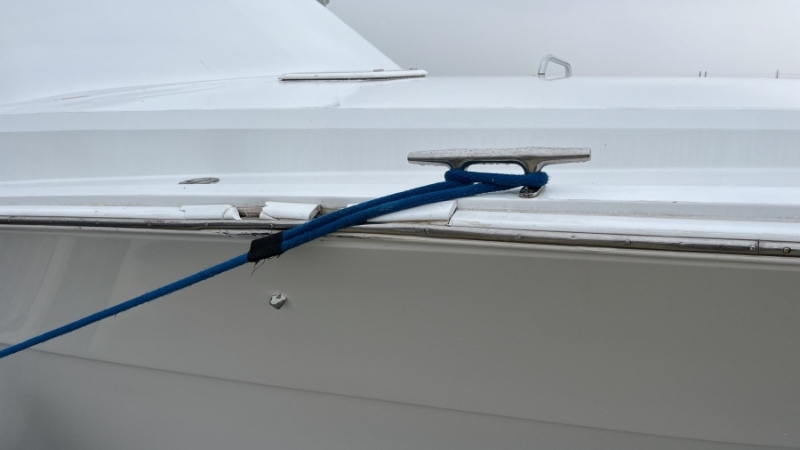
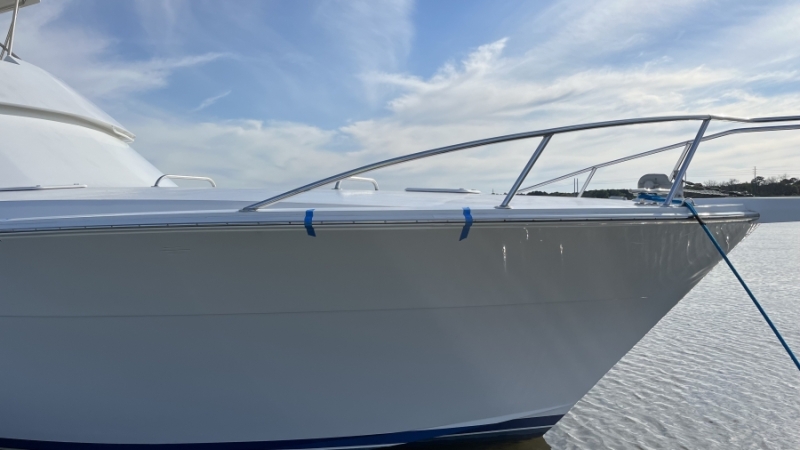
Taped and waiting for initial sanding.
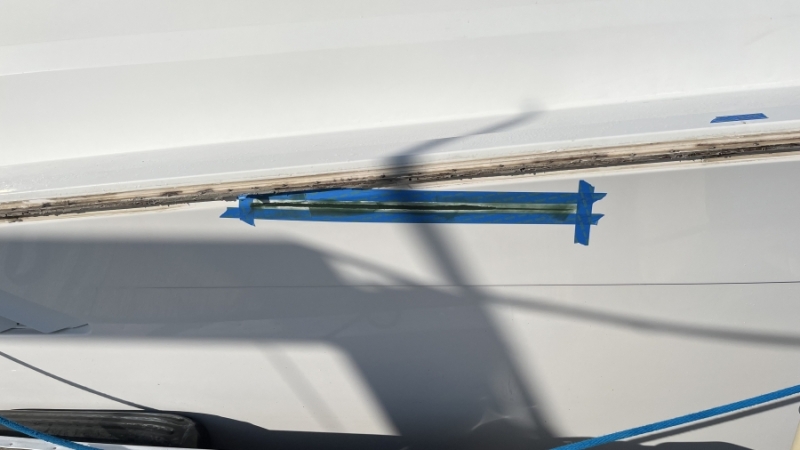
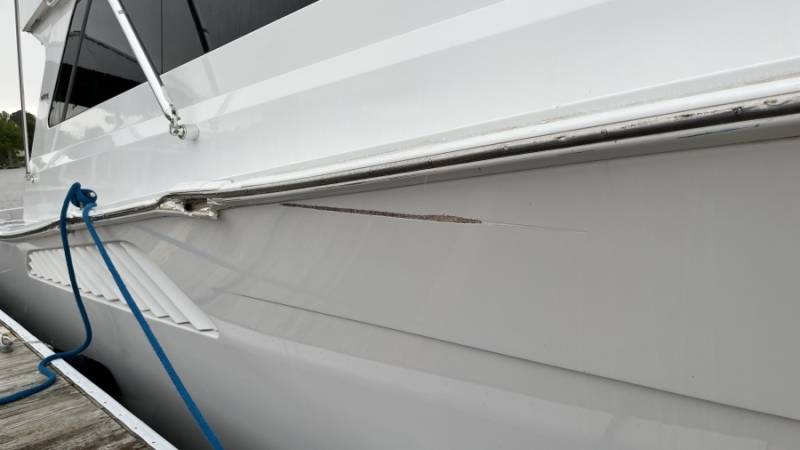
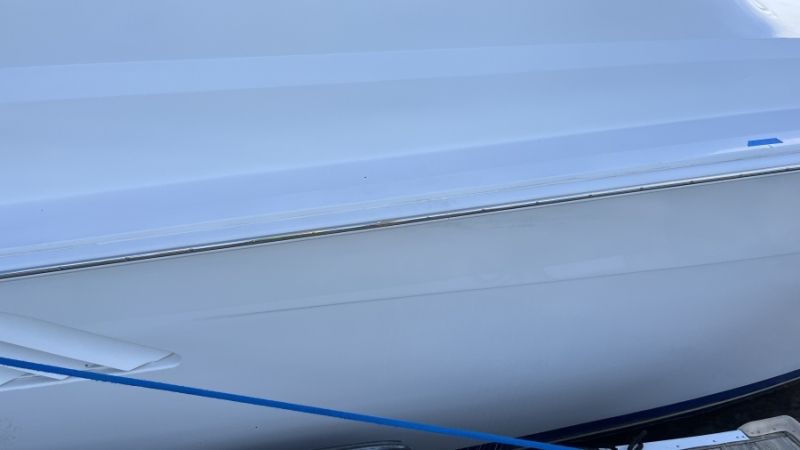
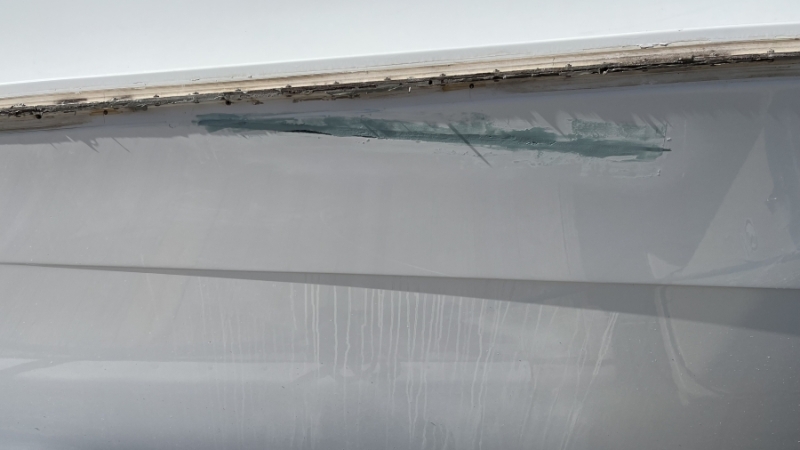
The "dumb a$$" gouge filled and the "test patch" for interlux color match. Owner couldn't find it so paint color was approved.
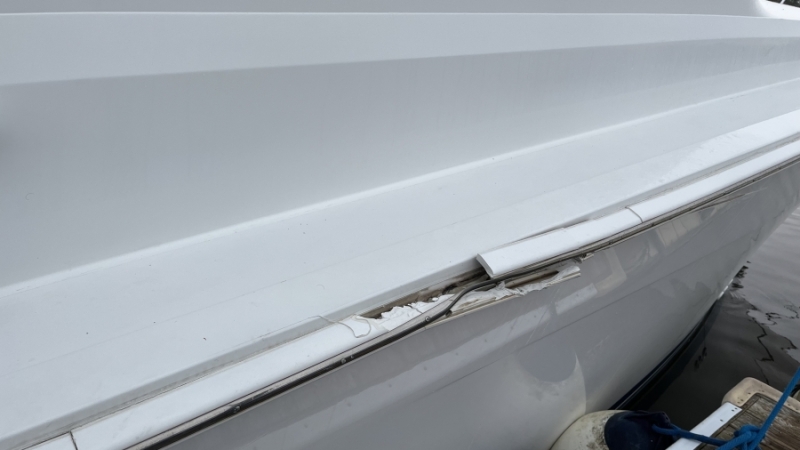
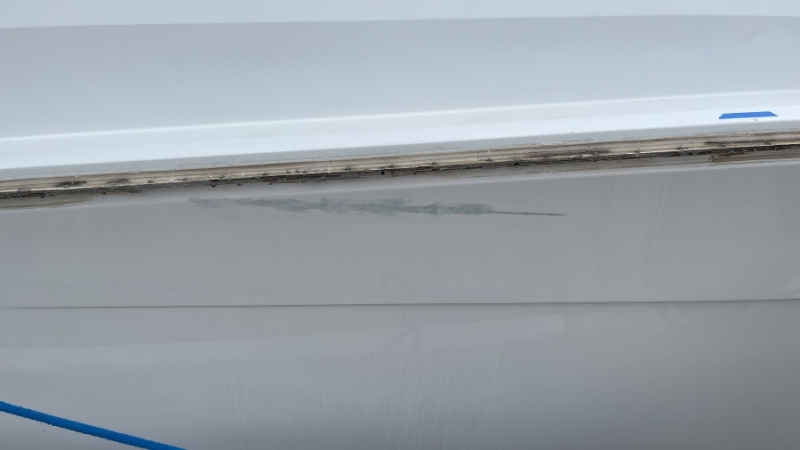
Final glass-impregnated layer sanding.
Rounds X and Y (I think it is 1 and 5) of fairing. This was my first time using premixed compound. I don't like it. I may never use it again. I like the control of being able to make it looser or stiffer based on what I'm filling. Either way, I eventually figured it out.

I had planned to spray the paint and get it all done. Thing is... 22knt winds make that a "hahahaha no". Biggest brush I had was a 1/2" spot brush because why would you bring brushes and rollers when you packed ALL THE DANG SPRAYING HARDWARE!!!!????!!!! I consider this a violation of basic boat finish, but I put it here to show that there are "acceptable to use" levels of finish as long as everyone knows that it is complete fecal mater. I will be ripping this off and spraying it properly in a couple weeks when we have better conditions.

That was Friday. Today is a weather day (cold front). Tomorrow I have a hired hand who I have worked with in the past on schedule to help me get the rails mounted. He's like me in the context of "God gave us hands and brains, we have to figure out how to lose the fingers creatively!" Also a blow boat guy. That puts me at "done" until we get a solid 3 day window with good temps and no fishing to get that interlux sprayed. Current outlook is mid April or May. Owner is OK with that so I guess I am too.
More pics tomorrow or Monday. Assuming I survive.